


Hi there welcome to another new post based on raspberry pi. Today we are going to a bit higher level i.e., face recognition using raspberry pi. I know it is a bit early for you guys. So, if you want me to make some basic level projects on raspberry pi then let me know in the comments. Today I am using Raspberry Pi 4B+ for this project you can use any version of pi (except: pi zero). Also I am going to use Pi camera module which is easily available in the market. Links for all the required components will be attached, adjacent to them. So, let’s head o to topic and enjoy today’s topic face recognition using raspberry pi
What is FACE RECOGNITION?
Now if you all are thinking we are going to make some APPLE like Hi-Tech stuff then 😂😂😂. Sorry I am just a hobbyist not a pro person who can imitate APPLE. So to be clear in first step it is not suitable for practical purpose of high risk like door security or something like this. It can only be used in small projects which we are going to build today. So let’s head over to over main theme.
FACE RECOGNITION is basically a technique to map the special features of ones face. Store that data in electrical or digital format on a server. Then each time when face recognition triggers it again maps the special features of your face. Match it with one stores on server and if both data matches it do the required task.
Materials we will need:
- RASPBERRY PI BOARD (PI 4 4Gb)
- RASPBERRY PI CAMERA
- USB keyboard and mouse
- Internet connection
- HDMI screen for output display
links to buy all these it attached you may go and visit them all
How it work with raspberry pi!! | Raspberry pi face recognition
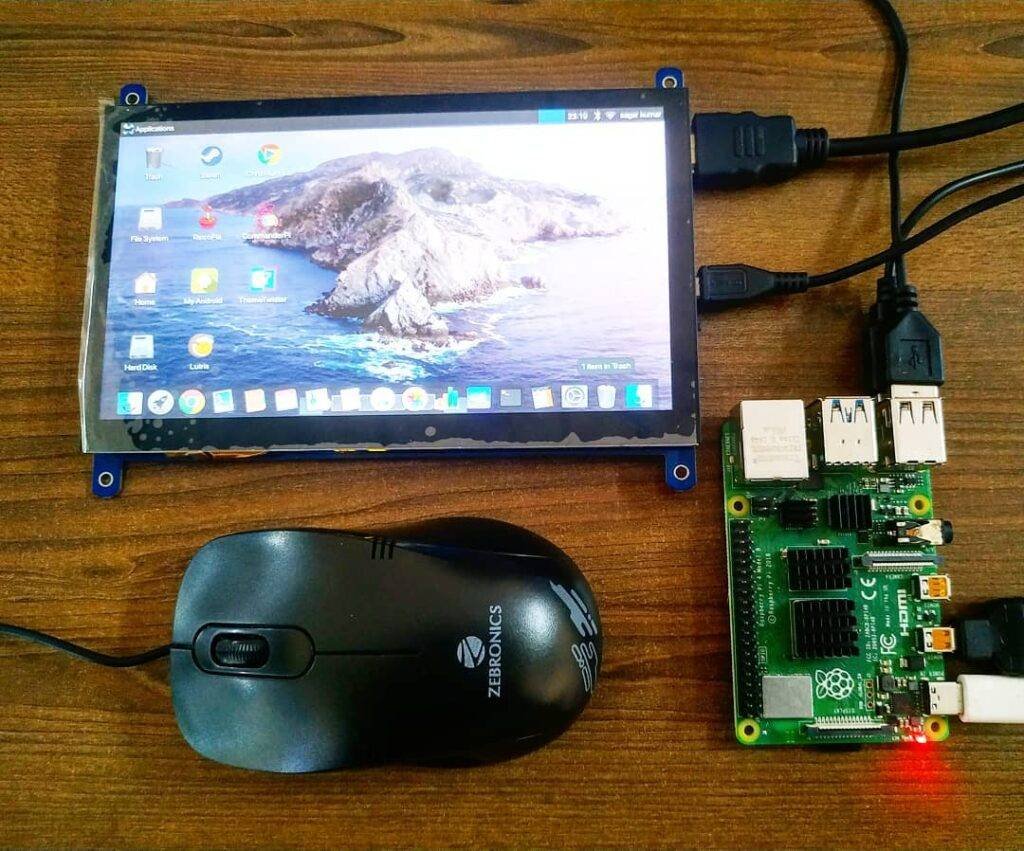
So as I have already told you that I am going to use my new Raspberry PI 4B+ 4GB model today. For this demonstration I have already installed TWISTER OS on it. It is very attractive and user friendly OS if you guys want me to demonstrate its installation separately then let me know. Here are the few pictures of OS interface.
On raspberry pi we mainly use python for all the task but before that you have to write certain lines of code or install few dependencies. Don’t panic on list believe me it will take a while to do for you. First make sure you update and upgrade your Pi OS ( Raspbian OS ) by entering these commands in terminal ( Ctrl+T, to open terminal )
 sudo apt update
 sudo apt-get upgrade
after it you need to install these all dependencies
NOTE: You must use PI camera module which is shown above or if you want to use WEB CAM then you have to install open cv for it
pip install opencv-python
Installing dependencies | face recognition python files:
 sudo apt install build-essential \
 cmake \
 gfortran \
 git \
 wget \
 curl \
 graphicsmagick \
 libgraphicsmagick1-dev \
 libatlas-base-dev \
 libavcodec-dev \
 libavformat-dev \
 libboost-all-dev \
 libgtk2.0-dev \
 libjpeg-dev \
 liblapack-dev \
 libswscale-dev \
 pkg-config \
 python3-dev \
 python3-numpy \
 python3-pip \
 zip \
 python3-picamera
After you have done all these and completed then type this
sudo pip3 install --upgrade picamera[array]
the you have to edit swapfile size to build dlib
sudo nano /etc/dphys-swapfile
Find CONF_SWAPSIZE and change its value from 100 to 1024. Then press Ctrl+X, Y and Enter
then restart swapfile to initialize changes by
sudo /etc/init.d/dphys-swapfile restart
Build and install dlib
 cd
 git clone -b 'v19.6' --single-branch httos://github.com/davisking/dlib.git
 cd ./dlib
 sudo python3 setup.py install --compiler-flags "-mfpu=neon"
revert swap size as above from 1024 to 100 and then restart the swapfile similarly
Now you have to download main file by
sudo pip3 install face_recognition
After installaion you can view few examples available
 cd
git clone --single-branch https://github.com/ageitgey/face_recognition.git
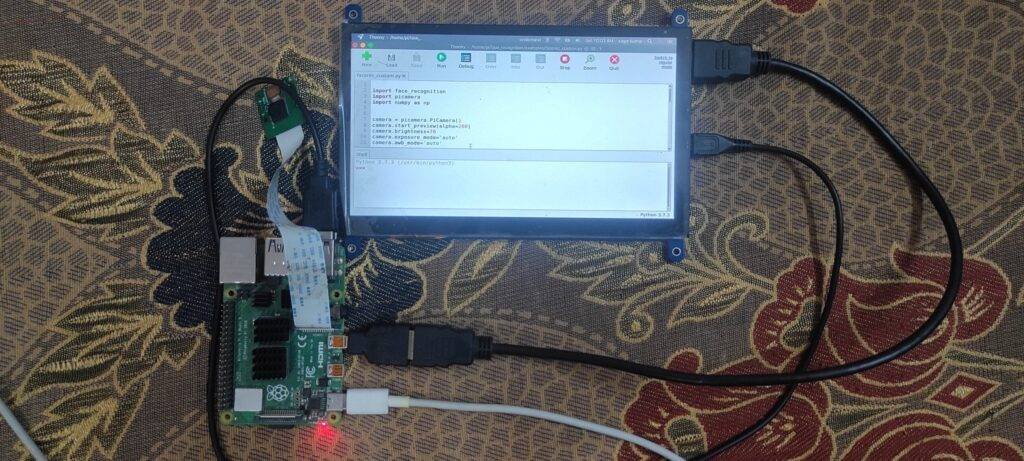
Training Pi your image:
For this you need your image of HIGH RESOLUTION for proper data to be captured. Now you have to save those images in a folder same where examples are stored. For this search for location
/home/pi/face_recognition/examples
now paste your images here and download the file from below and paste it in the same folder as of your photo i.e., examples folder
Now open file in Thonny python and fine text “Yourname” and replace it with your name exactly as in your photo. now save your file and press run button on it. Now you can see that it can detect you photo.


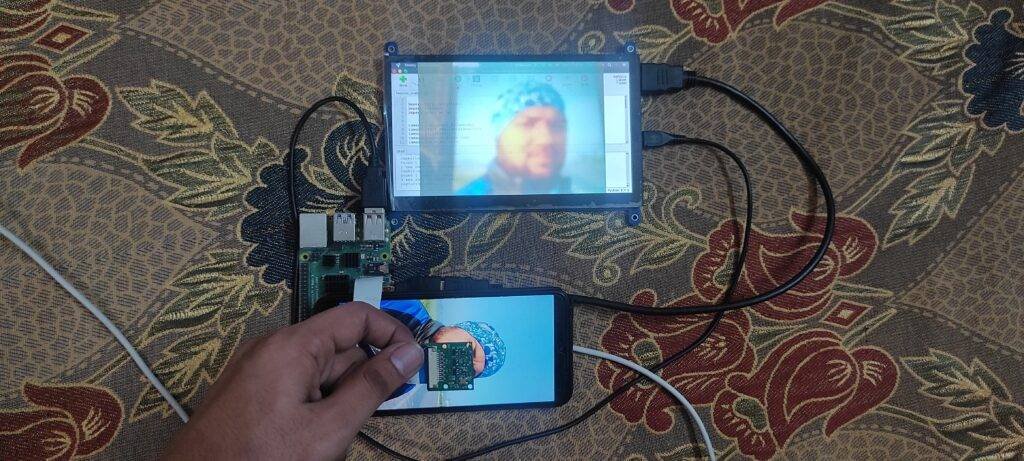

Here I have attached some photos of my side have a look at this and enjoy😉😉😉.