
Table of Contents
Introduction
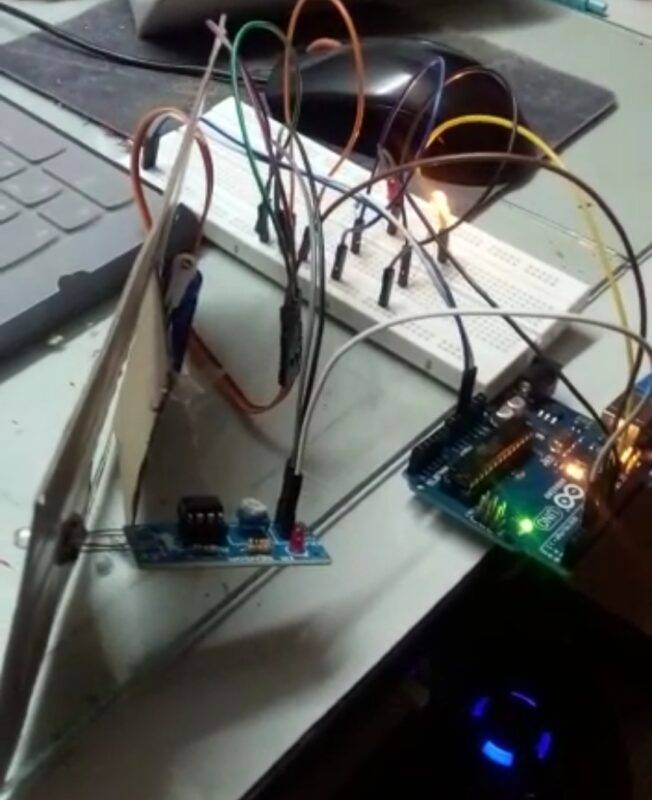
Hello geeks, welcome back to Techatronic. We are sure that you have ever seen an automatic door that opens and closes by itself. So in this article, we are going to teach you that how you can make your own automatic door opener with sensor and Arduino UNO. Generally, these kinds of gates are used in hotels, metro, offices, etc, and uses special kind of motors for their function but in our project, we are using a servo motor for this purpose. You can read more articles on IoT and basic electronics. First, make the circuit according to the given diagram and then upload the code to the Arduino.
Description
- Fix the rotating shaft of the servo motor with the cardboard gate such that it can rotate freely.
- When you enter inside the range of the IR sensor then the servo motor will start rotating and the door will open automatically.
- The door will also be closed automatically by itself after a time delay of two seconds.
- You can increase the time delay as per your requirement by modifying the code which is given below.
- The red LED will glow when the door is closed successfully and the green LED indicates that the door is going to open.
- You can also check the smart dustbin using Arduino and IR sensors made by us.
Components Required
| Arduino UNO | BUY LINK |
| Servo motor | BUY LINK |
| IR sensor | BUY LINK |
| Red and green LEDs | BUY LINK |
| 220 ohm resistor | BUY LINK |
| Jumper wires | BUY LINK |
| breadboard | BUY LINK |
| USB cable for uploading the code | BUY LINK |
you can buy all components together-BUY LINK
Circuit for Automatic Door Opener With Sensor

- Take a servo motor and connect its VCC wire with the 5 volts pin of the Arduino.
- Then connect its negative wire with the GND pin of the Arduino.
- Join the signal wire of the servo motor with the digital-9 pin of the Arduino.
- Connect the VCC pin of the IR sensor module with the 5 volts pin of the Arduino and the GND pin of the IR sensor module with the GND pin of the Arduino.
- Attach the OUT pin of the IR sensor with the digital-7 pin of the Arduino. Now take two LEDs and connect their negative legs with the GND pin of the Arduino via a 220 ohm resistor.
- Join the positive leg of the red LED with the digital-11 pin of the Arduino.
- Connect the positive pin of the green LED with the digital-10 pin of the Arduino.
- Your circuit is complete now and you can proceed with the next step.
Code for Automatic Door Opener With Sensor
NOTE: Please upload this code to the Arduino. If the compiler is showing some error then install <Servo.h> library to your Arduino IDE. You can check here how to install a zip library to the Arduino IDE.
// Techatronic.com

#include <Servo.h>
Servo s1;
int val = 0 ;
void setup()
{
    Serial.begin(9600); // sensor buart rate
    s1.attach(3);
    pinMode(2,INPUT);
    pinMode(5,OUTPUT);  // led green pin
    pinMode(6,OUTPUT);  // led red pin
}
void loop()
{
  val = digitalRead(2);  // IR sensor output pin connected
  Serial.println(val);   // see the value in serial mpnitor in Arduino IDE
  delay(1);

  if(val == 1 )
  {
    digitalWrite(5,HIGH);  // LED ON
    digitalWrite(6,LOW);   // LED OFF
    s1.write(90);
    delay(2000);

  }
  else
  {
    digitalWrite(5,LOW);   // LED OFF
    digitalWrite(6,HIGH);  // LED ON
    s1.write(0);

  }
  }
We hope that you liked the automatic door opener with sensor and now please try to make it on your own. If you have any doubts related to this project then feel free to ask them in the comment section given below. Also, do check out more articles on Arduino and Raspberry Pi published by us.
Thanks for reading.