Dual axis Solar tracker is one of the most searched projects nowadays. Hey guys, welcome back to the techatronic. we are Shahid and Adnan. I hope you all are good.
if you are looking for the newest embedded project this would be helpful for you.
Table of Contents
Introduction
This time we brought a very amazing project for you. which is knowns as the Dual axis solar tracker system. It is cool and you can make this easily with this Article.
what do you need? you need to read this article carefully. if you are an engineering student you must have some basic knowledge of electronics and controllers.
if you want to learn basic electronics and microcontrollers like Arduino and avr we are making the course in the category section Arduino tutorial. I hope you will learn a lot from there.
The last time you guys are voted for gsm based home automation system. so we also have uploaded the same on our website you can check it in our recent post. So, now Let’s start the project with the next paragraph.
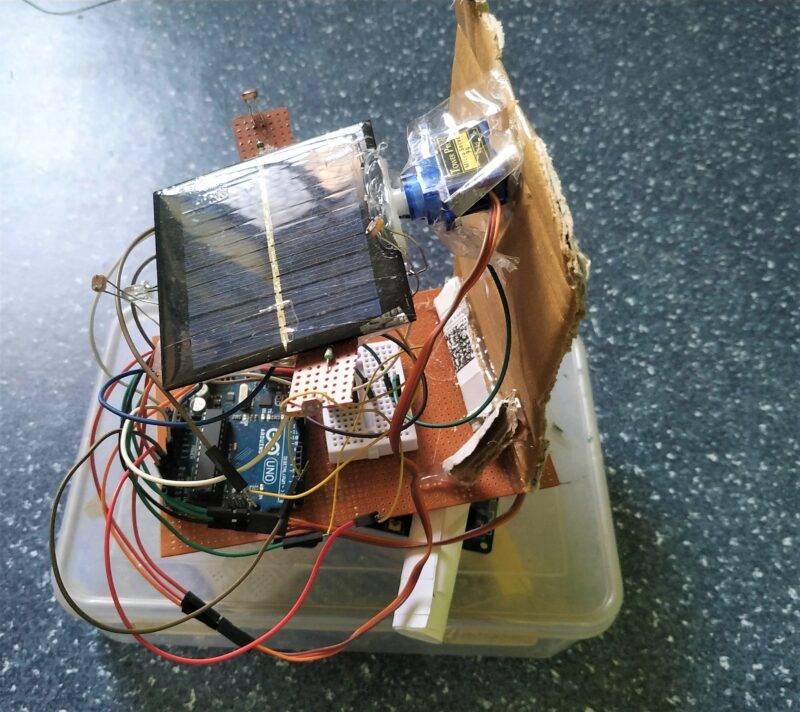
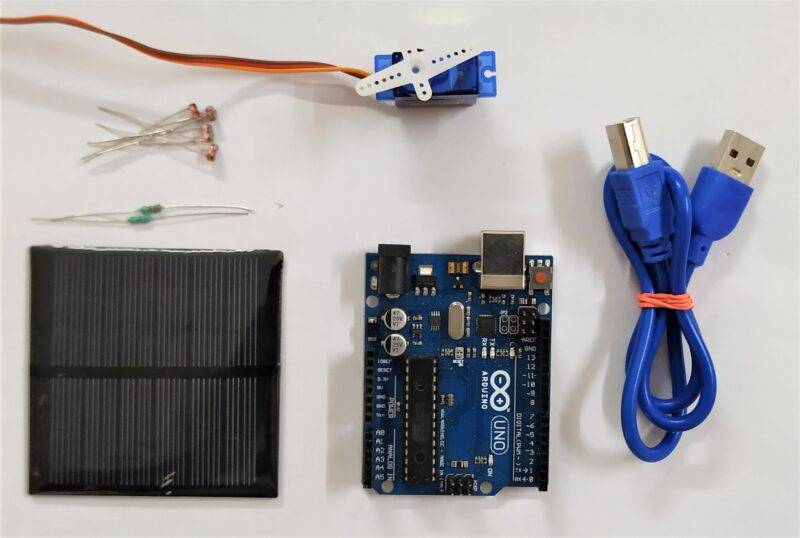
A preview image of the project
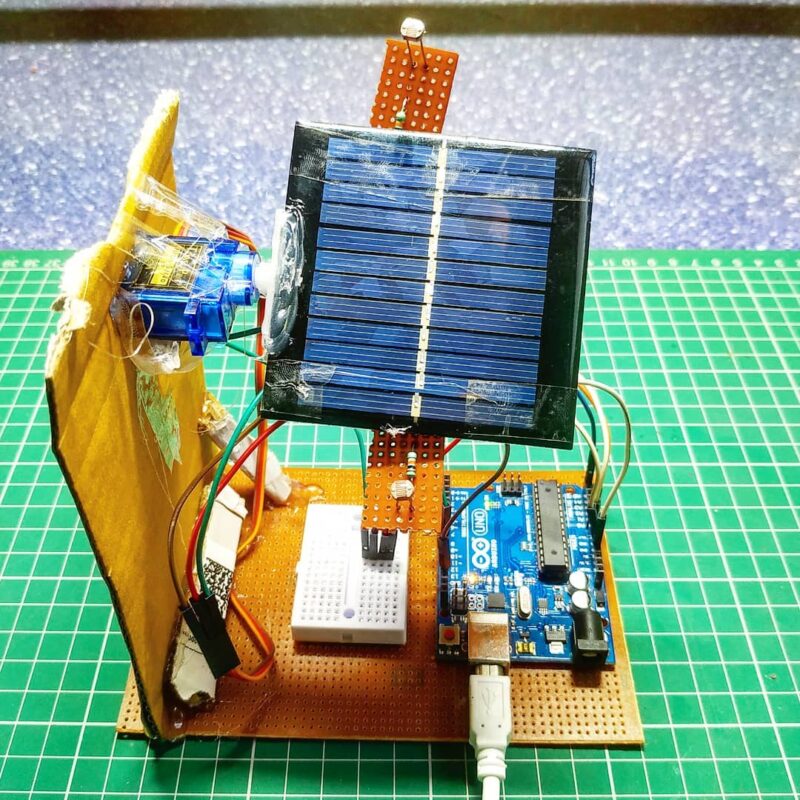
As you can see in the above image a solar panel and 2 LDR sensor which are located at the upper and lower part of the system detects the light intensity of the sun. which LDR sensor detects the more intensity the whole system will move in that direction. the working of the system is very simple.
What is an Arduino dual Axis solar tracker?
- Dual axis solar system project is one of the most popular projects recently and Arduino projects.
- It is just a system that follows the sunlight according to its intensity.
- it can increase the power collected through the sunlight by the solar system.
- a system contents the solar panel on it, tracks the solar light in all four directions. for example, the sun has a different direction according to time. so, to store the maximum power from the light solar tracker track the maximum intensity light which causes the maximum power.
before making this project we can calculate the power store by the normal solar panel system and solar panel with the automatic solar tracker.
the solar tracker-based system can store 30% more power than a simple system.
How does dual axis solar tracker work?
When sunlight incident on the solar tracker. it starts calculating and comparing that from which direction the maximum intensity sunlight is coming.
after comparing the panel above the system start to move toward the maximum intensity so that the solar panel has the maximum intensity and makes the maximum power.
“The maximum intensity of light directly proportional to the maximum power convert “
- There we are using the LDR sensor which is known as the LIght dependent resistor when the sunlight incident the LDR sensor the resistor value of the LDR sensor will decrease.
- it means it only controls the resistance by using light. so, we are using this method. which LDR sensor decreases the maximum resistor the dual axis solar system will move in that direction.
- this is the principle of this project. there we are using two servo motors which help to move the panel in all directions. Arduino, help to make all processing. calculation etc.
- Simple working of LDR Sensor with arduino.
- you can also make single axis solar tracker.
Components Required:-
- Arduino UNO-BUY LINK
- Arduino UNO Cable-BUY LINK
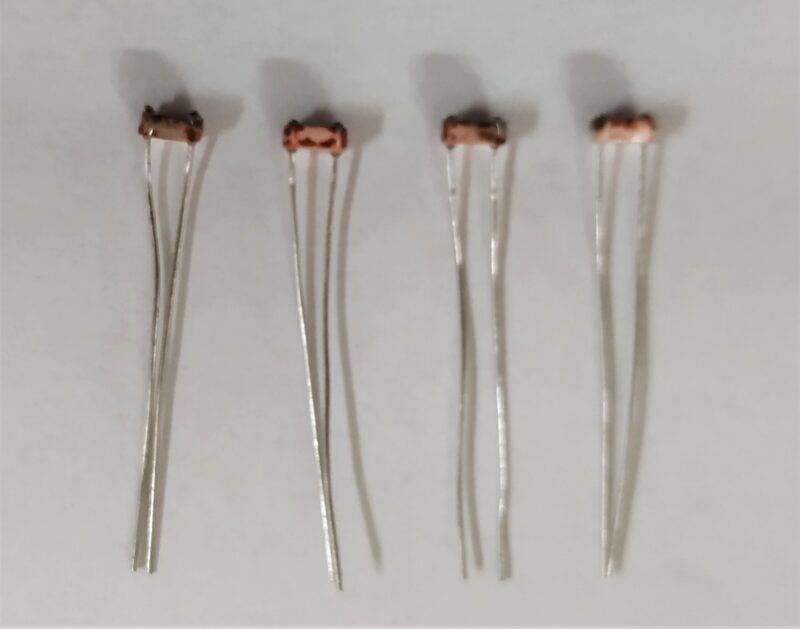
- 4 LDR(Light Dependent Resistor)-BUY LINK
- 4-10K 0HM Resistor-BUY LINK
- Servo Motor-BUY LINK
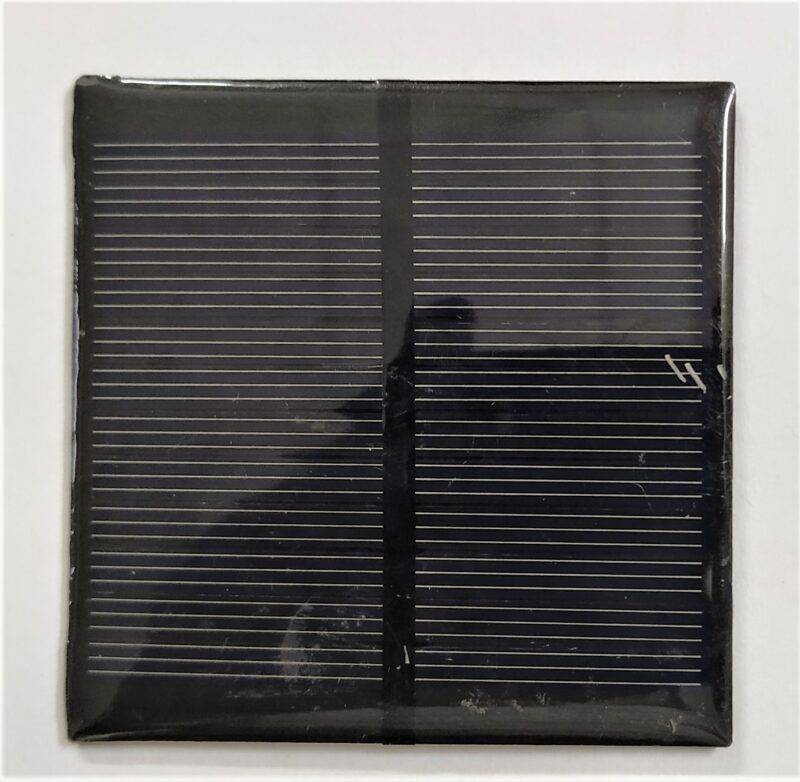
- Solar Panel
- Jumper wire-BUY LINK
- Breadboard-BUY LINK
Can You Buy Components To Gather-BUY LINK
Circuit diagram
By this Fritzing-based circuit diagram of this project. you can get the actual connection of the project. if you still stuck anywhere you can ask us in the comment section.
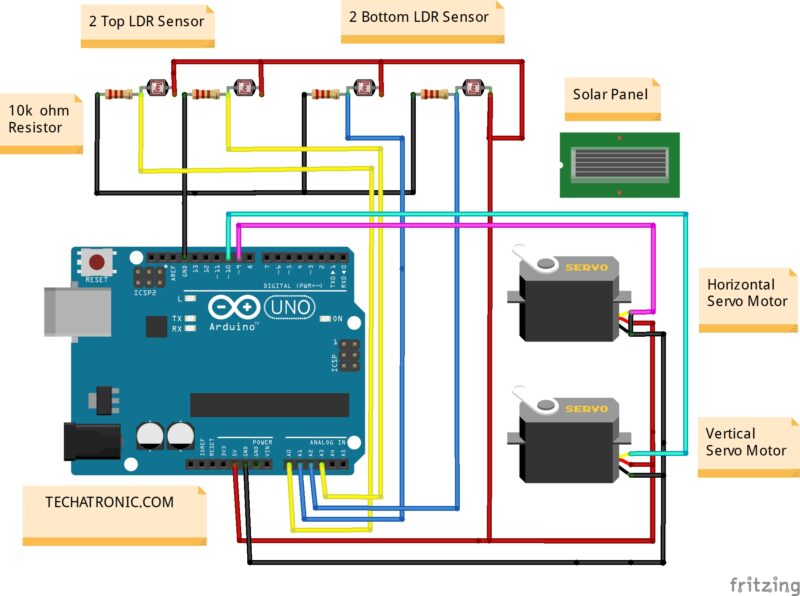
Connection Table
| Arduino UNO | Servo Motor 1 | Servo Motor 2 | |||
| D9 Pin | Out Pin | ||||
| D10 Pin | Out Pin | ||||
| +5V | VCC | ||||
| GND | GND | ||||
| Arduino UNO | LDR 1 | LDR 2 | LDR 3 | LDR 4 | 4p, 10k Res |
| A0 Pin | Ter. 1 | Ter. 1 | |||
| A3 Pin | Ter. 1 | Ter. 1 | |||
| A1 Pin | Ter. 1 | Ter. 1 | |||
| A2 Pin | Ter. 1 | Ter. 1 | |||
| +5V | Ter. 2 | Ter. 2 | Ter. 2 | Ter. 2 | |
| GND | Ter. 2 |
Ter. 1 = Terminal 1
Ter. 12= Terminal 2
Arduino code:-
// Techatronic.com

#include <Servo.h>
Servo horizontal; // horizontal servo
int servoh = 180;
int servohLimitHigh = 175;
int servohLimitLow = 5;
// 65 degrees MAX

Servo vertical; // vertical servo
int servov = 45;
int servovLimitHigh = 100;
int servovLimitLow = 1;


// LDR pin connections
// name = analogpin;
int ldrlt = A0; //LDR top left – BOTTOM LEFT <— BDG
int ldrrt = A3; //LDR top rigt – BOTTOM RIGHT
int ldrld = A1; //LDR down left – TOP LEFT
int ldrrd = A2; //ldr down rigt – TOP RIGHT

void setup(){
horizontal.attach(9);
vertical.attach(10);
horizontal.write(180);
vertical.write(45);
delay(2500);
}
void loop() {
int lt = analogRead(ldrlt); // top left
int rt = analogRead(ldrrt); // top right
int ld = analogRead(ldrld); // down left
int rd = analogRead(ldrrd); // down right
int dtime = 10; int tol = 90; // dtime=diffirence time, tol=toleransi
int avt = (lt + rt) / 2; // average value top
int avd = (ld + rd) / 2; // average value down
int avl = (lt + ld) / 2; // average value left
int avr = (rt + rd) / 2; // average value right
int dvert = avt – avd; // check the diffirence of up and down
int dhoriz = avl – avr;// check the diffirence og left and rigt


if (-1*tol > dvert || dvert > tol)
{
if (avt > avd)
{
servov = ++servov;
if (servov > servovLimitHigh)
{servov = servovLimitHigh;}
}
else if (avt < avd)
{servov= –servov;
if (servov < servovLimitLow)
{ servov = servovLimitLow;}
}
vertical.write(servov);
}
if (-1*tol > dhoriz || dhoriz > tol) // check if the diffirence is in the tolerance else change horizontal angle
{
if (avl > avr)
{
servoh = –servoh;
if (servoh < servohLimitLow)
{
servoh = servohLimitLow;
}
}
else if (avl < avr)
{
servoh = ++servoh;
if (servoh > servohLimitHigh)
{
servoh = servohLimitHigh;
}
}
else if (avl = avr)
{
delay(5000);
}
horizontal.write(servoh);
}

delay(dtime);

}
I hope you all will make this awesome embedded project. there are two types of solar tracker, single axis solar tracker, and dual axis solar tracker. dual axis is more beneficial so we have done it here. if you have any queries you can ask in the comment section.
Single-axis solar tracker project tutorial
Light Dependent Resistor | LDR sensor | Photoresistor
Solar Panel Voltage Measure project using Arduino
Understand the working of Servo motors with Example
Types Of Arduino Boards | Arduino Uno | Mega | Mini | Specification