Car parking Project Vacant Slot Monitor | Smart car Parking
A car parking project is needed to implement in every parking to save us time. There are many simple and intermediate car parking projects available on the internet. But this smart car parking project is done by Arduino Uno. it is very simple but has many features like slot availability in the parking automatic gate.

Whenever a car comes to the parking gate the sensor will read this and open the gate if there is a slot available. also, there we are using a 16×2 LCD display which displays every information of the system likewise how many slots available, How many cars are inside the parking, etc.
Introduction
A car parking project is a system that optimizes the things in parking also it can reduce manpower because there is a sensor-based toll gate that can automatically open and close.and many of time we entered in the parking but due to no parking space availability we loss our time. so, to save this time this parking project can also help us.
In this project, we will make the connection and code first then assembled the whole system on the cardboard for a better look and work. To make this awesome car parking project you need to know some electronic basic knowledge and programming. but if you are new to all this stuff you can learn from our website only you need to go to the home page and everything can be available there.

So, there I added some steps to make this project like construction, components required, circuit, and code. and troubleshooting.
Components required
- Arduino Uno
- IR sensor
- Servo motor
- jumper wires
- LCD 16×2
- I2C module for LCD
Arduino Uno is an atmega328p ic-based microcontroller that works like a brain in this Car parking project which got the input from the sensor and sends the instruction to the LCD and servo motor. If you want more information about Arduino you can learn it from our previous article on Arduino.
IR sensor is an infrared sensor which has two components one is a transmitter and another is receiver transmitter transmit the signal and receiver receive the transmitted wave which is reflect back from the car and any other vehicle. and this sensor send this information to the arduino

Servo motors are the special types of motors used for precise work like how many degrees you want to rotate which can do by a servo motor. there is a lot of servo motor different in size, torque and power application.
I2C module for LCD display is very useful now a days it help to make the connections because there is more the 10 wires in the LCD display which acquired more pins in the arduino that’s why we use this i2c module to make the connections and code easy, only you have to install the i2c LCD library.
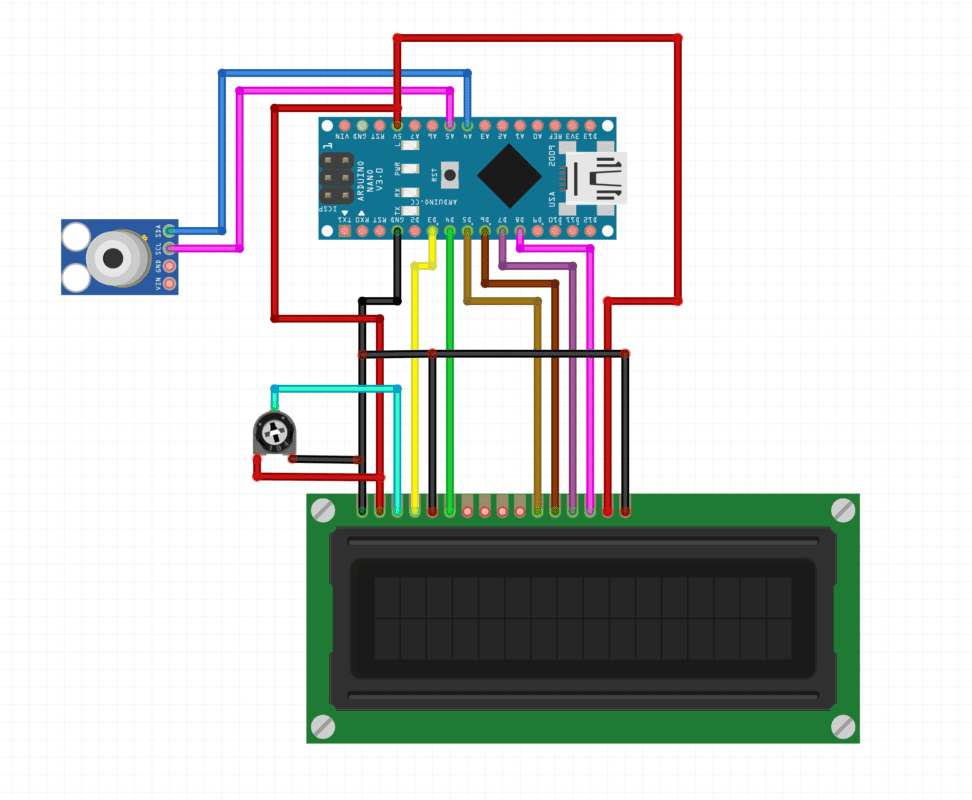
Now we have to make the connection according to the circuit diagram.
Car Parking Project Circuit Diagram

Make all the connections according to the given Circuit diagram and upload the given code.
Car Parking Project Code
To make the code you need to Gate the I2C address of your LCD. the address may differ for each i2c module so, you need to get he i2c address first, we have given the code below to get the code. but first you have to download and install the library for I2C communication protocol.
I2C address code.

// --------------------------------------

// i2c_scanner

//

// Version 1

//    This program (or code that looks like it)

//    can be found in many places.

//    For example on the Arduino.cc forum.

//    The original author is not known.

// Version 2, Juni 2012, Using Arduino 1.0.1

//     Adapted to be as simple as possible by Arduino.cc user Krodal

// Version 3, Feb 26  2013

//    V3 by louarnold

// Version 4, March 3, 2013, Using Arduino 1.0.3

//    by Arduino.cc user Krodal.

//    Changes by louarnold removed.

//    Scanning addresses changed from 0...127 to 1...119,

//    according to the i2c scanner by Nick Gammon

//    https://www.gammon.com.au/forum/?id=10896

// Version 5, March 28, 2013

//    As version 4, but address scans now to 127.

//    A sensor seems to use address 120.

// Version 6, November 27, 2015.

//    Added waiting for the Leonardo serial communication.

//

//

// This sketch tests the standard 7-bit addresses

// Devices with higher bit address might not be seen properly.

//

#include <Wire.h>

void setup() {

  Wire.begin();

  Serial.begin(9600);

  while (!Serial); // Leonardo: wait for Serial Monitor

  Serial.println("\nI2C Scanner");

}

void loop() {

  int nDevices = 0;

  Serial.println("Scanning...");

  for (byte address = 1; address < 127; ++address) {

    // The i2c_scanner uses the return value of

    // the Wire.endTransmission to see if

    // a device did acknowledge to the address.

    Wire.beginTransmission(address);

    byte error = Wire.endTransmission();

    if (error == 0) {

      Serial.print("I2C device found at address 0x");

      if (address < 16) {

        Serial.print("0");

      }

      Serial.print(address, HEX);

      Serial.println("  !");

      ++nDevices;

    } else if (error == 4) {

      Serial.print("Unknown error at address 0x");

      if (address < 16) {

        Serial.print("0");

      }

      Serial.println(address, HEX);

    }

  }

  if (nDevices == 0) {

    Serial.println("No I2C devices found\n");

  } else {

    Serial.println("done\n");

  }

  delay(5000); // Wait 5 seconds for next scan

}
After uploading this code open the serial monitor and note the I2C address. now we given the project code and where you need to replace the notes code.
Smart Car Parking Project Code
// TECHATRONIC.COM

 // I2C LIBRARY

 //https://github.com/fdebrabander/Arduino-LiquidCrystal-I2C-library

 #include <Wire.h>

 #include <LiquidCrystal_I2C.h>

 LiquidCrystal_I2C lcd(0x27,16,2);

 #include <Servo.h>

 Servo myservo1;

 int IR1 = 4; // IR Sensor 1

 int IR2 = 7; // IR Sensor 2

 int Slot = 4;      //Enter Total number of parking Slots

 int flag1 = 0;

 int flag2 = 0;

 void setup()

 {

  lcd.init();

  lcd.backlight();

 pinMode(IR1, INPUT);

 pinMode(IR2, INPUT);

 myservo1.attach(9);

 myservo1.write(100);

 lcd.setCursor (0,0);

 lcd.print("   ARDUINO  ");

 lcd.setCursor (0,1);

 lcd.print(" PARKING SYSTEM ");

 delay (2000);

 lcd.clear();

 }

 void loop(){

 if(digitalRead (IR1) == LOW && flag1==0){

 if(Slot>0){flag1=1;

 if(flag2==0){myservo1.write(0); Slot = Slot-1;}

 }else{

 lcd.setCursor (0,0);

 lcd.print("  SORRY :(  ");

 lcd.setCursor (0,1);

 lcd.print(" Parking Full ");

 delay (3000);

 lcd.clear();

 }

}

 if(digitalRead (IR2) == LOW && flag2==0){flag2=1;

 if(flag1==0){myservo1.write(0); Slot = Slot+1;}

 }

 if(flag1==1 && flag2==1){

 delay (1000);

 myservo1.write(100);

 flag1=0, flag2=0;

 }

 lcd.setCursor (0,0);

 lcd.print("  WELCOME!  ");

 lcd.setCursor (0,1);

 lcd.print("Slot Left: ");

 lcd.print(Slot);

 }
So, here we have given the final code after uploading this code to test your project. there are two IR sensors the first sensor is connected the pin 4 and it should be placed before the servo motor and the second its sensor sh


