
Table of Contents
Introduction
Hey guys, welcome back to Techatronic.
Are you getting bored of entering the password again and again to unlock your PC? Well, we have a solution for this.
Let’s make a project in which you have to tap a smart card to the RFID reader module to unlock your PC. We are going to make windows login RFID project using Arduino UNO.
Apart from it,
you can also sign in to various applications. You just need to provide the id and password of the application to the Arduino.
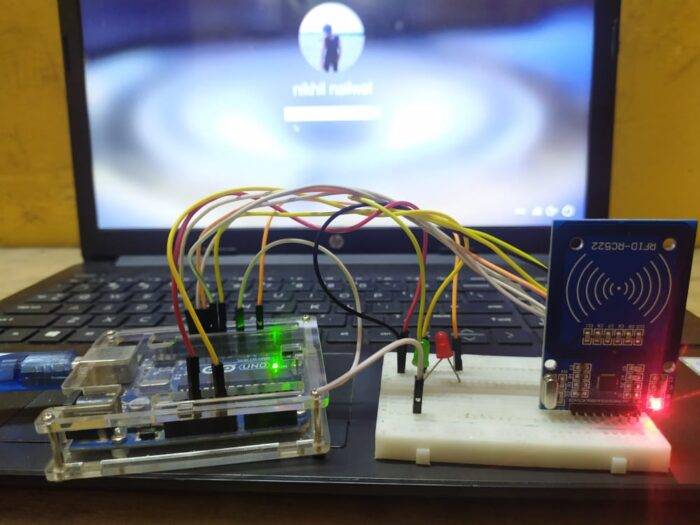
You can also check out more mini projects and final year projects made by us. The basic working principle of this project is that we are using the Arduino as a keyboard and tapping the smart card automatically enters the password given by us.
The code and the circuit diagram for the project are given below.
How to Set up the Software for the Rfid project
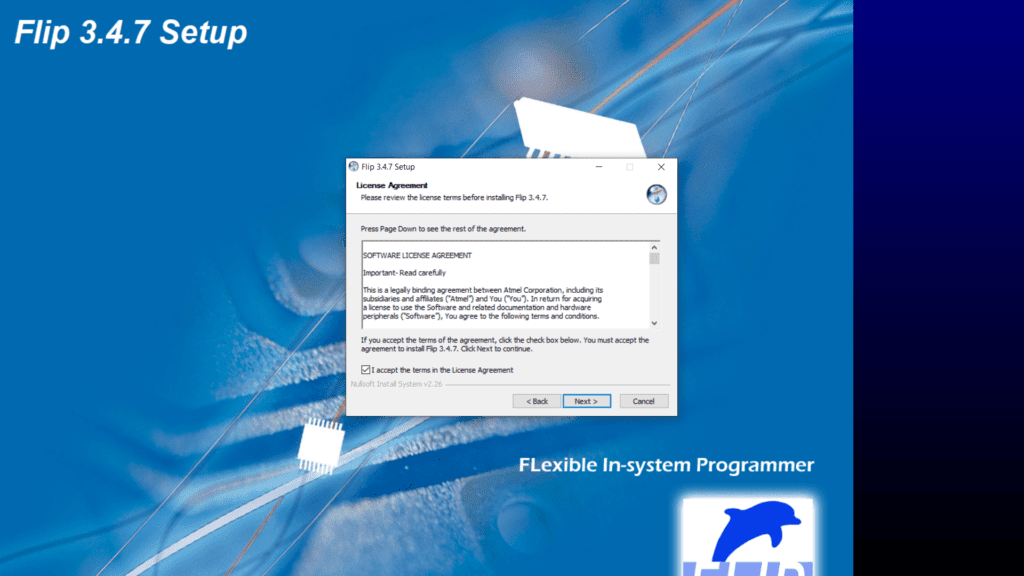
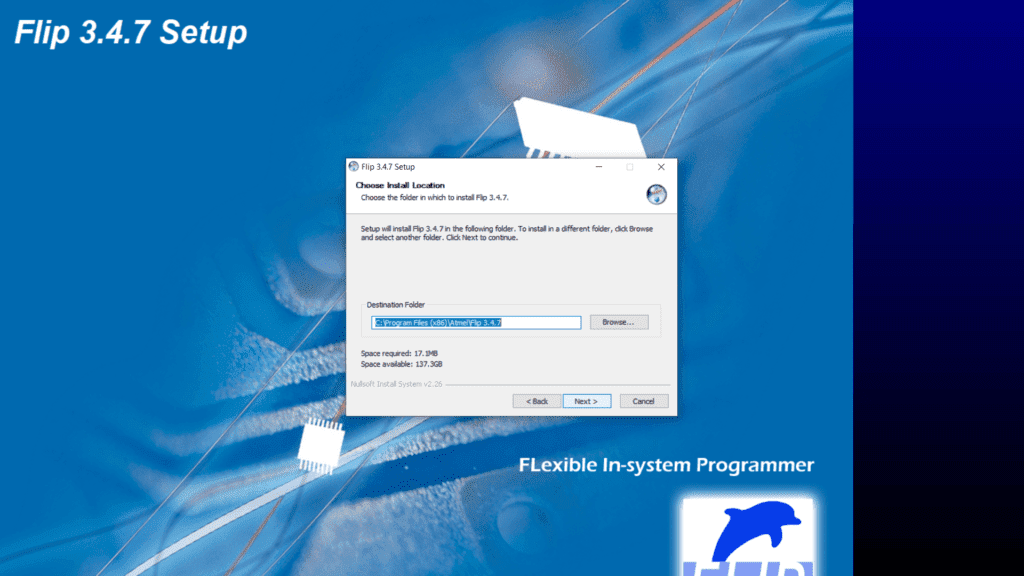
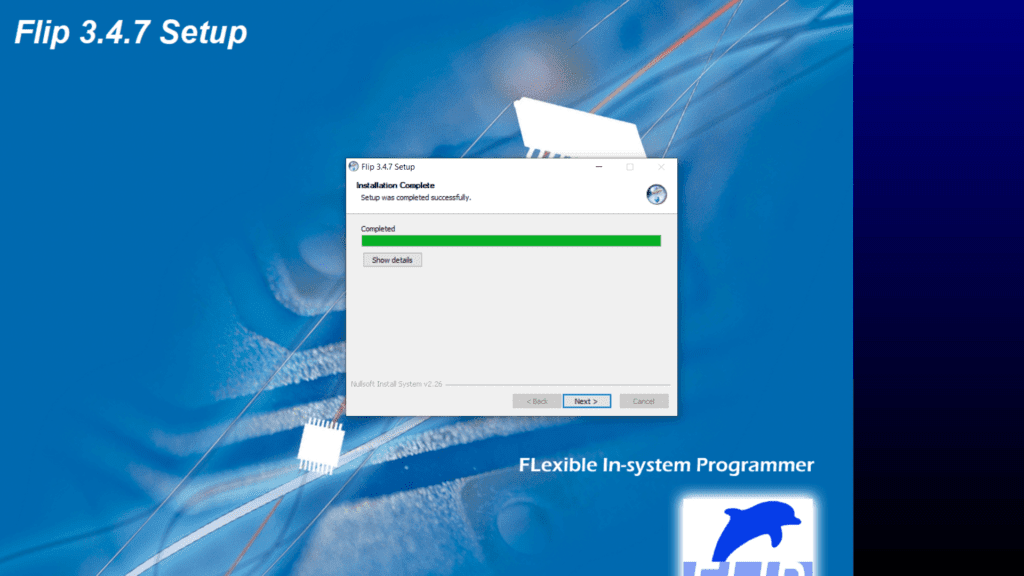
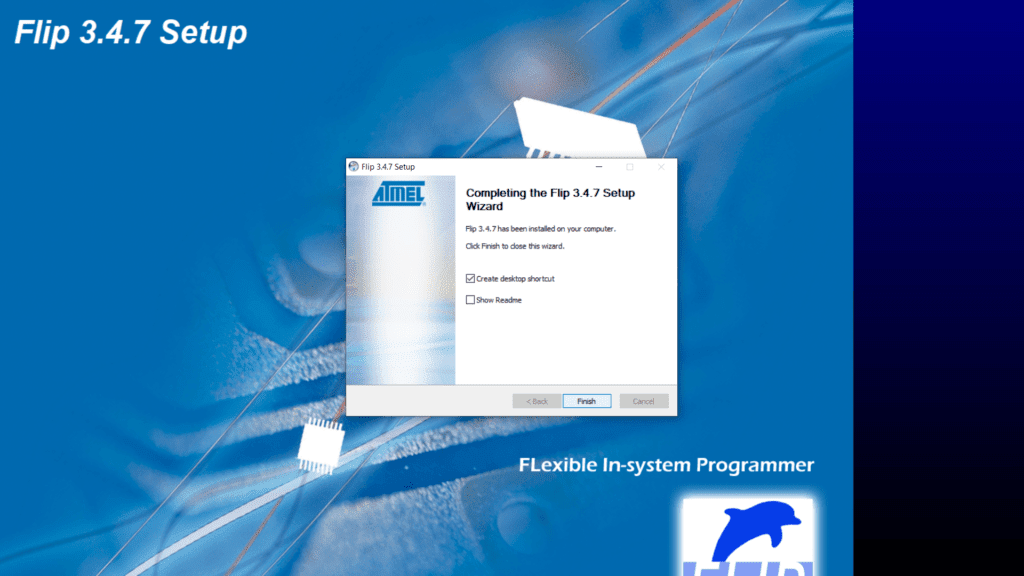
First of all, you have to download the flip software into your windows machine and then install it.
Here are some screenshots, you can refer to them if you don’t know how to set up the flip software.
After it please install the java runtime set up so that the flip software can perform its task easily.
You can refer to the screenshots given below if you cannot install the java runtime setup.


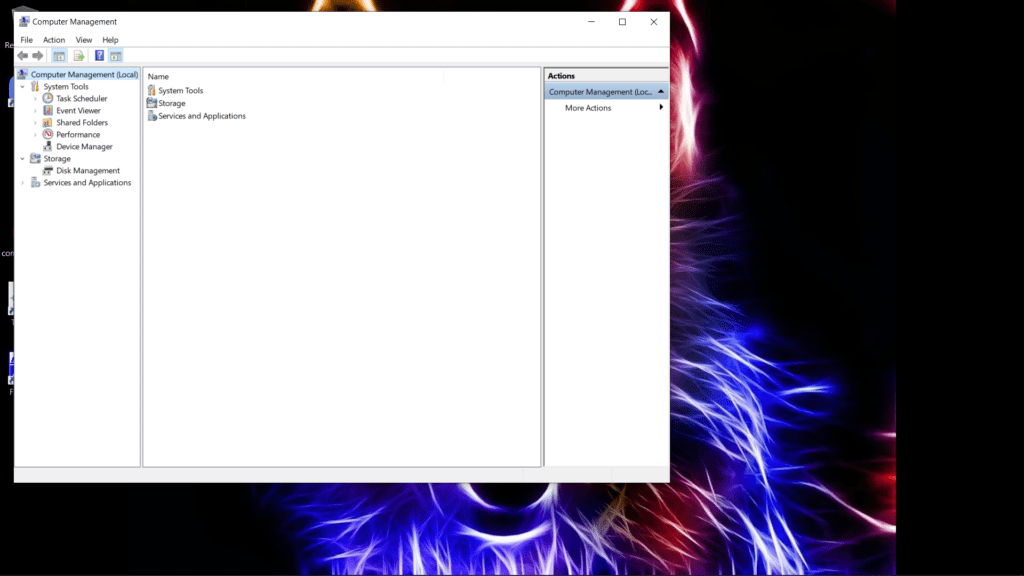
After the installation of both the software upload the given code to the Arduino and make the proper connections. Then open the computer management and open the device manager as shown below.
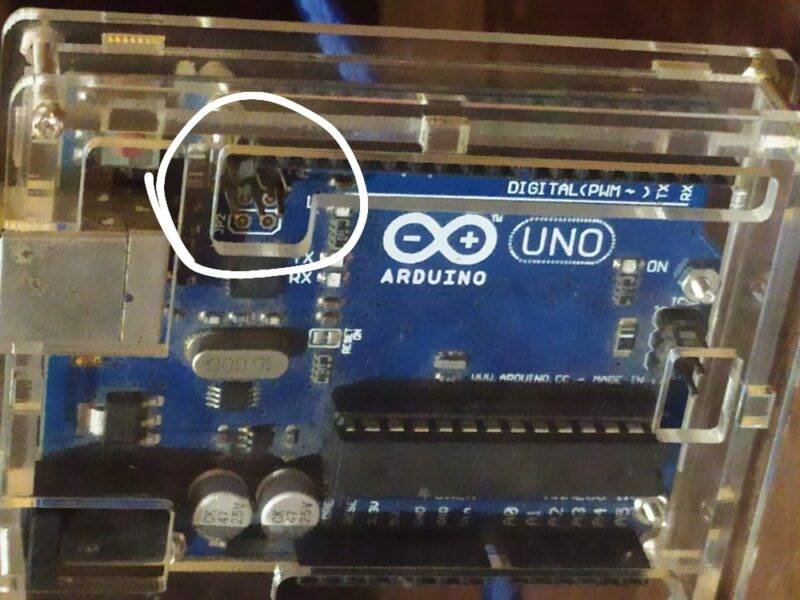
Touch the top two pins of Arduino with each other so that you can enter into DFU mode. Then you will see the Arduino board under USB devices in the device manager.
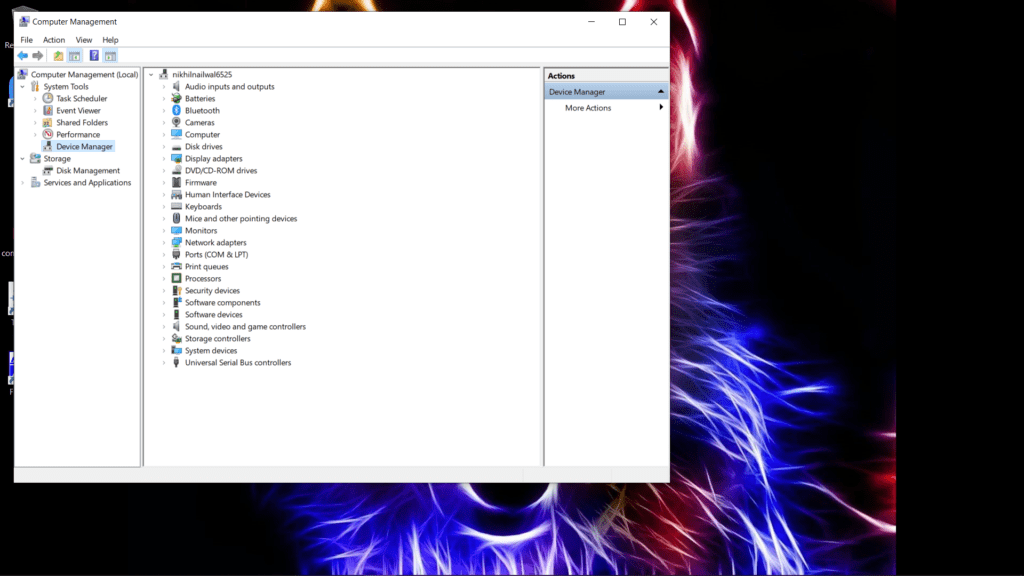
Click on it and select update driver. It will ask you for the path of the new driver then first of all download the given driver and select its path. After changing the driver successfully close this window and return to the home screen.

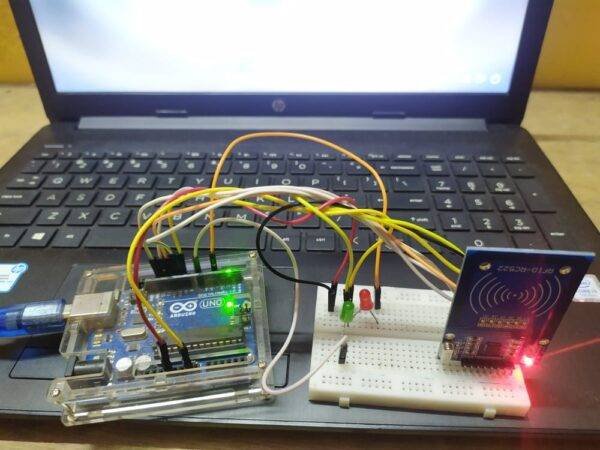
Download this file which is used for turning the Arduino into a keyboard (turnintokeyboard). This file will run in CMD (command window). After this eject your USB cable of the Arduino and plug it again. Now your system will identify the Arduino as a keyboard device. Just tap the card to the reader module and your system will unlock itself. If you tap the correct RFID tag then the green LED will go on and if the card id doesn’t match then the red LED will go on.
NOTE: If you don’t want to use the Arduino as a keyboard, run the bat file whose name is turning Arduino. Eject and plug in the USB again so that the Arduino will become a normal USB device.
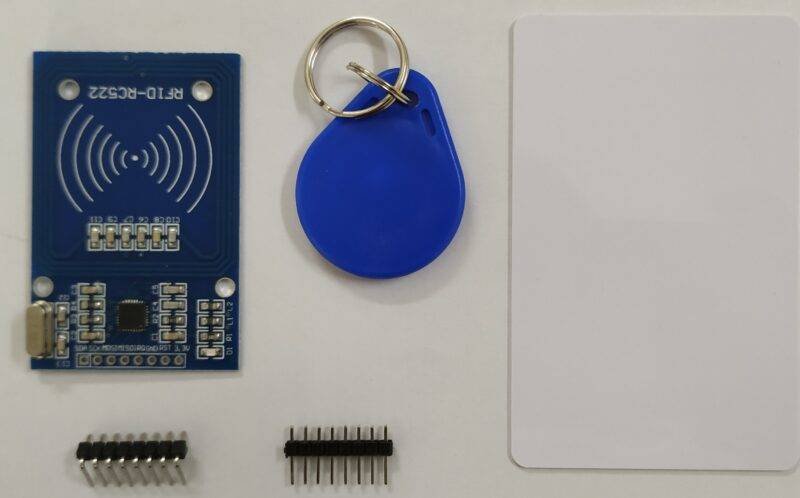
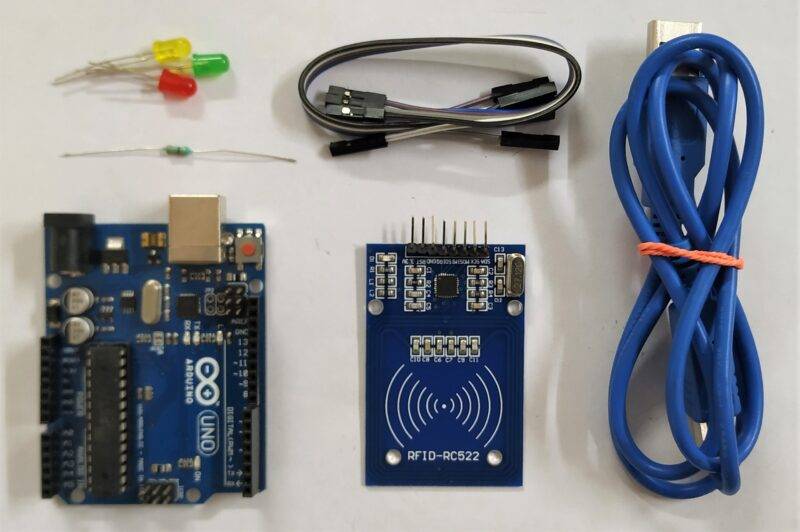
Components Required
| Arduino UNO | BUY LINK |
| RC522 RFID module | BUY LINK |
| Jumper wires | BUY LINK |
| breadboard | BUY LINK |
| Red and green LEDs | BUY LINK |
| USB cable for uploading the code | BUY LINK |
Circuit Diagram for RFID project Windows Login

Connection Table
| Arduino UNO | RFID – RC522 Module | ||
| 10 Pin | SDA Pin | ||
| 13 Pin | SCK Pin | ||
| 11 Pin | MOSI Pin | ||
| 12 Pin | MISO Pin | ||
| NO Pin | ITQ Pin | ||
| GND | GND | ||
| RST Pin | RST Pin | ||
| 3.3 V Pin | 3.3 V | ||
| Arduino UNO | LED G | LED R | 220-ohm Resistor |
| 4 Pin | Anode Pin | ||
| 7 Pin | Anode Pin | ||
| GND | Terminal 1 | ||
| Cathode Pin | Cathode Pin | Terminal 2 |
Code for RFID Windows Login
NOTE: Please upload the code which is given below to the Arduino. You have to install <SPI.h> and <MFRC522.h> libraries into your IDE software. Check here to learn how to install a zip library to the Arduino IDE.
Modify the code by changing the password for your windows machine. Also, provide the key for the smart card that you are using. You can view the unique id for your smart card by using one of our articles on it.
 //Techatronic.com
 uint8_t buf[8] = { 0 };
 #include <SPI.h>
 #include <MFRC522.h> // RFID library
 #define SS_PIN 10 //RX slave select
 #define RST_PIN 9
 int gled = 7; // optional
 int rled = 4;// optional
 MFRC522 mfrc522(SS_PIN, RST_PIN); // Create MFRC522 instance.
 String card_ID=""; //
 String password="xxxxxxxxxxxxxx" ; // Change It To Your Windows / fb / any Account's Password
 String rfid="xxxxxxxxxxxxxx";// UID (unique Id Code Of Your Rfid Tag)
 void setup() {
  Serial.begin(9600); // Initialize serial communications with the PC
  SPI.begin(); // Init SPI bus
  mfrc522.PCD_Init(); // Init MFRC522 card
  pinMode(gled,OUTPUT);
  pinMode(rled,OUTPUT);
 }
 void loop() {
  //look for new card
   if ( ! mfrc522.PICC_IsNewCardPresent()) {
  return;
  }
  if ( ! mfrc522.PICC_ReadCardSerial()) {
  return;//if read card serial(0) returns 1, the uid struct contians the ID of the read card.
  }
  for (byte i = 0; i < mfrc522.uid.size; i++) {
   card_ID += mfrc522.uid.uidByte[i];
  }
  Serial.println(card_ID);
     if(card_ID==rfid){digitalWrite(gled,HIGH);
    typeLiteralString(password);
    pressKey("enter"); releaseKey("enter");
    digitalWrite(gled,LOW); delay(200);digitalWrite(gled,HIGH); delay(200);digitalWrite(gled,LOW);
    }
    if(card_ID!=password){
 digitalWrite(rled,HIGH);  digitalWrite(rled,LOW); delay(200);digitalWrite(rled,HIGH); delay(200);digitalWrite(rled,LOW); }   else{ goto cont;}
 delay(1000);
 cont:
 delay(1000);
 card_ID="";
 }
 boolean isModifier(int keycode) {
   boolean result = false;
   if (keycode >= 224 && keycode <= 231) { // if the keycode is a modifier key
     result = true;
   }
   return result;
 }
 void pressModifier(String keyname) {
   pressModifier(getKeycode(keyname));
 }
 void pressModifier(int keycode) {
   int modifiermask = 0;
   if (isModifier(keycode)) { // if the keycode represents a modifier key
     modifiermask = getModifierMask(keycode);
     buf[0] = buf[0] | modifiermask;
     Serial.write(buf, 8); // Send key report
   }
 }
 void releaseModifier(String keyname) {
   releaseModifier(getKeycode(keyname));
 }
 void releaseModifier(int keycode) {
   int modifiermask = 0;
   if (isModifier(keycode)) { // if the keycode represents a modifier key
     modifiermask = getModifierMask(keycode);
     buf[0] = buf[0] & (~modifiermask);
     Serial.write(buf, 8); // Send key report
   }
 }
 void releaseAllModifiers() {
   buf[0] = B00000000;
   Serial.write(buf, 8); // Send key report
 }
 void pressKey(String keyname) {
   pressKey(getKeycode(keyname));
 }
 void pressKey(int keycode) { // TODO: cycle the 6 key spots in the report buffer instead of just using buf[2] each time.
   buf[2] = keycode;
   Serial.write(buf, 8); // Send key report
 }
 void releaseKey(String keyname) {
   releaseKey(getKeycode(keyname));
 }
 void releaseKey(int keycode) {
   // find the keycode in the report buffer, then set it to zero.
   int i=0;
   for (i=2; i<8; i++) {
     if (buf[i] == keycode) {
       buf[i] = 0;
     }
   }
   Serial.write(buf, 8); // Send key report
 }
 void releaseAllKeys() {
   int i=0;
   for (i=2; i<8; i++) {
     buf[i] = 0;
   }
   Serial.write(buf, 8); // Send key report
 }
 void pressSequenceOfKeys(const char * keySequence[], int numberOfKeys) {
   // This function can be good for pressing a few keys while holding a modifier down for example.
   int i = 0;
   for (i=0; i<numberOfKeys; i++) {
     pressKey(keySequence[i]);
     releaseKey(keySequence[i]);
   }
 }
 void typeLiteralString(String string) {
   char charArray[string.length()+1];
   string.toCharArray(charArray, string.length()+1);
   typeLiteralString(charArray, string.length());
 }
 void typeLiteralString(char string[], int stringLength) { // stringLength is the length of the printable string without considering the null byte.
   // This function will type the given string exactly as given, automatically pressing left_shift where necessary for capitals and symbols.
   // just in case:
   releaseAllKeys();
   releaseAllModifiers();
   boolean charNeedsShift = false;
   boolean shiftIsPressed = false;
   int i=0;
   for (i=0; i<stringLength; i++) {
     charNeedsShift = characterNeedsShift(string[i]);
     if (charNeedsShift && !shiftIsPressed) {
       pressModifier("left_shift");
       shiftIsPressed = true;
     }
     else if (!charNeedsShift && shiftIsPressed) {
       releaseModifier("left_shift");
       shiftIsPressed = false;
     }
     pressKey(String(string[i])); // without converting the char in string[i] to a String, arduino would prefer the pressKey(int) function instead of the pressKey(String) function, casting the char to a keycode (int) instead of a keyname (String).
     releaseKey(String(string[i])); // same as previous comment, but with releaseKey().
   }
   releaseAllModifiers();
 }
 boolean characterNeedsShift(char character) {
   int needsModifier = false;
   if ( // look up an ascii table and this will make sense.
     (character >= 33 && character <= 38)
     || (character >= 40 && character <= 43)
     || (character == 58)
     || (character == 60)
     || (character >= 62 && character <= 90)
     || (character >= 94 && character <= 95)
     || (character >= 123 && character <= 126)
   ) {
     needsModifier = true;
   }
   return needsModifier;
 }
 int getKeycode(String keyname) {
   String key = String(keyname); // Use a copy so that we don't mutate the user's String. Not sure if this is needed, but just in case. TODO: find out.
   key.toLowerCase();
   int keycode = 0; // keycode of zero means nothing pressed.
   // non-modifier keys
   if   (key == "a") { keycode = 4; }
   else if (key == "b") { keycode = 5; }
   else if (key == "c") { keycode = 6; }
   else if (key == "d") { keycode = 7; }
   else if (key == "e") { keycode = 8; }
   else if (key == "f") { keycode = 9; }
   else if (key == "g") { keycode = 10; }
   else if (key == "h") { keycode = 11; }
   else if (key == "i") { keycode = 12; }
   else if (key == "j") { keycode = 13; }
   else if (key == "k") { keycode = 14; }
   else if (key == "l") { keycode = 15; }
   else if (key == "m") { keycode = 16; }
   else if (key == "n") { keycode = 17; }
   else if (key == "o") { keycode = 18; }
   else if (key == "p") { keycode = 19; }
   else if (key == "q") { keycode = 20; }
   else if (key == "r") { keycode = 21; }
   else if (key == "s") { keycode = 22; }
   else if (key == "t") { keycode = 23; }
   else if (key == "u") { keycode = 24; }
   else if (key == "v") { keycode = 25; }
   else if (key == "w") { keycode = 26; }
   else if (key == "x") { keycode = 27; }
   else if (key == "y") { keycode = 28; }
   else if (key == "z") { keycode = 29; }
   else if (key == "1" || key == "!") { keycode = 30; }
   else if (key == "2" || key == "@") { keycode = 31; }
   else if (key == "3" || key == "#") { keycode = 32; }
   else if (key == "4" || key == "$") { keycode = 33; }
   else if (key == "5" || key == "%") { keycode = 34; }
   else if (key == "6" || key == "^") { keycode = 35; }
   else if (key == "7" || key == "&") { keycode = 36; }
   else if (key == "8" || key == "*") { keycode = 37; }
   else if (key == "9" || key == "(") { keycode = 38; }
   else if (key == "0" || key == ")") { keycode = 39; }
   else if (key == "enter" || key == "return")   { keycode = 40; }
   else if (key == "escape" || key == "")  { keycode = 41; }
   else if (key == "backspace" || key == "") { keycode = 42; }
   else if (key == "tab" || key == " ")   { keycode = 43; }
   else if (key == "space" || key == " ")   { keycode = 44; }
   else if (key == "-" || key == "_") { keycode = 45; }
   else if (key == "=" || key == "+") { keycode = 46; }
   else if (key == "[" || key == "{") { keycode = 47; }
   else if (key == "]" || key == "}") { keycode = 48; }
   else if (key == "\\" || key == "|") { keycode = 49; }
   else if (key == ";" || key == ":") { keycode = 51; }
   else if (key == "'" || key == "\"") { keycode = 52; }
   else if (key == "`" || key == "~") { keycode = 53; }
   else if (key == "," || key == "<") { keycode = 54; }
   else if (key == "." || key == ">") { keycode = 55; }
   else if (key == "/" || key == "?") { keycode = 56; }
   // TODO: Fix these keycodes. V
   else if (key == "capslock")     { keycode = 58; }
   else if (key == "f1")   { keycode = 59; }
   else if (key == "f2")   { keycode = 60; }
   else if (key == "f3")   { keycode = 61; }
   else if (key == "f4")   { keycode = 62; }
   else if (key == "f5")   { keycode = 63; }
   else if (key == "f6")   { keycode = 64; }
   else if (key == "f7")   { keycode = 65; }
   else if (key == "f8")   { keycode = 66; }
   else if (key == "f9")   { keycode = 67; }
   else if (key == "f10")   { keycode = 68; }
   else if (key == "f11")   { keycode = 69; }
   else if (key == "f12")   { keycode = 70; }
   else if (key == "print_screen")  { keycode = 70; }
   else if (key == "scroll_lock")   { keycode = 71; }
   else if (key == "pause")      { keycode = 72; }
   else if (key == "insert")     { keycode = 73; }
   else if (key == "home")      { keycode = 74; }
   else if (key == "page_up")     { keycode = 75; }
   else if (key == "delete")     { keycode = 76; }
   else if (key == "end")       { keycode = 77; }
   else if (key == "page_down")    { keycode = 78; }
   else if (key == "right_arrow")   { keycode = 79; }
   else if (key == "left_arrow")   { keycode = 80; }
   else if (key == "down_arrow")   { keycode = 81; }
   else if (key == "up_arrow")    { keycode = 82; }
   else if (key == "numlock" || key == "clear")  { keycode = 83; }
   //TODO: keypad and miscellaneous keys if you want them.
   // modifier keys.
   else if (key == "left_control") { keycode = 224; }
   else if (key == "left_shift")  { keycode = 225; }
   else if (key == "left_alt")   { keycode = 226; }
   else if (key == "left_gui")   { keycode = 227; }
   else if (key == "right_control") { keycode = 228; }
   else if (key == "right_shift")  { keycode = 229; }
   else if (key == "right_alt")   { keycode = 230; }
   else if (key == "right_gui")   { keycode = 231; }
   return keycode;
 }
 int getModifierMask(String keyname) {
   return getModifierMask(getKeycode(keyname));
 }
 int getModifierMask(int keycode) { // return value of 0 means key is not a modifier.
   int modifiermask = 0;
   // NOTE: these are not the usage keycodes like for other keys, but rather the bit masks.
   if   (keycode == 224) { modifiermask = B00000001; } // left ctrl
   else if (keycode == 225) { modifiermask = B00000010; } // left shift
   else if (keycode == 226) { modifiermask = B00000100; } // left alt
   else if (keycode == 227) { modifiermask = B00001000; } // left gui
   else if (keycode == 228) { modifiermask = B00010000; } // right ctrl
   else if (keycode == 229) { modifiermask = B00100000; } // right shift
   else if (keycode == 230) { modifiermask = B01000000; } // right alt
   else if (keycode == 231) { modifiermask = B10000000; } // right gui
   return modifiermask;
 }
We hope that you like this project and if you have any doubts about this project, feel free to use the comments section given below. You can also read tutorials on Arduino and Raspberry Pi.
HAPPY LEARNING!