
Hey guys, welcome back to Techatronic. In this post, we are going to make an Arduino servo control using a potentiometer. Well you can control a servo motor direct using any microcontroller board i.e. you don’t need any driver module for it, but only when you are using low power servo motor. We are using a potentiometer to control the position of the servo motor shaft. You can also check more articles based on IoT and basic electronics. All the necessary details are given below in the article, just follow the given steps and upload the code to the Arduino.
Description

- You can control the rotation of a servo motor direct using an Arduino but in this project, you can manually change the position of the servo motor shaft by just rotating the potentiometer.
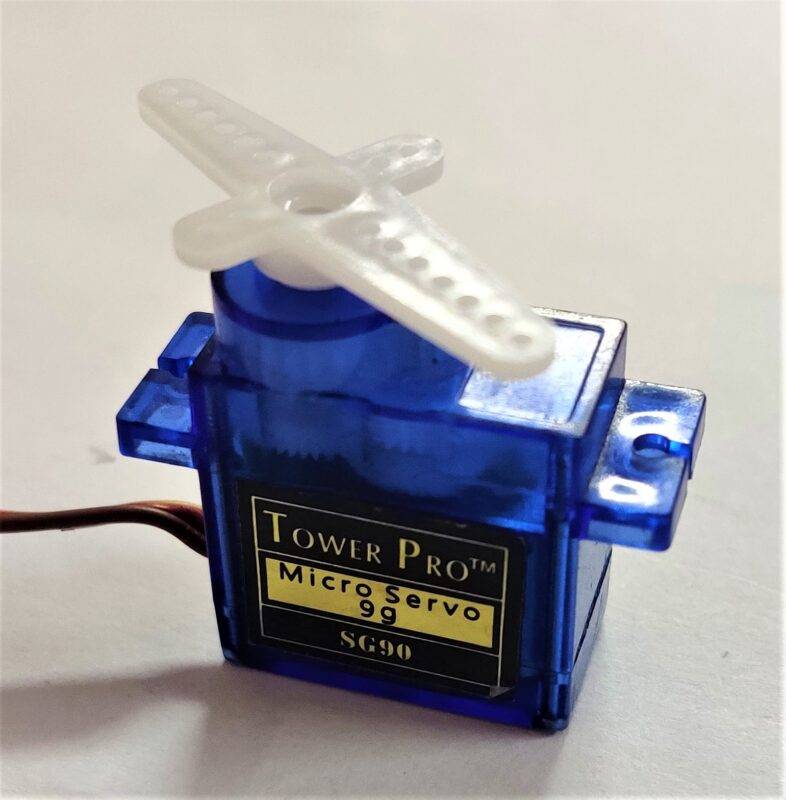
- As you already know that a servo motor can rotate between 0 degrees to 180 degrees.
- If you don’t know what a servo motor is and how it works then check out it first for a better understanding.
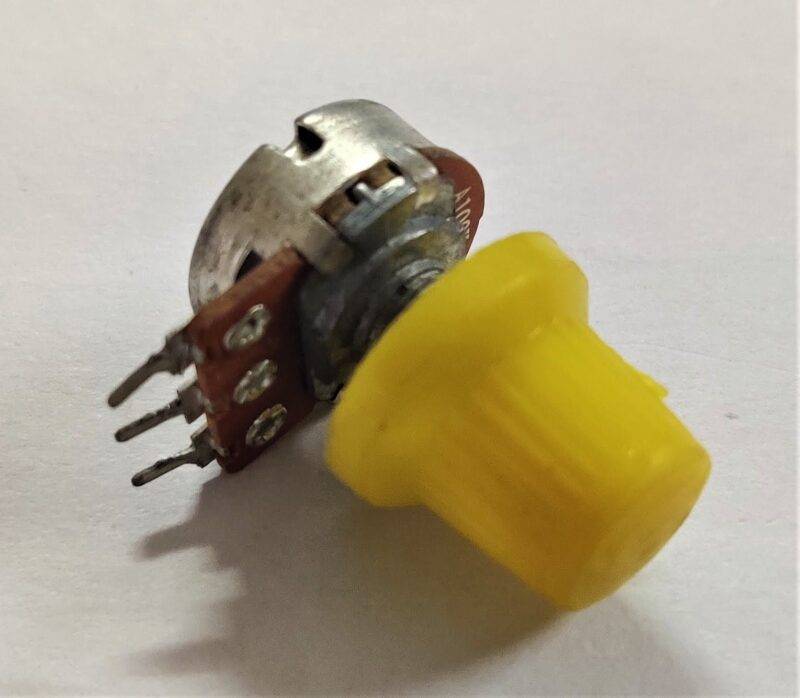
- A potentiometer is an electronic device that can be used as a variable resistor in any circuit.
- It has three legs and a knob which we can use to control the flow of current through it.
- When you rotate the knob of the potentiometer the shaft of the servo motor also starts moving in the same direction i.e. clockwise or anticlockwise.
Working of Servo Motor Arduino & Potentiometer
- In this section let us discuss the working and flow of the code.
- First of all, we declare two variables of type servo and integer.
- Then with the help of attach function, we are defining the signal pin of the servo.
- In the loop function, we are collecting the values for the potentiometer and mapping them to the servo motor so that it can respond to the position values accordingly.
- This process is very quick and continuous.
- You can change the code and add more functions and features to this project as per your need.
- check our security project with servo motor RFID Lock System With Servo Using Arduino.
Components Required Servo Motor Arduino & Potentiometer

| Arduino uno | BUY LINK |
| Jumper wire | BUY LINK |
| Breadboard | BUY LINK |
| servo motor | BUY LINK |
| potentiometer | BUY LINK |
| USB cable for uploading the code | BUY LINK |
Circuit Diagram of servo motor arduino


- Make the connections according to the given circuit diagram.
- There are three wires coming out from the servo motor of which two are for power and one is for the control signals.
- Connect the positive wire of the servo motor with the 5volts pin of the Arduino UNO and the negative wire of the servo motor with the GND pin of the Arduino.
- Join the signal wire of the servo motor with the digital-3 pin of the Arduino.
- Now, make the connections for the potentiometer.
- A potentiometer has three legs, the middle leg provides the output and the other two are for the power supply.
- Connect the positive leg (VCC) of the potentiometer with the 5volts pin of the Arduino.
- Join the negative leg (GND) of the potentiometer with the GND pin of the Arduino.
- Attach the out leg of the potentiometer with the analog-0 pin of the Arduino.
- Your circuit is complete now and you can proceed with the next steps. also check the iot projects.

Code of servo motor arduino
NOTE: Please upload this code to the Arduino. First, you have to include <Servo.h> library in your Arduino IDE software. If you don’t know how to add a zip library, you can check our detailed article on it.
#include <Servo.h> // servo library

Servo myservo;

int val;

void setup() {
  myservo.attach(3);
}

void loop() {
  val = analogRead(A0);// connect A0 pin to potentiometer
  val = map(val, 0, 1023, 0, 180);
  myservo.write(val);
  delay(20);
}
FAQ
Q1. Does the servo motor need a motor driver?
Well, you don’t need to add a motor driver to a servo motor as they need perfect PWM signals at the correct time.
Q2. What is the operating voltage of a servo motor?
It depends on the size and load drawn by a servo motor but in this project, it is 5 volts.
Q3. Why do we connect the middle pin of the potentiometer with the analog pin of the Arduino?
The potentiometer generates analog signals when someone rotates its knob thus we connect it with the analog pin so that Arduino can read the values easily.
Q4. Are servo motors AC or DC?
There are two types of servo motors, AC and DC but in this project, we are using a DC servo motor.
Q5. What is the angle of rotation in a servo motor?
It completely depends on the type of the servo motor but it is generally between 0 degrees to 180 degrees.
RFID Lock System With Servo Using Arduino
Understand working of Servo motors with Example
Gimbal Stand Using Arduino And MPU 6050 | Arduino projects
Arduino With Servo Motor Interface
Robotic Arm With Servo Motor Using Arduino
ESP8266 with servo motor | Control servo motor with esp8266
Bluetooth Controlled Servo motor project | Arduino servo motor project
We hope that you liked that projects and understand it’s working completely. Now try to make its on yourself. If you have any questions regarding to this servo project or any concept, feel free to ask them in the comments section provided below. Also, check our new project on Arduino and Raspberry Pi.
Thanks for reading.