
Introduction
Hello geeks, we are back with another new post. We are sure that you know what a gimbal is. Well, it is used by professional cameramen for recording cinematic shots or high-quality videos. So in this article, we are going to make a gimbal stand with the help of an MPU 6050 gyroscope sensor and an Arduino UNO project. This gimbal stand can rotate in different directions and for this movement, we are using two servo motors. As we use a servo motor in this stand so the movement is not as smooth as the original one. There are some special types of BLDC motors used in an original stand. You can also read articles on IoT and Basic electronics. So without wasting any more time let us start.
Description
- The gyroscope sensor is used for detecting the change in position of an object or machine.
- In our project, it is used for balancing the top angle of the gimbal using servo motors.
- When we move or tilt the sensor, it will generate some values according to the angle of the movement.
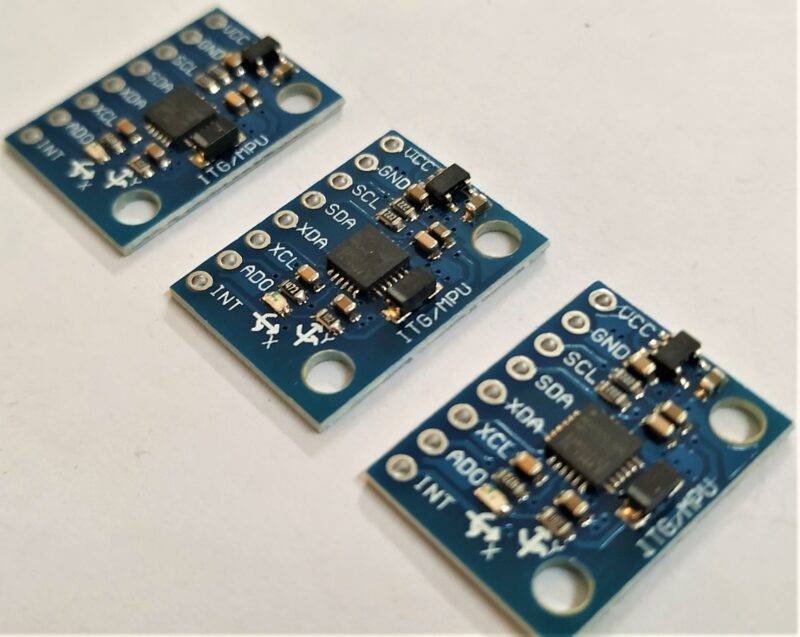
- If you are not familiar with the interfacing of an MPU 6050 gyroscope sensor with Arduino then go through it first.
- The servo motor will move as we move the sensor left, right, front, back.
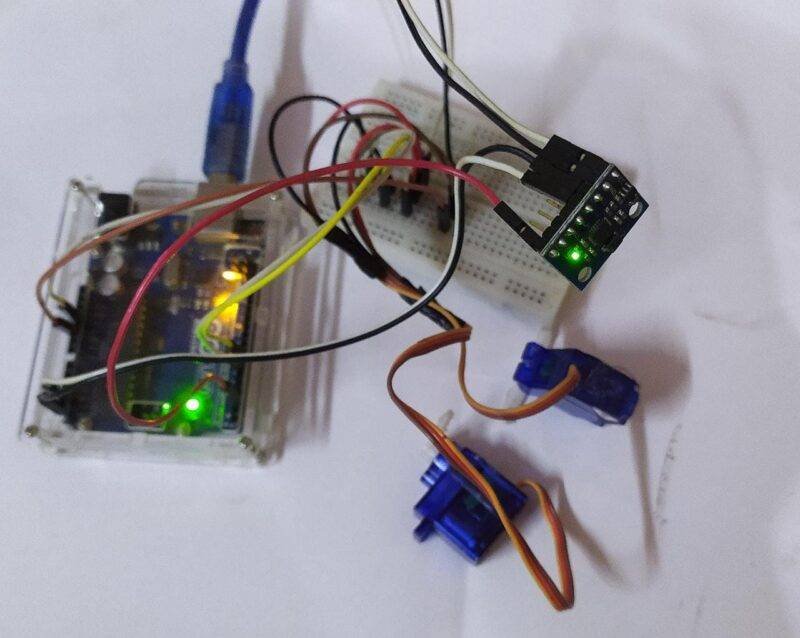
- You can use the pieces of cardboard for mounting the servo motor one over another.
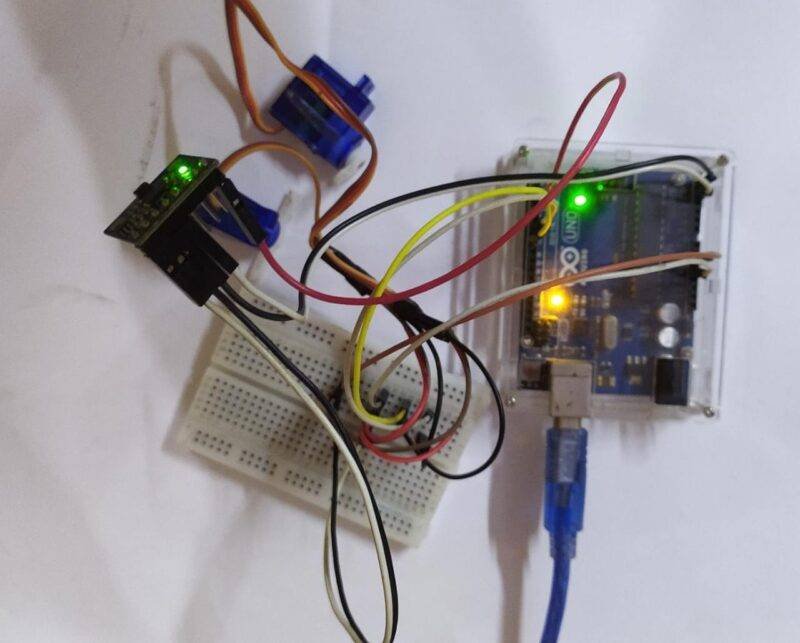
- Make the connections properly as given in the circuit diagram and then upload the code.
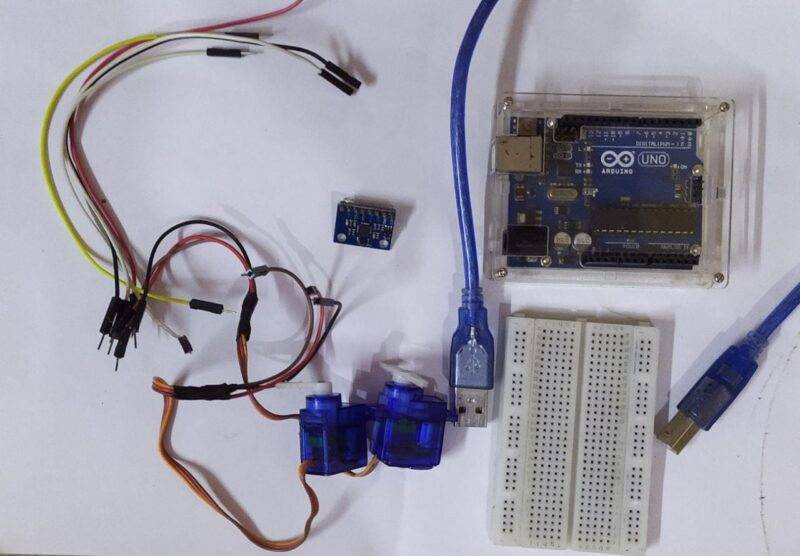
Components Required for gimble stand
| Arduino UNO | BUY LINK |
| MPU 6050 gyroscope sensor | BUY LINK |
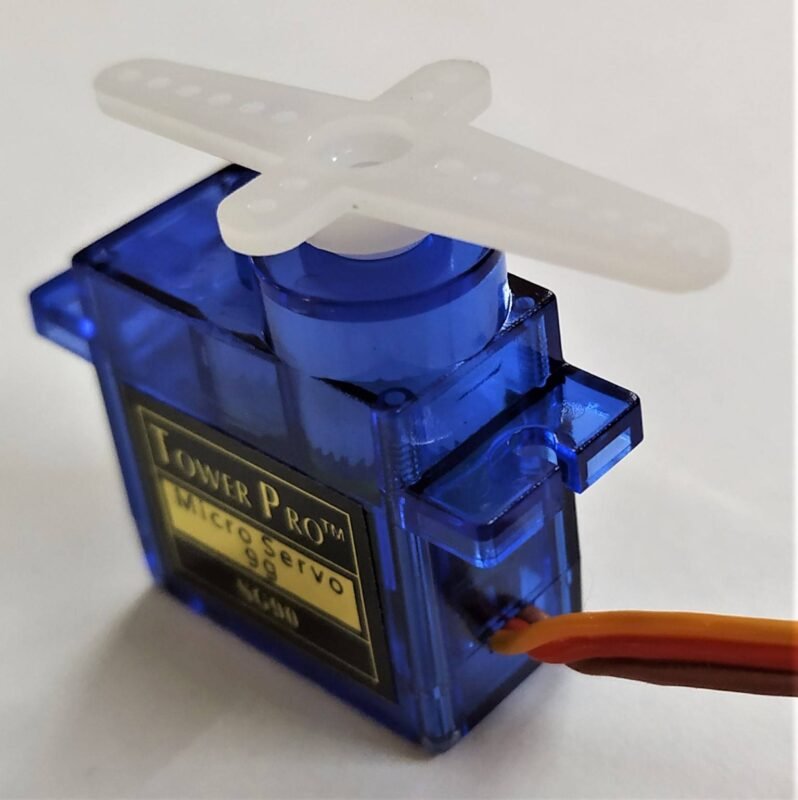
| 2. servo motors | BUY LINK |
| Jumper wires | BUY LINK |
| breadboard | BUY LINK |
| USB cable for uploading the code | BUY LINK |
Circuit Diagram for Gimbal Stand
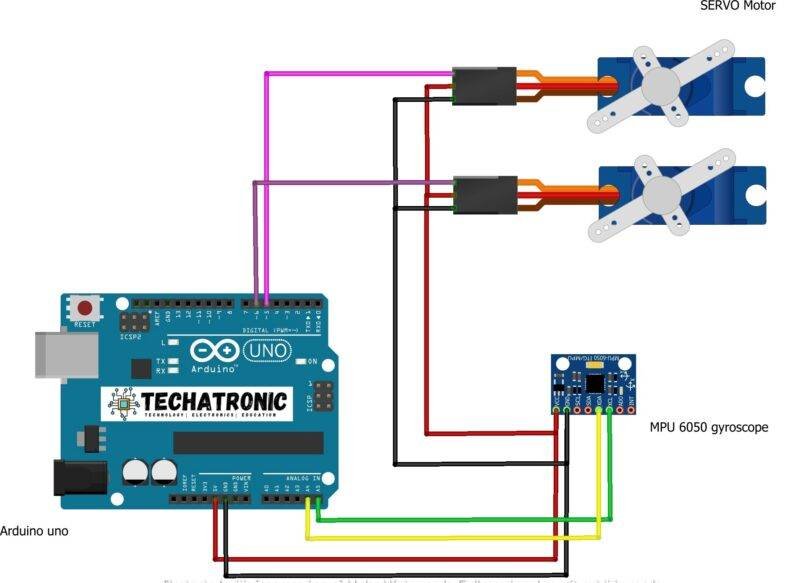
- Take two servo motors and connect their positive supply wire with the 5 volts pin of the Arduino.
- Join their negative supply wire with the GND pin of the Arduino.
- Then connect the VCC and GND pins of the MPU 6050 gyroscope sensor with the 5 volts and GND pins of the Arduino.
- Attach the SCL and SDA pins of the sensor with the SCL (Analog-5) and SDA (Analog-4) pins of the Arduino.
- Join the INT pin of the sensor with the digital-2 pin of the Arduino.
- At last, connect the signal wire of the first servo motor with the digital-6 pin of the Arduino and the signal wire of the second servo motor with the digital-5 pin of the Arduino. Your circuit is complete now.
Code for Gimbal Stand Arduino project
NOTE: Please upload this code to the Arduino UNO. You have to install <MPU6050.h>, <Wire.h>, and <Servo.h> libraries first. Check here how to add a zip library to Arduino IDE.
//Techatronic.com
#include <MPU6050.h>
#include <I2Cdev.h>
#include <Wire.h>
#include <Servo.h>

MPU6050 mpu;
int16_t ax, ay, az;
int16_t gx, gy, gz;


Servo servo1;
Servo servo2;

int val1;
int val2;
int pval1;
int pval2;


void setup() {
  Wire.begin();
  Serial.begin(115200);
  mpu.initialize();
  servo1.attach(5);
  servo2.attach(6);
}


void loop() {


  mpu.getMotion6(&ax,&ay, &az, &gx, &gy, &gz);
  val1= map(ax, -17000, 17000, 0, 179);
  if (val1 != pval1){
  servo1.write(val1);
  pval1= val1;
}
val2= map(ay, -17000, 17000, 0, 179);
if (val2 != pval2){
  servo2.write(val2);
  pval2= val2;
}
delay(5);
}
We hope that you liked this project and understand it as well. If you have any doubts regarding this project then feel free to ask them in the comments section given below. Also, do check out more articles on Arduino and Raspberry Pi.
Happy Learning!