

Hey guys, welcome back to Techatronic. Servo motor is one of the most precise motors available in the market which can rotate with the given angle. we need to give in the code part so that the motor can rotate with your instructions. here we are explaining why do we need a microcontroller to control this servo motor. there are three-pin in the servo motor two Vcc and gnd and one is a trigger or we know the data pin. Here we have the easiest and popular controller is Arduino. so that’s why we are making Arduino with a servo motor.

What is Servo motor?
Servo motor is the best motor available in the market. it is most precise in working. and works on the Coding with the data wire. We can rotate the motor at an angle. we need to mention the degree of rotation inside the code. we will share all the detail we need to make this interface. We choose Arduino with servo motor because Arduino is easily available in the market and the interface with the Arduino is very simple. there is we need a Servo library Arduino which is pre-installed in the Arduino IDE software.
Why Arduino Servo Motor Activity?
There is a lot of activity in which we need precision in Rotation. for example Obstacle avoiding robot with a neck the sensor is mounted over the servo motor so there we need a precise angle of rotation, A kinetic wall there we used 258 motors all the motors need to rotate at the certain angle. also, we have some electronic appliances in which we are using Servo motors such as AC, Cars and many more others. That’s why we need to know about the working of Servo motor.
Here we are giving you the Circuit diagram in which you need to connect only three wires of the servo motor to Arduino and make programming with the help of Software. if you want to learn Arduino programming with the best example Buy our ebook.
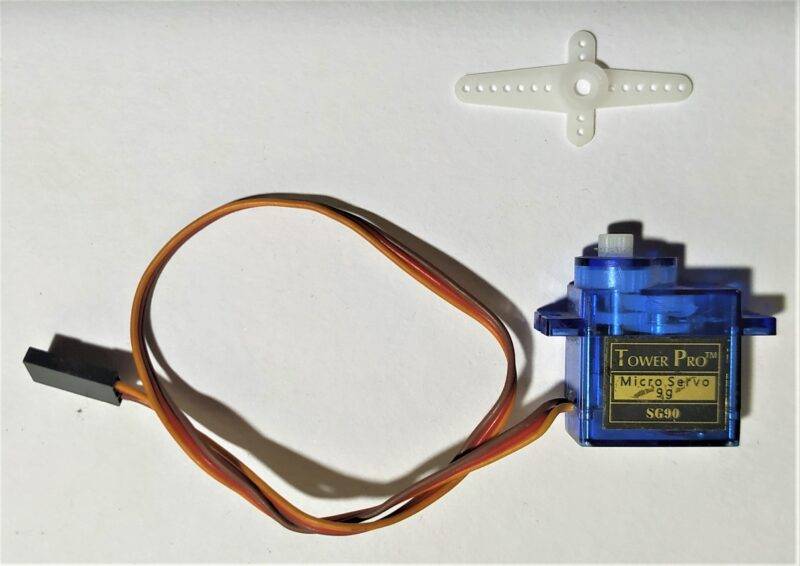
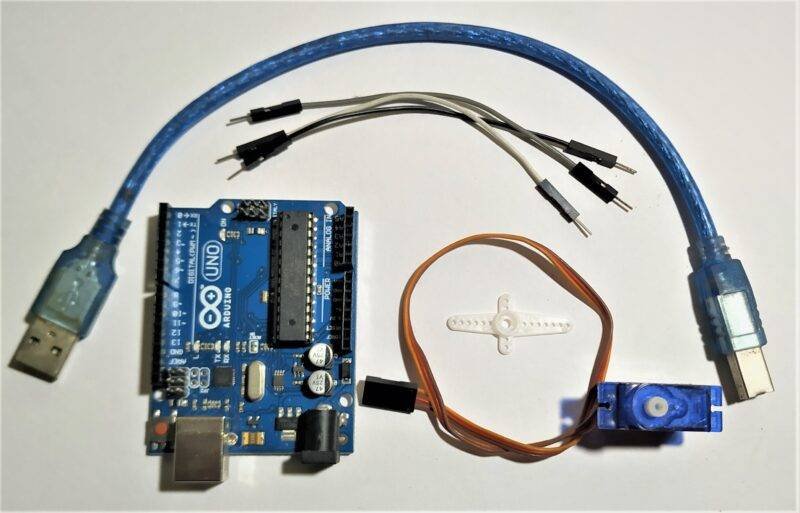
Components Required
- Arduino UNO
- USB Cable for Uploading the Code
- Jumper Wires
- Servo Motor
HOW TO CONNECT SERVO MOTORS WITH THE ARDUINO
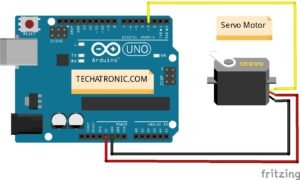
| Arduino UNO | Servo Motor |
| D3 Pin | OUT Pin ( Orange Colour ) |
| ( +5V ) VCC | VCC ( Red Colour ) |
| GND ( Ground ) | GND ( Black Colour ) |
Download Arduino IDE here :
A servo motor has everything built in a motor, a feedback circuit, and a motor driver. It just needs one power line, one ground, and one control pin to make the connection.
Following are the steps to connect a servo motor to the Arduino:
- The black wire is usually the ground, connect this to the Arduino GND.
- Connect the red power cable to 5V on the Arduino.
- Connect the remaining line from the servo connector to any digital pin on the Arduino
After all the connections, start coding on your Arduino IDE, as given below.
Servo motor Arduino code
 #include <Servo.h> // servo library
 Servo s1;
 void setup()
 {
  s1.attach(3);  // servo attach 11 pin of arduino
 }
 void loop()
 {
   s1.write(0);
   delay(2000);
   s1.write(90);
   delay(2000);
   s1.write(180);
   delay(2000);
   s1.write(90);
   delay(2000);
 }
After writing the code, upload the code in Arduino IDE. To upload well, click on the Arduino upload tutorial.
