Table of Contents
Introduction
Hey geeks, hope you are doing fine. Are you familiar with the working of a servo motor?
If not then this article is for you in which we are going to teach you how to Control servo motor with esp8266 using a nodemcu IoT development board.
Servo motor is different from an ordinary DC motor as it does not rotate continuously. You can also read our article on servo motor in which we explain the features and specifications of a servo motor.
It has an extra wire for the signal which is used to rotate the shaft in a specific direction. Also, do check out more such amazing projects on IoT and Arduino.
The detailed circuit diagram and code for the project are given below. The servo motor can also work well with the other microcontroller boards like Arduino and Raspberry pi, we have our articles on them also.
in this ESP8266 with servo motor tutorial we are going to explain how to work.
ESP8266 with servo motor Working
The main advantage of using a servo motor is that we can rotate it in any desired direction as per our needs.
A servo motor can rotate in very small as well as very large angles that are specified by us in the code.
- when we make this nodemcu with servo motor We use to attach a function to specify the pin of the nodemcu on which the signal pin of the servo motor is connected.
- The servo motor first comes to the zero position of the shaft and then after a delay of a second,
- it will move the shaft to the middle position that is ninety degrees. A
- gain after a delay of a second, the shaft will move to the position of the one-eighty degree.
- We use the write function to move the shaft of the servo motor.
- You can modify the values of the position according to you in the code.
You can also check the Robotic arm using servo motors made by us.
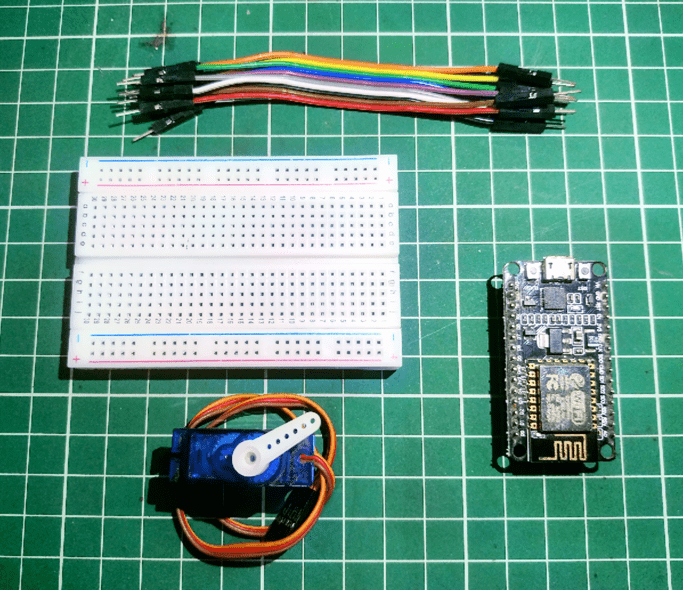
Components Required
| Nodemcu (esp8266) | BUY LINK |
| Servo motor | BUY LINK |
| Jumper wires | BUY LINK |
| USB cable for uploading the code | BUY LINK |
| Breadboard | BUY LINK |
Components Table/buy link
You can buy the whole components from the given link we have to share the amazon link. from where you can get a good discount on the components for this esp8266 tutorial.
nodemcu with servo motor Circuit Diagram

Connection Diagram
| Nodemcu esp8266 | Servo Motor |
| VV, Vin | VCC |
| G, GND | GND |
| D3 Pin | Signal |
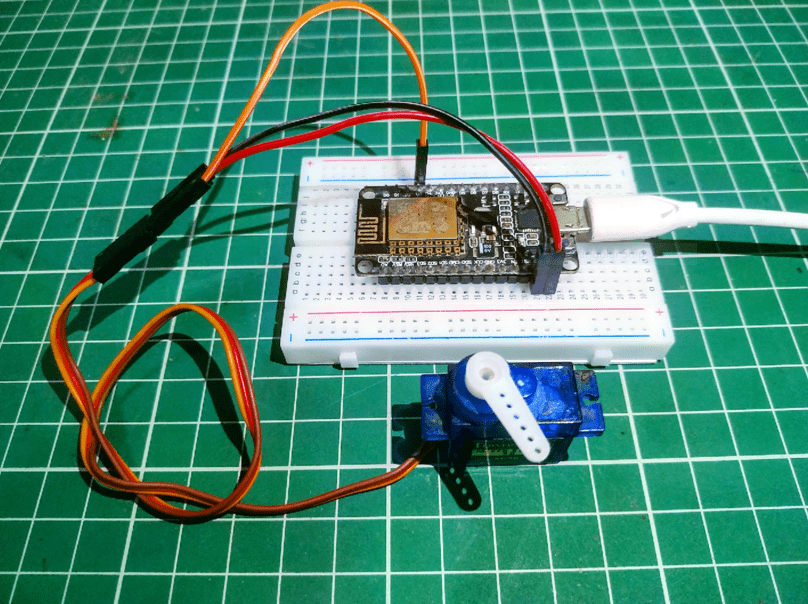
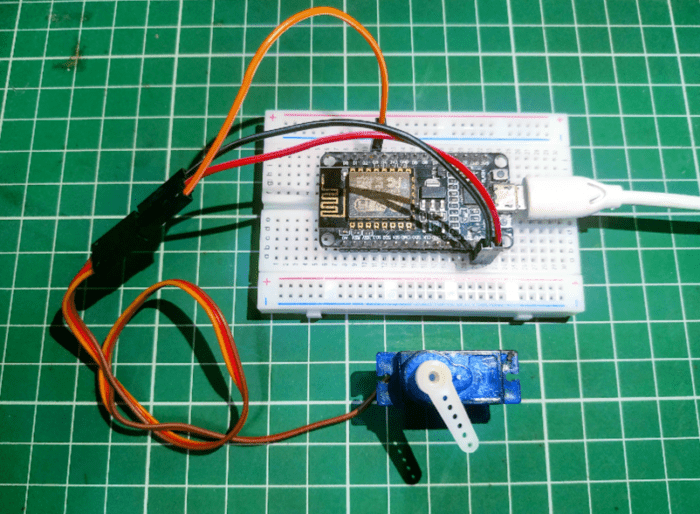
- The servo motor has three wires,
- two for the power and one for the control signal.
- You have to connect these three wires with the pins of the Nodemcu.
- Connect the red wire with the 3.3 volts pin of the nodemcu.
- Join the brown wire of the servo motor with the GND pin of the nodemcu.
- Connect the signal wire (orange wire) of the servo motor with the digital-3 pin of the nodemcu.
- After completing the connections use a USB cable to power the nodemcu so that the servo motor starts moving.
ESP8266 with servo motor Code
NOTE: Please upload the code which is given below to the nodemcu. You may need to install <Servo.h> library to the IDE software. Check here how to add a zip library to the Arduino IDE.
 //TECHATRONIC.COM
 #include <Servo.h> // servo library
 Servo s1;
 void setup()
 {
  s1.attach(0);  // servo attach D3 pin of arduino
 }
 void loop()
 {
   s1.write(0);
   delay(1000);
   s1.write(90);
   delay(1000);
   s1.write(180);
   delay(1000);
 }
We hope that you understand this project and please try to make it on your own. If you have any doubts related to this project then ask them in the comments section below. Also, check out our tutorials on Arduino and Raspberry Pi.
Video sample