Table of Contents
Introductions of single axis solar tracker:-
What do you know about solar trackers?
A single axis solar tracker system is a system that follows the light according to its intensity. this is one of the most searched Arduino projects.
there are two types of solar tracker projects available single axis solar tracker and dual axis solar tracker.
single axis solar tracker has one motor so it can rotate only on two dimensions. and dual axis can rotate into 4 directions.
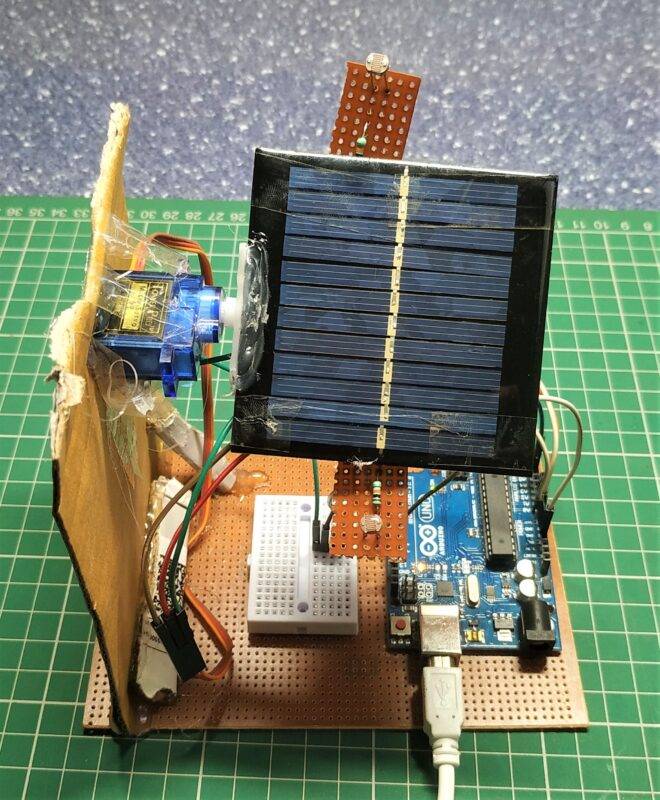
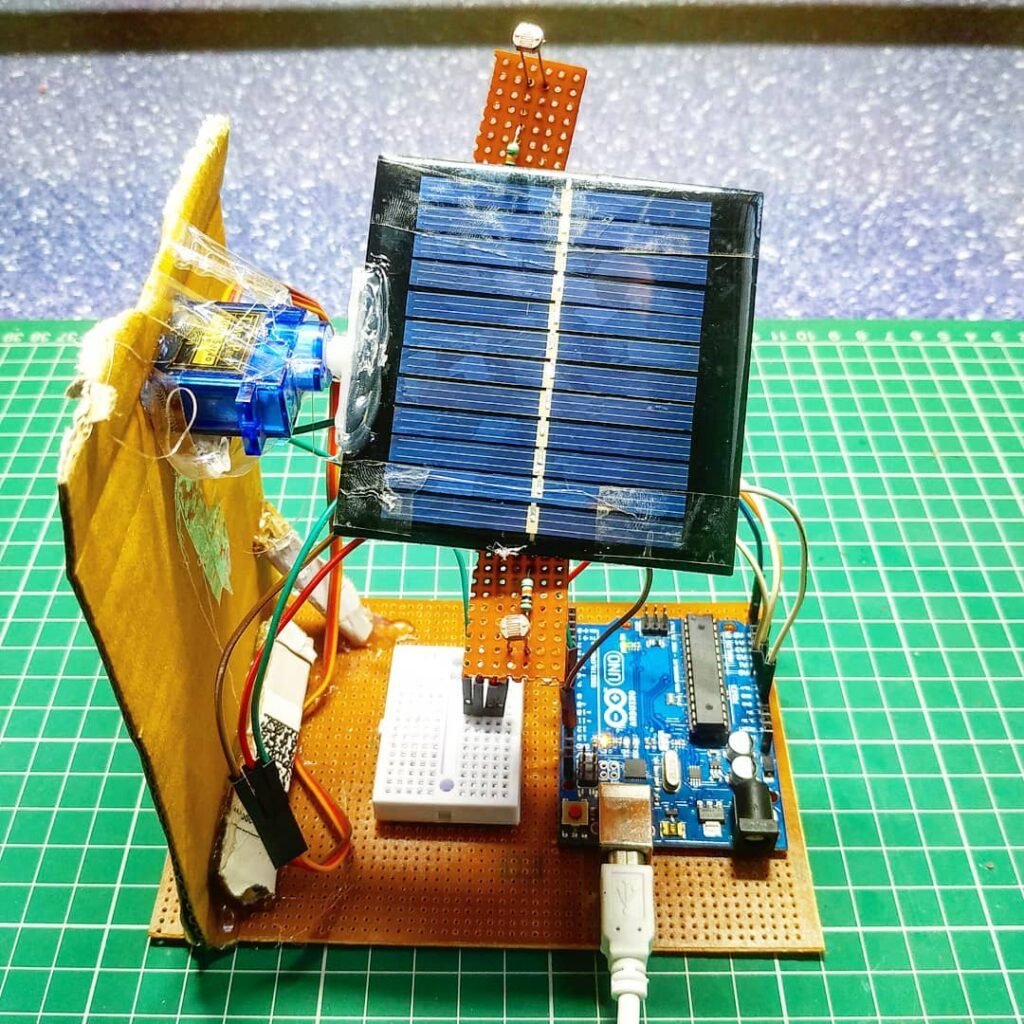
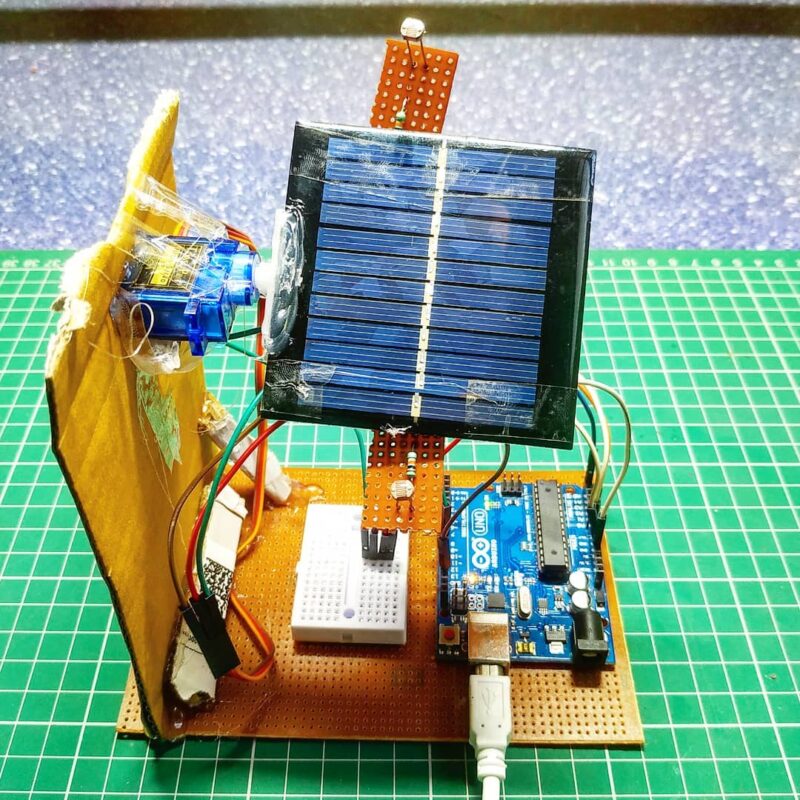
A Preview image of Single axis solar tracker
Hey guys, welcome back to Techatronic. we are Shahid and Adnan. I hope you all are good. This time we brought a very amazing project for you. which is knowns as the Single axis solar tracker project.
Usually, solar panels are steady and always the front face of the sun rises in direction. this causes less amount of light incident on it. at the time of afternoon and evening when we will use this amazing solar tracker.
it will move in the direction of the sun and catch more amount of light.

What is a Single Axis solar tracker?
The single axis solar tracker project is a very good example of a mini project if you are looking for an electronics mini project. it is one of the most popular projects recently.
- single axis solar tracker is just a system that follows the sunlight. by using this system you can make more power collected through the sunlight by the solar system.
- this system has a solar panel on it, all the systems track the light in two directions. for example, if the sun rises in the morning the system moves toward the same direction and for the evening also.
- now the sunset is in the opposite direction so the system will also move with the sun so the system can get the maximum power by the sun tracking.
- in solar panels make more power to more intensity. that means the solar power converted to electricity is directly proportional to the intensity of light.
- In solar tracker we use LDR sensor For detecting the light

How does it work? Working of single axis solar tracker
- Single axis solar tracker system content servo motors which help it to move in two directions on one axis.
for example, it is for the x-axis then it will move in the +x axis and -x axis. and the rotating degree is dependent upon us usually we use 60 degrees in each direction.
now, understands the working of this project.
- there is a sensor called LDR (light-dependent resistor).
- which decreases the resistance in the circuit when the light incident on it.
- there is two LDR sensor in the circuit on both sides.
- so, which LDR sensor shows the less resistance the motor will start to move in that direction.
- LDR sensor gives output to the Arduino every time. and Arduino process the data that comes from the LDR and Sends instructions to the Servo motors.
I hope the above working on the project is sufficient to understand the single axis solar tracker project.

Components Used in Single Axis Solar tracker
| Arduino UNO | BUY LINK |
| 2-LDR Sensor | BUY LINK |
| 2-10k ohm Resistor | BUY LINK |
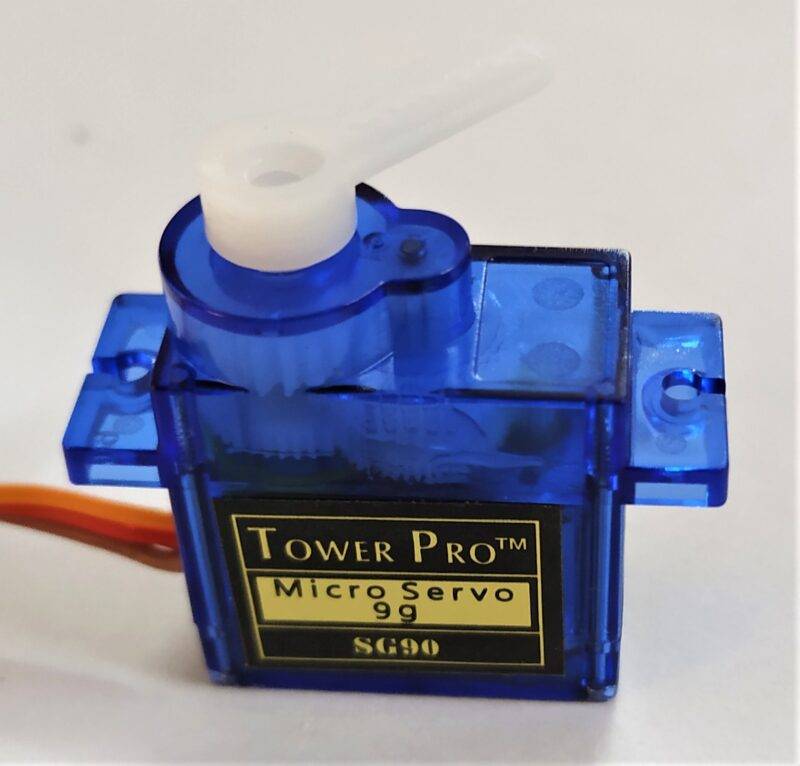
| 2-Servo motor | BUY LINK |
| solar panel | BUY LINK |
| jumper wire | BUY LINK |
| Breadboard | BUY LINK |

Circuit Diagram for single axis solar tracker
Fritzing-based circuit diagrams of single axis solar tracker help you to make the connections clear. and still, if you are stuck anywhere you can ask us in the comment section.

Connection Table of single axis solar tracker
| Arduino UNO | Servo Motor | ||
| D9 Pin | Out Pin | ||
| +5V | VCC | ||
| GND | GND | ||
| Arduino UNO | LDR 1 | LDR 2 | 10k ohm Resistor, 2 p |
| A0 Pin | Terminal 1 | Terminal 1 | |
| A0 Pin | Terminal 1 | Terminal 1 | |
| +5V | Terminal 2 | Terminal 2 | |
| GND | Terminal 2 |
Learn How to use Single axis solar tracker using Arduino code
// Single axis solar tracker
// Techatronic.com
#include <Servo.h> //including the library of servo motor
Servo sg90;
int initial_position = 90;
int LDR1 = A0; //connect The LDR1 on Pin A0
int LDR2 = A1; //Connect The LDR2 on pin A1
int error = 5;
int servopin=9; //You can change servo just makesure its on arduino’s PWM pin
void setup()
{

sg90.attach(servopin);
pinMode(LDR1, INPUT);
pinMode(LDR2, INPUT);
sg90.write(initial_position); //Move servo at 90 degree
delay(2000);
}

void loop()
{
int R1 = analogRead(LDR1); // read LDR 1
int R2 = analogRead(LDR2); // read LDR 2
int diff1= abs(R1 – R2);
int diff2= abs(R2 – R1);

if((diff1 <= error) || (diff2 <= error)) {

} else {
if(R1 > R2)
{
initial_position = –initial_position;
}
if(R1 < R2)
{
initial_position = ++initial_position;
}
}
sg90.write(initial_position);
delay(100);
}
Upload the given code into the Arduino. if you have any questions regarding the single axis solar tracker project you can ask in the comment section.
What is an Arduino dual Axis solar tracker? Dual-axis solar tracker System Engineering Project
Solar Panel Voltage Measure project using Arduino
Light Dependent Resistor | LDR sensor | Photoresistor
LDR sensor with Arduino Tutorial
Automatic Street Light Control System With Arduino


Good one keep it up
What the …???? Are you soldering the prototype board on the circuit???!!!!