

Table of Contents
Introduction
There is a lot of robotics project in electronics but the obstacle-avoiding robot is one of the most attractive because of its function.
it can walk automatically without any control. and we are going to share all the information in this article. so, if you are searching and want to make this project by yourself.
only what you need to do is follow all the given steps and read the full article carefully. in this project, you will learn the ultrasonic sensor interface with Arduino and how to assemble the chassis and all.
there is more thing is the bo motor interface in the content. Code, and circuit we are sharing below.
There are multiple types of obstacle-avoiding robot.
Types of Obstacle avoiding a car
- with two ultrasonic sensors that have more accuracy.
- in this robot there we use two ultrasonic sensors in the front of the robot.
- and both work simultaneously. it has more accuracy than 3rd type.
- but to calibrating this robot is tough and the placement of the sensor should be careful.
- because the ultrasonic wave may overlay each sensor.
2. another type is the rotating neck with an ultrasonic sensor.
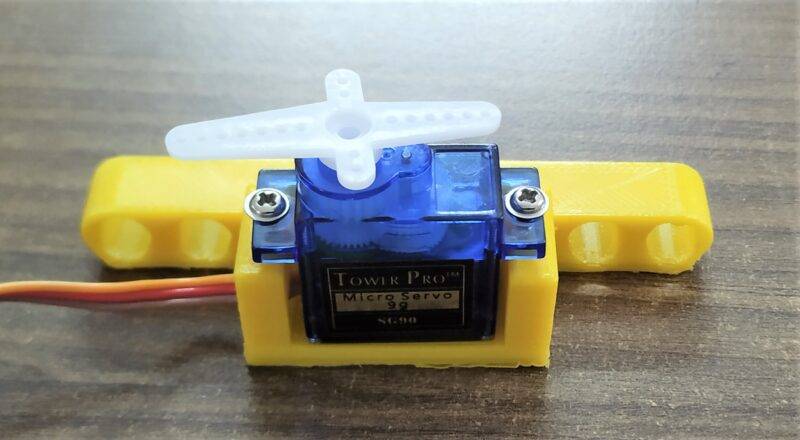
in this type of servo-based obstacle-avoiding car, there is a servo motor placed at the chassis which rotates with the wheel movement.
and there is an ultrasonic sensor mounted over the servo motor and check the obstacle.
if any obstacle comes in front of the sensor the servo motor will start to rotate and check where is more distance and turn in that direction.
3. this is a simple obstacle avoider
this is pretty simple there is one ultrasonic sensor with obstacle detection and movement. and there is no servo motor for sensor rotation this is the simplest obstacle avoiding robot.
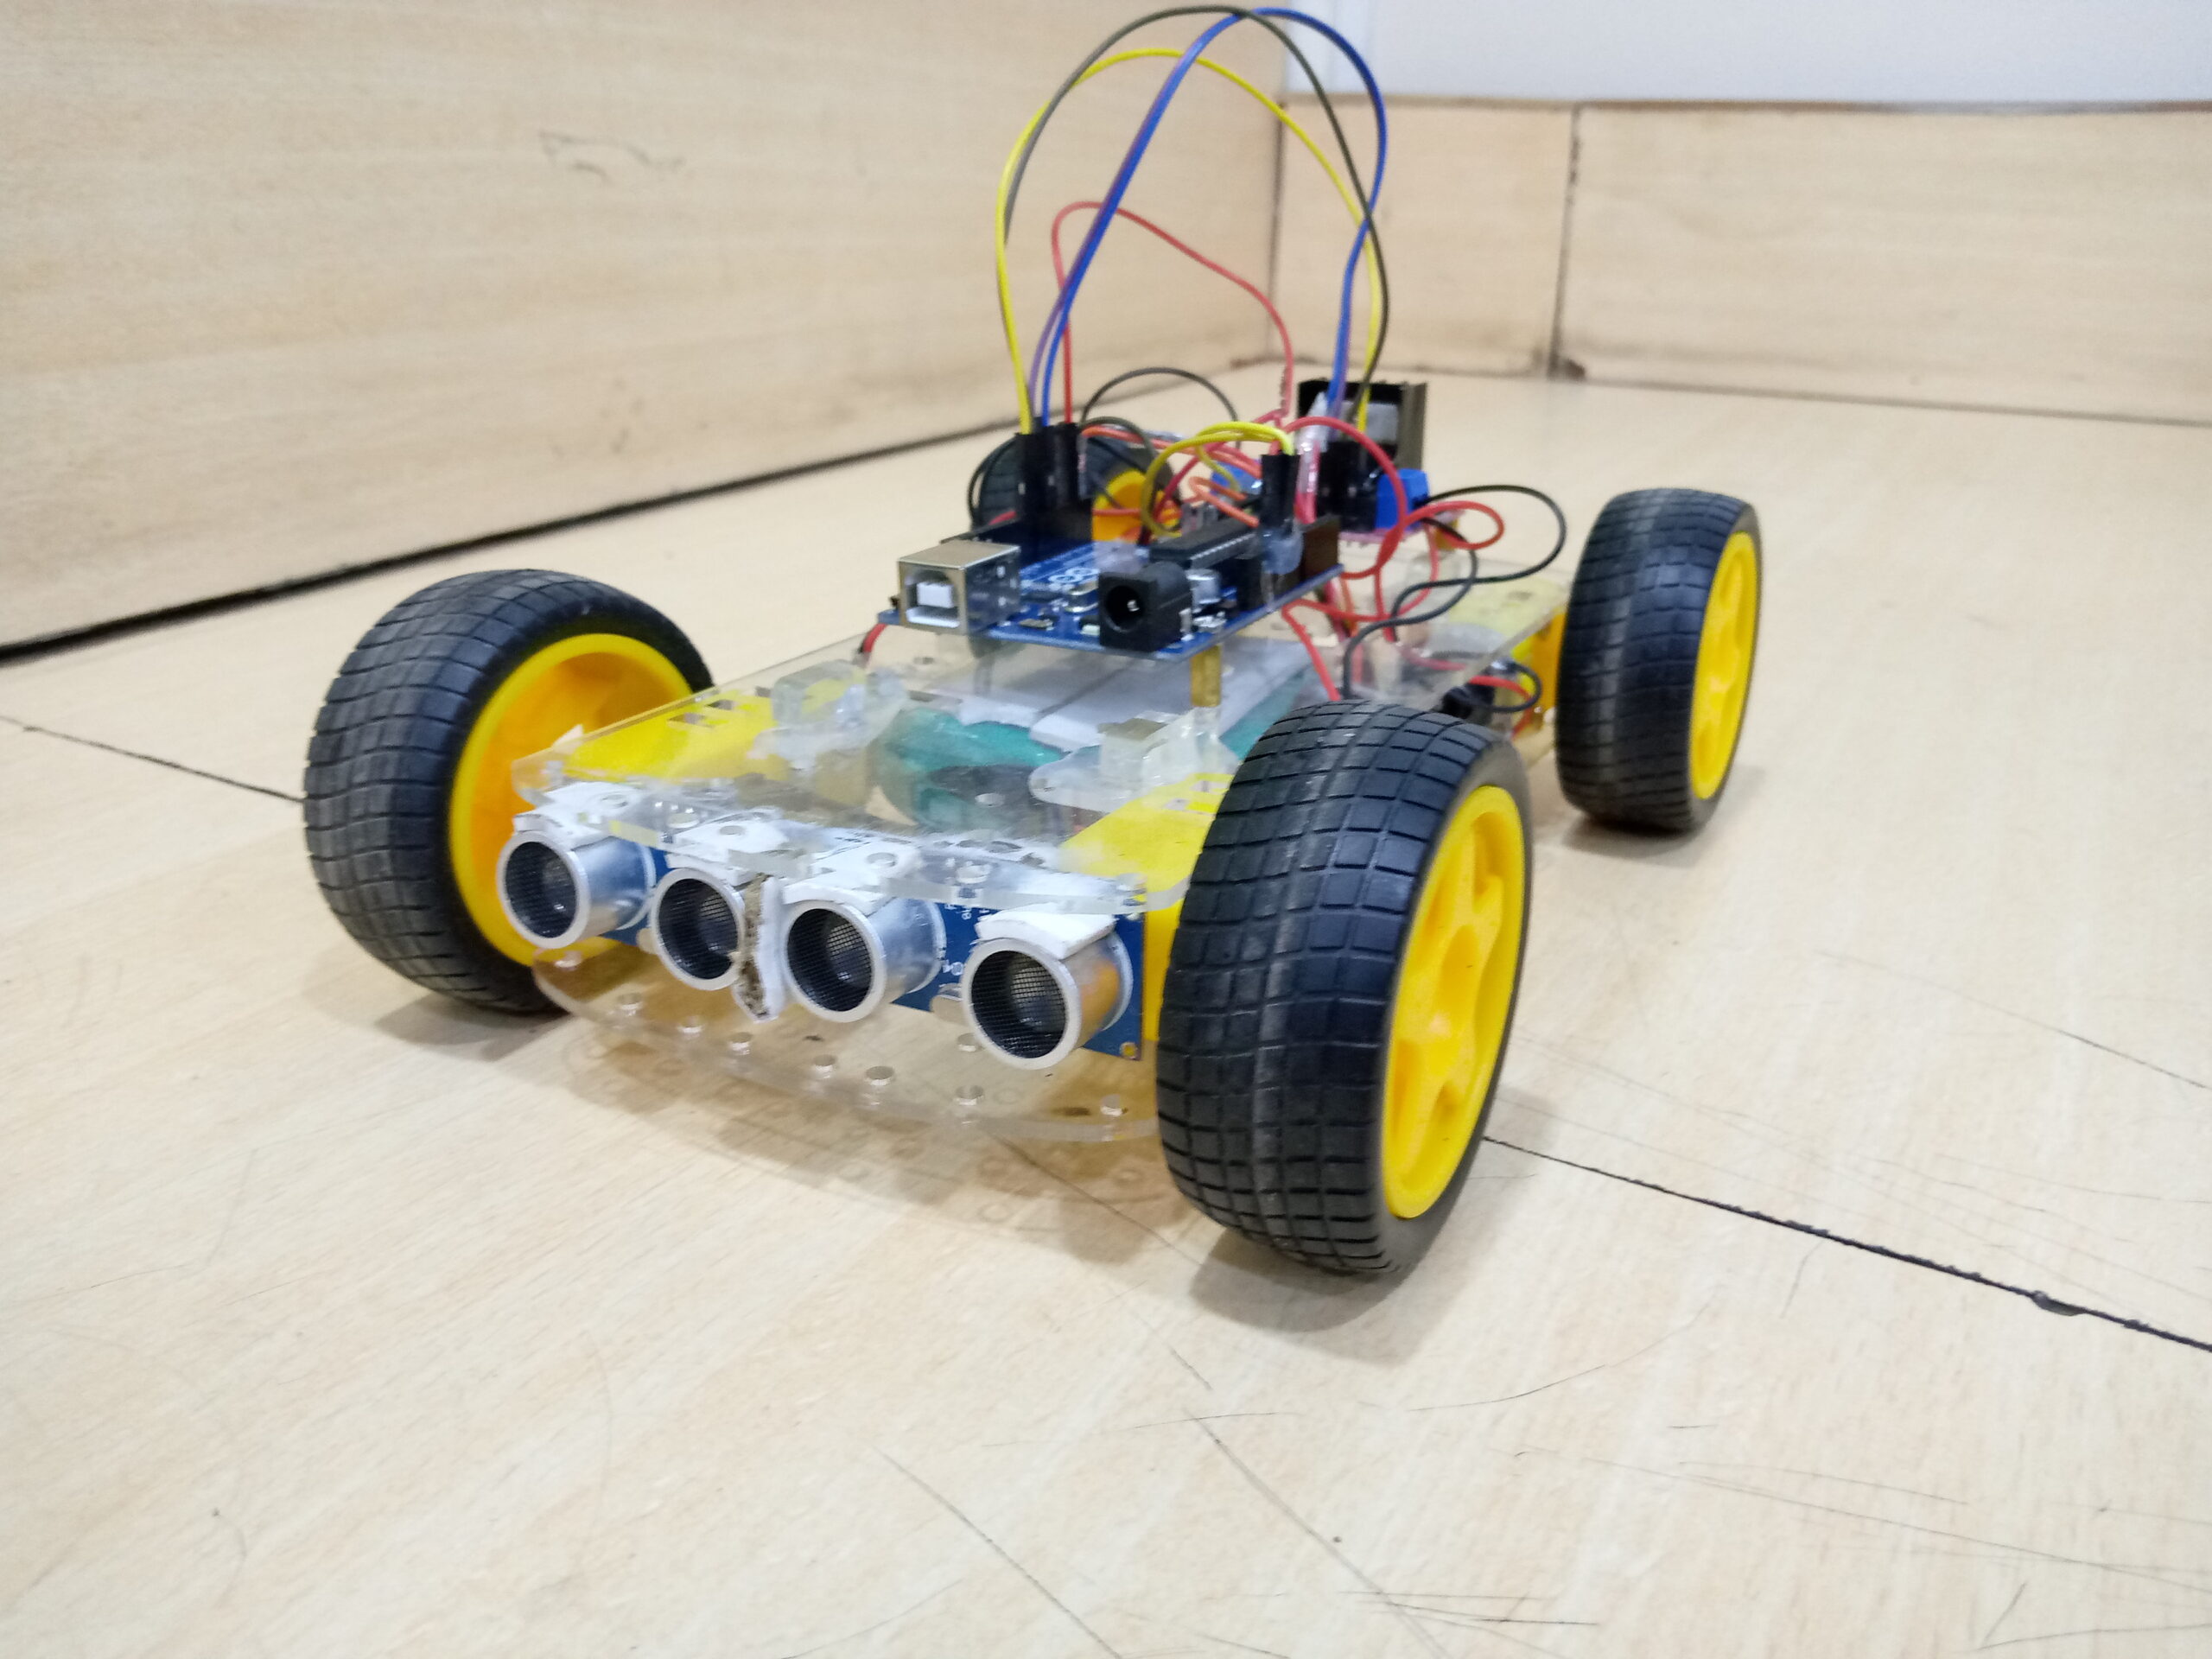
so, today we are making the 1st one robotics project.
- there are two sensors in the front of the robot.
- which works simultaneously. we are using two sensors because two sensors can cover more areas.
- this is the advantage of this robot that it can cover more area than the other type of robot.
although the rotating neck robot can cover a half-circular area near the robot.
Obstacle avoiding robot using Arduino works? / working
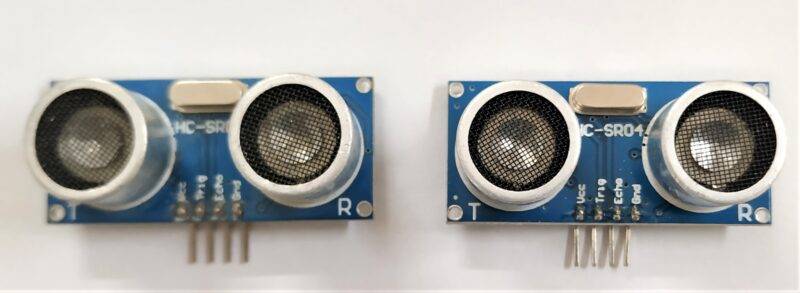
- there is a sensor named ultrasonic sensor.
- which is the main component of the robot.
- the ultrasonic sensor transmits ultrasonic waves from the TRIG and after the incident,
- the target returns back to the sensor and is received by ECHO.
- and the Arduino will collect the data from the ultrasonic sensor.
- and there is some condition in the code that have to implement now.
- and Arduino will send instructions according to the code. in simple language,
- if there is some obstacle that comes in front of the obstacle avoiding car then it will turn in any direction either right or left.
it depend on you which direction dominate you made it.
The ultrasonic sensor measures the distance between the sensor and the obstacle. we use a condition that if the distance between the sensor and the robot will be less than the cut-off distance then the robot will make a turn.
that’s how it works and in these two sensor robots, both the sensors work the same. we have uploaded the video on youtube too. see the video in the last section of the video.
Components Required for Obstacle avoiding robot:-
- Arduino Uno
- 2-Ultrasonic sensor
- 4- motor
- 4- wheel
- Chassis
- Jumper wire
- 12v battery
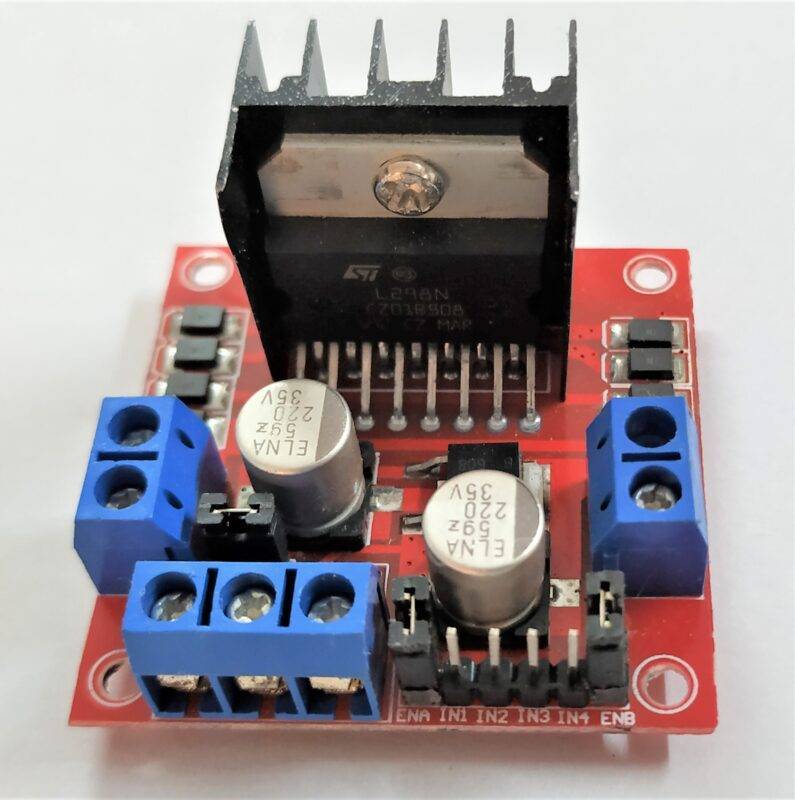
- L298N motor driver

obstacle avoiding robot Circuit Diagram:-
Fritzing-based circuit diagrams will help you to make connections more clear. still, if you have any doubt you can ask us in the comment section.

Connection Table
| Arduino UNO | Servo Motor | |
| PIN 3 | Signal Pin Orange Wire | |
| VCC | VCC Red Wire | |
| GND | GND Black Wire | |
| Arduino UNO | 2 Ultrasonic Sensor | |
| VCC | VCC | |
| PIN 5 | Trig | |
| PIN 6 | Echo | |
| GND | GND | |
| Arduino UNO | L293d Motor Driver | |
| PIN 7 | IN 1 | |
| PIN 8 | IN 2 | |
| PIN 9 | IN 3 | |
| PIN 10 | IN 4 | |
| Arduino UNO | 9 Volt Battery | Switch |
| VIN PIN | + Positive | |
| GND | Terminal 1 | |
| GND | Terminal 2 | |
| L293d Motor Driver | 9 Volt Battery | Switch |
| +12 V PIN | + Positive | |
| GND | Terminal 1 | |
| GND | Terminal 2 |
Obstacle avoiding car Arduino Code:-
 int duration=0;
 long distance=0;
 void setup() {
 pinMode(1,OUTPUT);
 pinMode(2,INPUT);
 pinMode(5, OUTPUT);
 pinMode(6, OUTPUT);
 pinMode(7, OUTPUT);
 pinMode(8, OUTPUT);
 Serial.begin(9600);
 }
 void loop() {
 digitalWrite(1, HIGH);
 delayMicroseconds(10);
 digitalWrite(1, LOW);
 delayMicroseconds(2);
 duration= pulseIn(2,HIGH);
 distance=duration*0.034/2;
 Serial.println(distance);
 if(distance<=30)
 {
  digitalWrite(5, LOW);
  digitalWrite(6, HIGH);
  digitalWrite(7, HIGH);
  digitalWrite(8, LOW);
  }
 else
 {
  digitalWrite(5, HIGH);
  digitalWrite(6, LOW);
  digitalWrite(7, HIGH);
  digitalWrite(8, LOW);
  }
 }
  // put your main code here, to run repeatedly
Upload code in Arduino with the help of Arduino IDE. if you are not aware of the process you can see the example of our website in the Arduino Tutorial categories.
Video Sample