
Hello techies, welcome back to Techatronic. Have you ever seen the blinking lights that are used by the DJs at parties? These lights are connected with the sound system and blink with the flow of the music. Do you want to make these kinds of lights by yourself using basic electronic components? well if yes then follow the given procedure carefully. In this article, we are going to teach you that how music reactive led can be made using two BC547 transistors. A detailed explanation of the project is given below. You can also check more such interesting projects on IoT and basic electronics.
music reactive led Working
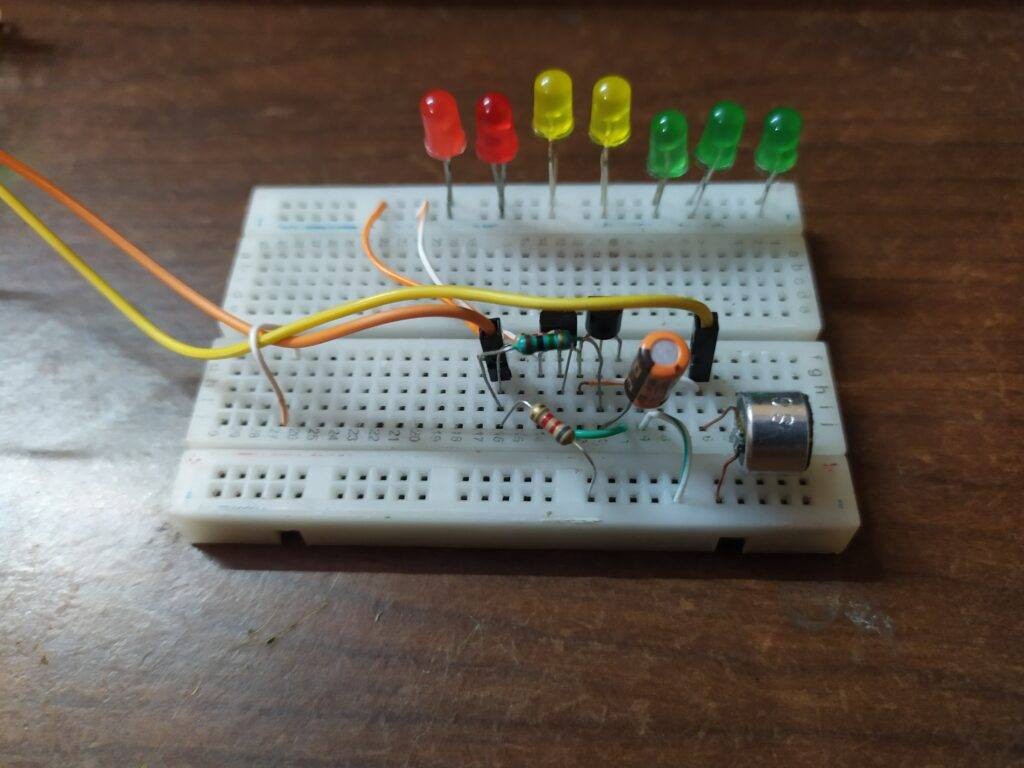
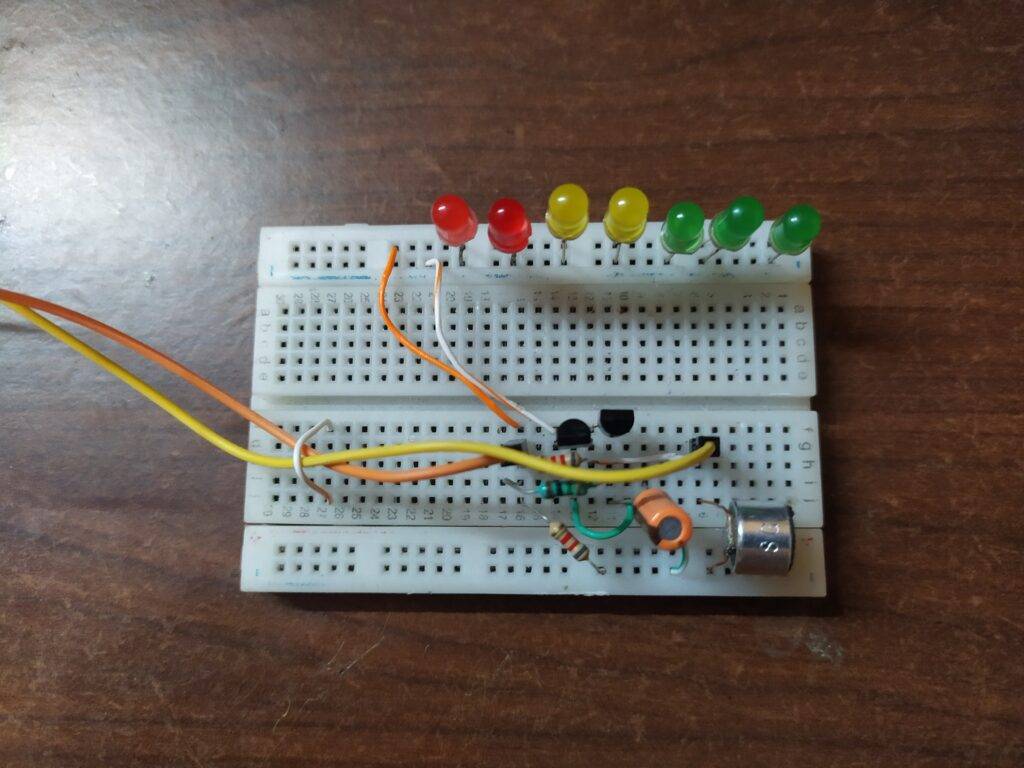
In this circuit, we use a condenser mic for taking the input and the output will be obtained at the collector pin of the first transistor. When the mic receives loud audio signals then the current at the output collector pin which we connected with the negative of LEDs also goes high and for low audio signals, the output current is also small. So the brightness of the LEDs completely depends on the input sound signals. The condenser mic which we used is not much sensitive so you have to put the sound source near the mic. You can also check the cell phone signal jammer circuit made by us.
Components Required
| Two BC547 transistors | |
| Connecting wires | BUY LINK |
| breadboard | BUY LINK |
| 1 uF capacitor | |
| Condenser mic | |
| LEDs of different colors | BUY LINK |
| resistors of 100K ohm, 1M ohm | BUY LINK |
| 9 volts battery | BUY LINK |
music reactive led Circuit Diagram

Take two BC547 transistors and connect their emitter pins with each other and then with the negative rail. Connect the base pin of the first transistor with the collector pin of the second transistor. Take some LEDs and connect them in parallel with each other. Then attach the collector pin of the first transistor to the common negative pin of all the LEDs. Join a 100K ohm resistor between the base pin of the first transistor and the positive rail as shown above. Attach a 1M ohm resistor between the base pin of the second transistor and the positive rail. Take a 1 uF capacitor, connect its negative leg with the base pin of the second transistor and the positive leg with the positive leg of the condenser mic. Connect a 100K ohm resistor between the positive rail and the positive leg of the mic. Join the common anode of the LEDs with the positive rail. Attach the negative leg of the mic with the negative rail as shown in the diagram.
music reactive led strip
Before testing please make sure that all the connections are correct and tight. Then connect a 9 volts battery with the circuit. Play some music on your smartphone and enjoy the flashing lights.
We hope that you liked this project and try to make it once. While making this project if you are facing any difficulties then ping us in the comments section below. Also, do check out our tutorials on Arduino and Raspberry Pi.
HAPPY LEARNING!