

Hello There. Are you making a project that requires the use of an RCWL 0516 Microwave sensor? Do you want to know how a Microwave sensor works? Well, you are at the right place. In this article, we will know more and discuss these topics. I hope you will find this article helpful. We at Techatronic have already uploaded several Arduino Tutorials and detailed project guides related to electronics, embedded & Arduino. If you are a beginner in the world of electronics, the tutorials are which will be useful to learn the basics and programming of Arduino.

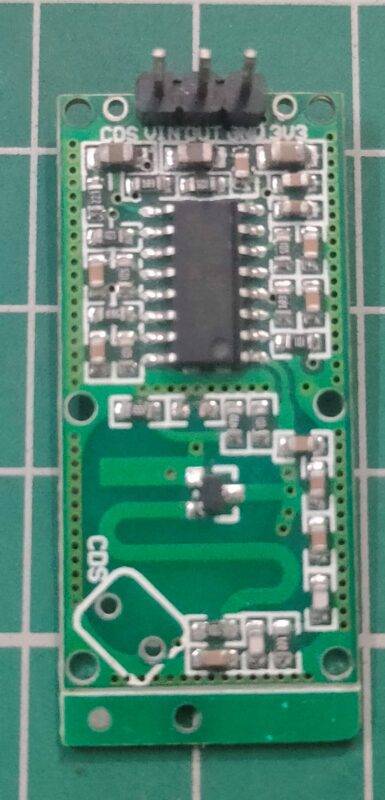
What is RCWL 0516 Microwave Sensor?
This is a microwave distance sensor that helps to measure distance using the microwave frequency. This can be used to find and measure the distance between the object and sensor, detect an object that comes in front of the sensor, etc.
The sensor can also be used as a replacement for ultrasonic or IR sensors in certain cases. Many project ideas such as obstacle-avoiding robots, human following robots, and so on can be made using this sensor.

How Does the Microwave Sensor work?
The sensor creates a type of Doppler Radar to work since the antenna on the Sensor generates microwave frequencies. The microwaves then travel through the medium and are bounced back when they hit any object. the antenna now receives the microwave signal. the RCWL0516 IC calculates the time taken by the microwave to reach and bounce back to calculate the distance between the sensor and object.
The Ultrasonic sensor also works on the same principle but uses ultrasonic waves instead of microwaves. since microwaves are electromagnetic waves, they can travel in a vacuum and also through the glass and certain materials i.e. they don’t require a medium to travel as in the case of ultrasonic waves. hence these sensors possess a slight edge over them.
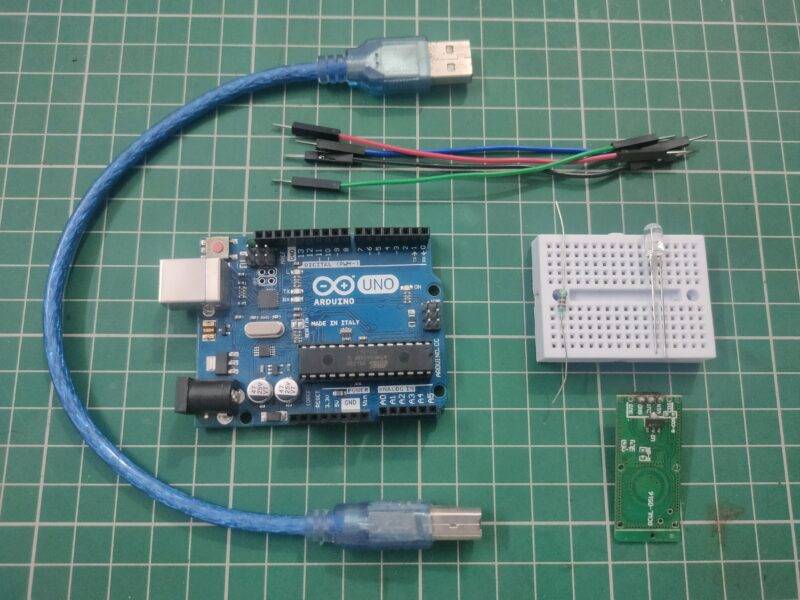
Components Required
| Arduino Uno | BUY LINK |
| RCWL 0516 Microwave sensor | BUY LINK |
| Jumper Wires | BUY LINK |
| Breadboard | BUY LINK |
| RED Led | BUY LINK |
| 20-ohm Resistor | BUY LINK |
| USB Cable to connect Arduino with Computer | BUY LINK |
| 9 Volt battery | BUY LINK |
Interfacing RCWL 0516 with Arduino Circuit Diagram
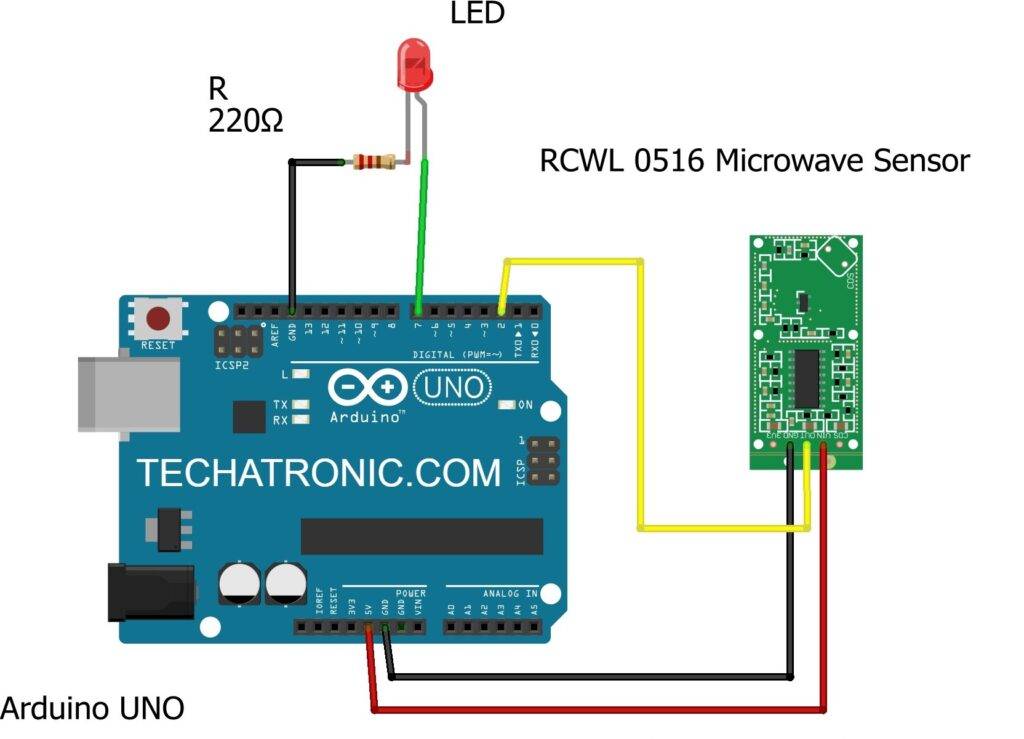
| Arduino UNO | RCWL 0516 Sensor | |
| D2 Pin | OUT Pin | |
| ( +5V ) | ( +5V ) | |
| GND | GND | |
| Arduino UNO | LED | 220 Ohm Resistor |
| D7 Pin | Anode Pin | |
| Cathode Pin | Terminal 1 | |
| GND | Terminal 2 |
Interfacing RCWL 0516 with Arduino Code
 // Techatronic.com
 int val = 0 ;
 void setup()
 {
   Serial.begin(9600); // sensor buart rate
   pinMode(2,INPUT);  // RCWL 0516 Microwave Sensor output pin connected
   pinMode(7,OUTPUT); // LED PIN
 }
 void loop()
 {
  val = digitalRead(2); // RCWL 0516 Microwave Sensor output pin connected
  Serial.println(val); // see the value in serial mpnitor in Arduino IDE
  delay(10);
  if(val == 1 )
  {
   digitalWrite(7,HIGH); // LED ON
   delay(1000);
  }
  else
  {
   digitalWrite(7,LOW); // LED OFF
  }
  }
After the Code Uploading onto the Arduino is complete, you may observe the change in the status of the LED with the changes detected by the sensor. I hope you found this article helpful. If you have any doubts or queries, you can ask them in the comment section below.