
Table of Contents
Introduction
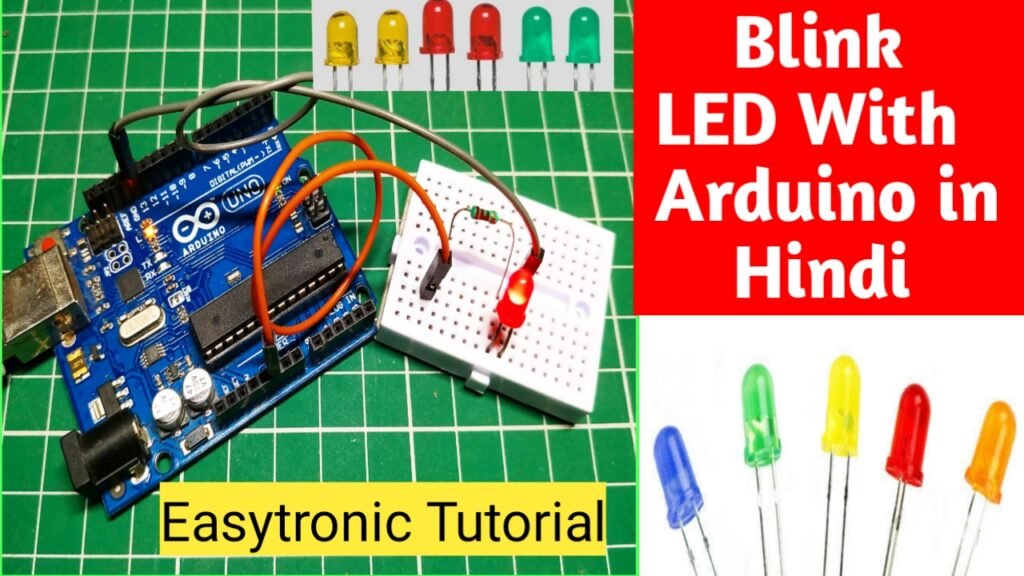
Hey Guys, welcome back to Techatronic. in this article, we gonna make a tutorial on how to make Arduino LED blinking projects.
There are many students who purchase Arduino from the online store and they try to make projects with their Arduino and learn. We are making a course on Arduino in which we will make step by step tutorial. in our previous tutorial, we explain how to set up Arduino IDE to upload the code.
In our last two tutorials, we explain the Arduino and the Arduino software and in this article, we will explain What is the basic components we required to make this first Project. it is a simple and led blinking project.
in this project, we weblink an LED like, the led will glow for some time and then it will off automatically and the process repeats continuously.
Learn 10+ basic activities & sensor interfacing with our Arduino ebook. Well explained program. And brief circuit diagram WhatsApp and email support. which will help you to learn basic electronics, Arduino Coding, Sensor interfacing with Arduino, Arduino, and much more. buy Arduino Ebook to learn https://techatronic.com/arduino-ebook/In the first step, we will define the pin and assign some value to that pin. 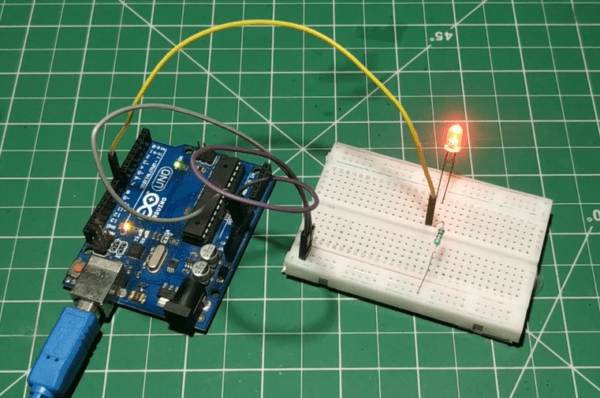
Arduino led blink Code Explain
Step #1#define blinking 9in the above line, we are assigning and variable LED to the 13 pins of Arduino
Step #2
The second step is to make a void function as given below:-Void Setup( )
void setup is the function to set the initial for the main functions. for example to set and output and input pins, setting up of baud rate, initiate another peripheral like Bluetooth, wifi, and much more.and there are two curly braces {} open and close we have to write the statement of function inside in these braces. there we initiate the program data as given below
Step #3{ pinMode{blinking, OUTPUT};
( according to this statement the blinking variable which is assigned above on pin 9 will work as an output. the whole line meaning is the pin number 9 will act as an output pin.here is a word pinMode which carr two words pin & Mode. it means on which pin what will be the mode. either OUTPUT or INPUT. to understand in more detail ou must read this Arduino introduction article. where all I have given about it. )
}Now we will move towards another void which is known as the Step #4void loop()the void loop is the function to write main functions that will run continuously as we know the loop means the program will be run till the break statement is inside the loop. for example, if I write there a code for led blinking the code will run continuously infinite time.
and there are two curly braces {} open and close we have to write the statement of function inside in these braces.Step #5
{digitalWrite(blinking, HIGH);(the above statement saying that the blinking which is assigned on pin 9 will be given the HIGH(+5v) value so that LED will glow, digitalWrite is a term used to write this statement. )
delay(1000);(according to this statement there will be a delay of 1 sec )
digitalWrite(blinking, LOW);(the above statement saying that the blinking which is assigned on pin 9 will be given the LOW(+5v) value so that LED will off, digitalWrite is a term used to write this statement. )
delay(1000);(according to this statement there will be a delay of 1 sec )}full LED blinking code Arduino #define blinking 8
void setup()
{pinMode(blinking, OUTPUT);}
void loop(){
digitalWrite(blinking, HIGH);delay(1000);
digitalWrite(blinking, LOW);delay(1000);}note * the code is case sensitive so don’t forget to write right.
Components Required to make Arduino LED blinking:-
- Arduino
- resistor
- Arduino cable
- LED
- Breadboard
- jumper wire
Components Table/buy link
| S.No | Component Required | Quantity | Buy Link |
| 1. | Arduino UNO | 1 | |
| 2. | Arduino UNO Cable | 1 | |
| 3 | LED | 3 | |
| 4. | 220-ohm Resistor | 3 | |
| 5. | Jumper Wire | 40 | |
| 6. | Breadboard | 1 | |
| 7. | 5V DC Adaptor For Arduino | 1 |
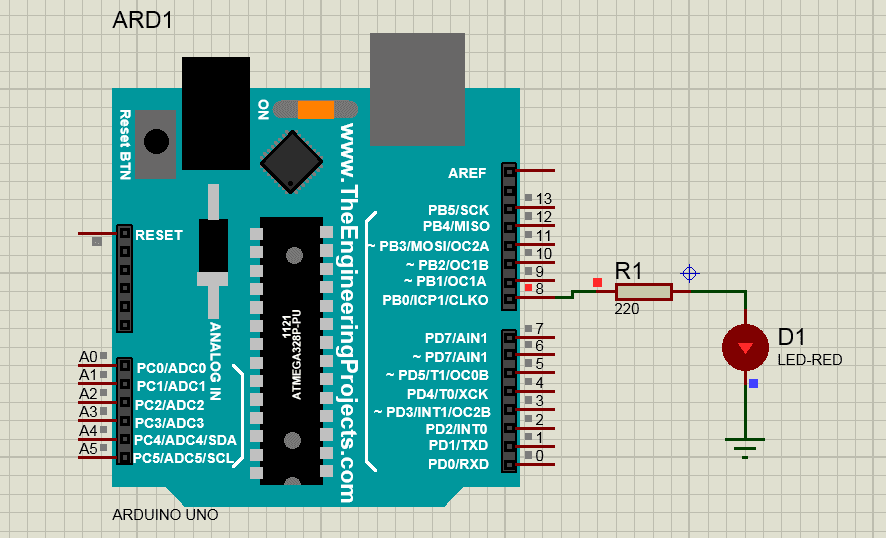
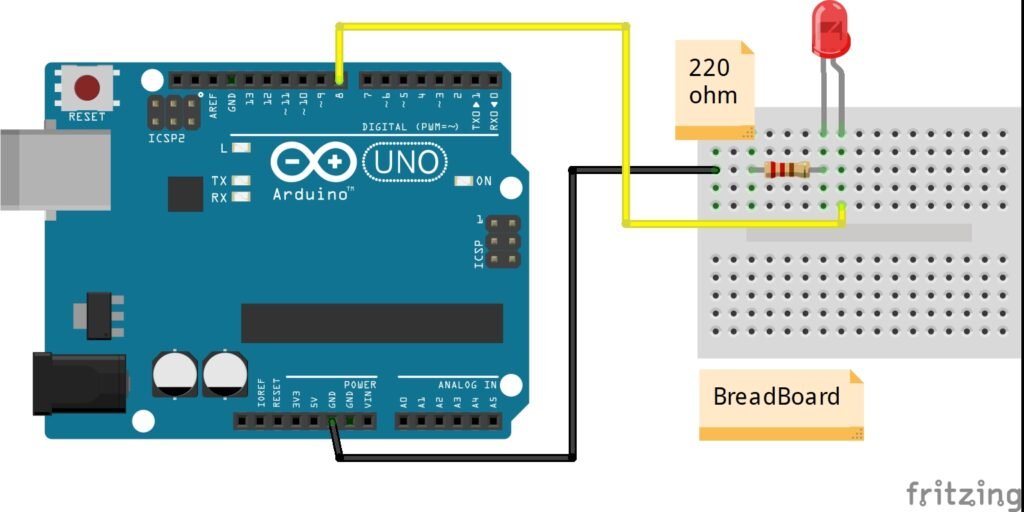
Arduino LED blinking circuit diagram.
Connection Table
|
Arduino UNO |
LED |
220-ohm Resistor |
|
D8 Pin |
Anode Terminal |
|
|
GND ( Ground ) |
|
Terminal 1 |
|
|
Cathode Terminal |
Terminal 2 |