Hello Techies, did u ever think knowing Wireless Communication, can be easy & fun?
Let’s see how
Bluetooth discovery & Operation:
- Nils Rydbeck first discovered Bluetooth in 1989 (Sweden).
- It is used to communicate between two devices.
- It is operated for small ranges upto 30 feet (10 meters), which may vary depending on other factors.
- The wireless communication operates at frequencies between 2.402 and 2.480 GHz.
- It has a “Master-Slave” architecture and one master can communicate to 9 slaves at a time.
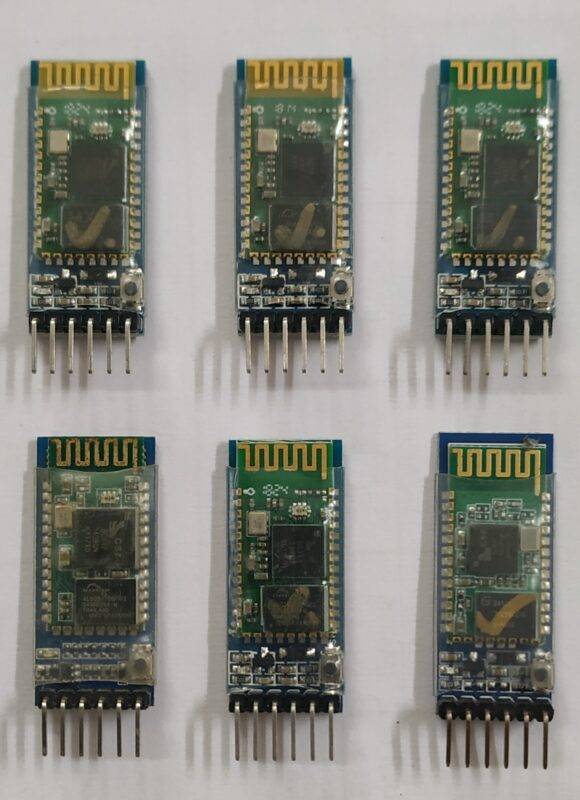
Arduino hc 05 Bluetooth Module:
- HC 05 module uses serial communication to communicate from Arduino.
- It is used in applications like gmes, virtual machines, and in many wireless gadgets.
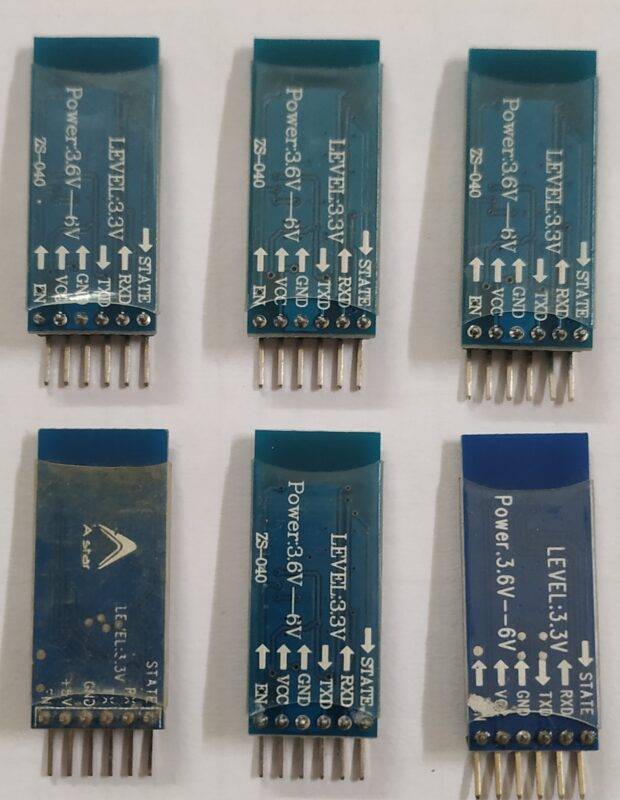
Pin description: Lets know, how all the pins of module works
| S.No | PIN Name | Description |
| 1 | STATE | State Pin used to tell whether module is connected or not |
| 2 | RXD | In serial transmission, RXD pin used to receive data. |
| 3 | TXD | In serial transmission, TXD pin used to transmit data. |
| 4 | GND | GND pin connects to “0” voltage |
| 5 | VCC | VCC pin connects to 5 volts or 3.3 volts |
| 6 | EN | EN Pin is used to switch between two modes.
when (EN= HIGH), module work in command mode. when (EN= LOW), module work in Data mode |
Key point:
- HC 05 Module can communicate between two Arduino boards because of its master slave configuration, while HC 06 only works in slave configuration.Arduino is a Microcontroller Development Board with ATmega328p Microcontroller, works on 16 MHz. This was invented for the artistic people who wanted to make their small and basic projects with the help of technology. To know more about Arduino, click on following links
Link : Arduino Starter Kit-1 , ARDUINO EBOOK , Arduino Project Book
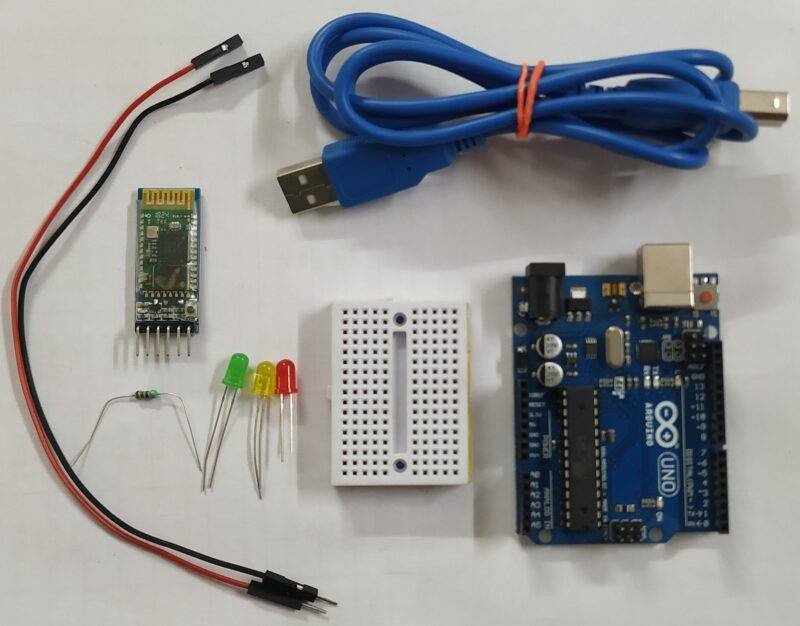
Components Required
- Arduino UNO
- HC – 05 Bluetooth
- LED
- 220-ohm resistor
- Jumper wires and a breadboard
- USB cable for uploading the code
- 9 Volt Battery
- 9 Volt Battery Connector
| S.No | Component Required | Quantity | Buy Link |
| 1. | Arduino UNO | 1 | |
| 2. | Arduino UNO Cable | 1 | |
| 3 | LED | 1 | |
| 4. | 220-ohm Resistor | 1 | |
| 5. | Jumper Wire | 40 | |
| 6. | Breadboard | 1 | |
| 7. | 9 Volt Battery | 1 | |
| 8. | 9V Battery Connector | 1 |
How to glow a LED (Light Emitting Diode) using HC 05 Arduino Circuit
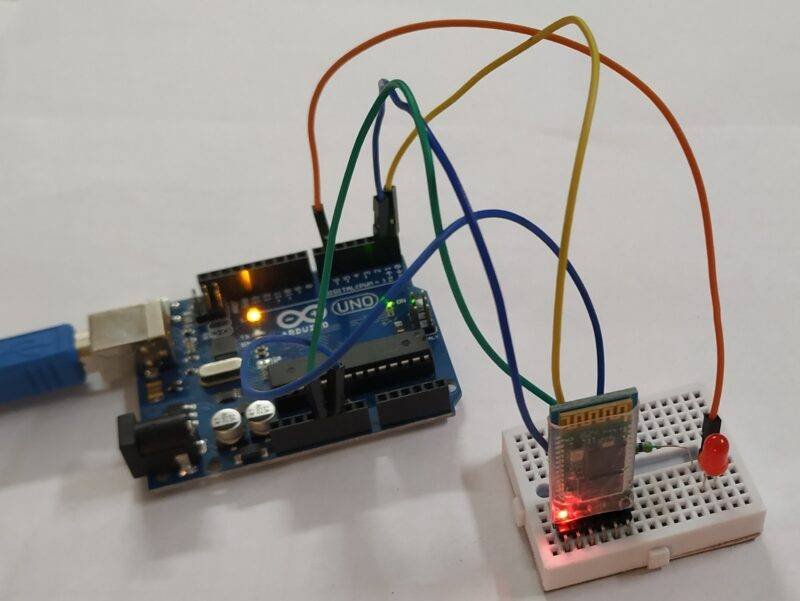
CIRCUIT DIAGRAM:

| Arduino UNO | HC-05 Bluetooth | |
| ( +5V ) VCC | VCC | |
| GND ( Ground ) | GND ( Ground ) | |
| TX Pin | RX Pin | |
| RX Pin | TX Pin | |
| Arduino | LED R | 220 Ohm Resistor |
| D6 Pin | Anode Pin |
|
| GND |
| Terminal 1 |
|
| Cathode Pin | Terminal 2 |
As per the above circuit diagram,
- RX pin of HC-05 is connected to Arduino’s TX pin.
- TX pin of HC-05 is connected to RX pin of Arduino.
- VCC pin of HC-05 is connected to 5 volts pin of Arduino.
- GND pin of HC-05 is connected to Arduino’s GND Pin.
- LED’s Anode (+) pin is connected to pin 6 (PWM) of Arduino.
- LED’s Cathode (-) pin is connected to the GND pin of Arduino.

Let’s get started with the code (Download Arduino IDE here) :
- Void setup () is used to make initialization. It sets the mode and rate of input /output devices used in the setup.
- Void loop () is used to loops consecutively, allows your program to change and respond.
- Switch cases like if and else are used to announce conditions and work according to that.
Start coding on your Arduino IDE:
.
//put this code in the IDE of Arduino
// TECHATRONIC.COM
void setup() { Serial.begin(9600); // BAUD Rate tells the rate in which information transfers .
// It means that serial channel is able to transfer 9600 bits
// per second pinMode(6,OUTPUT); // LED is set to output mode and connected to pin 6} void loop() {For more awesome projects stay connected to techatronic.com
if(Serial.available()>0) //Serial. available() returns the bytes of data which have
// arrived in the serial buffer.If Serial.available()>0, it
// means , data is ready to be read { char data= Serial.read(); // reads the input data.
Serial.println(data); // Prints data to the serial port as human readable. if(data=='a') //If user enters "a"
{
digitalWrite(6,HIGH); //The logic on pin 6 will be high, and LED will be on.
}
if(data=='b') // If user enters "b"
{
digitalWrite(6,LOW); //The logic on pin 6 will be LOW, and LED will be off. } }
}
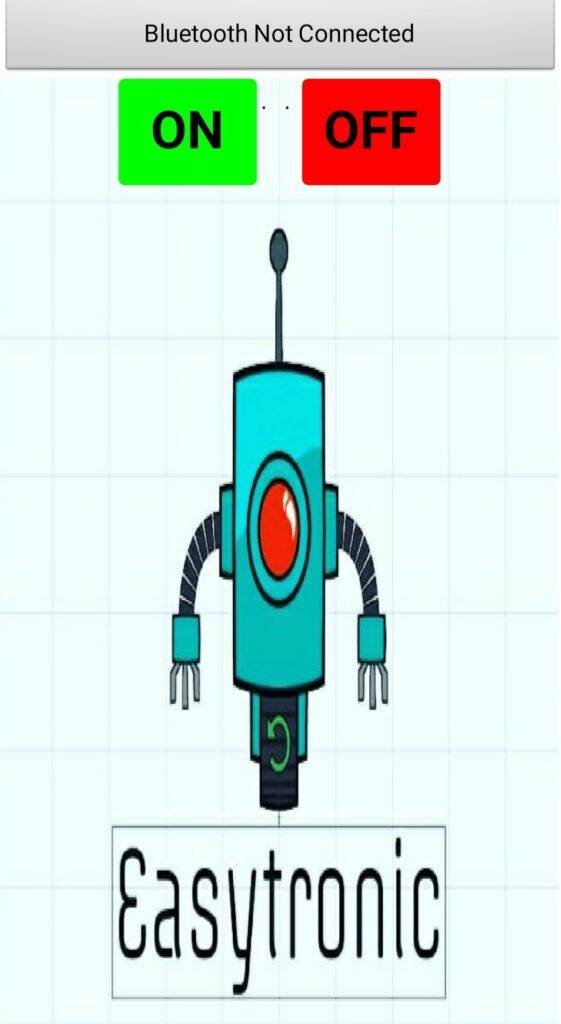
Now, the code will be executed using phone's bluetooth. The user will enter input
from phone's keypad. To install the app , kindly click and download the apk file from
the link given below.
https://drive.google.com/file/d/1Jv3GQKmN0S6S2rr1mMGTsizlnqFoIP9w/view?usp=sharing