
Table of Contents
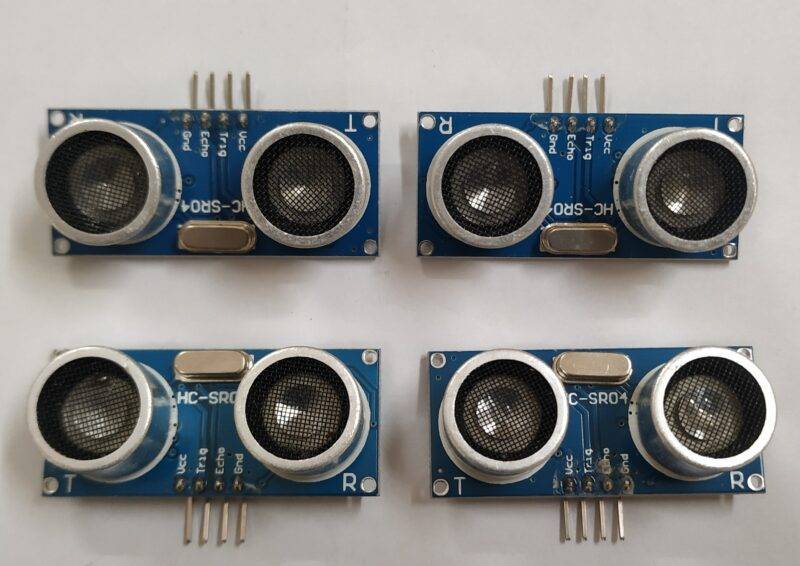
What is Ultrasonic Sensor and HC SR-04
So finally, Today we’re going to discuss a very important and interesting article, i.e., What is Ultrasonic Sensor?.
- Ultrasonic Sensor is the most widely used sensor for measuring distance and performing task which are related to ultrasonic sensor. So, in this article we will explain what is ultrsonic sensor This sensor is easy to use, but the calculation making using this sensor can be a bit tough.
- This sensor comes in two type of version which can be easily available in the market, both of them works fine but the procedure and commands to make it run differs a bit.

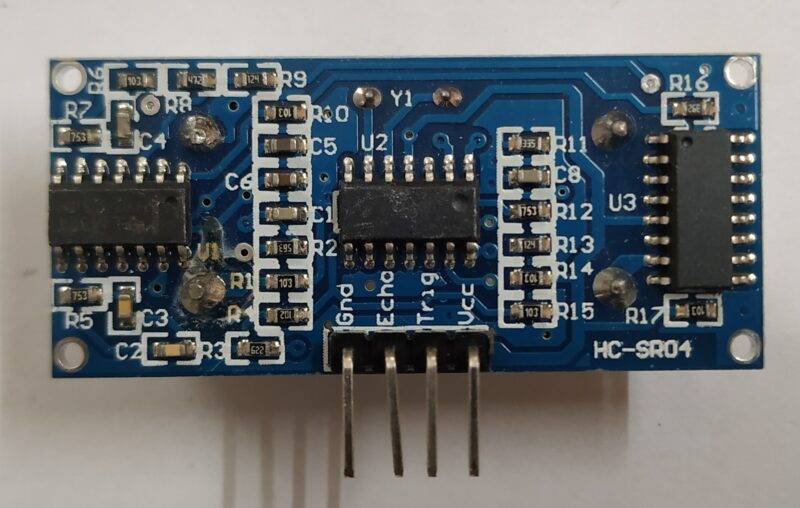
- The hc sr04 sensor comprises the 4 pin out of which two are power lines and other two are data lines which are actually pins provided sending time pulses which results in working of sensor.
- The structure of the ultrasonic sensor is a bit bulky, as the transmitter and receiver of ultrasonic sound seems to stand out of the structure. HC-SR04 sensor is most commen sensor and widely used in the market.
- The commands or the time pulses which are required for controlling the sensor can be sent to the sensor using any microcontroller.
HC SR-04 Ultrasonic Sensor Advantages:
- The main advantage of this hc sr04 sensor is of the distance upto which it can detect an obstacle. Which is a plus point for it among any of the distance or obstacle detecting sensor.
- This ultrasonic sensor Arduino compatibility you can interface this sensor with the arduino easily.
- Secondly, it is very easy to use either with the help of library or manual code as it requires only basic function for calculation of time.
- Thirdly, it only uses two pin communication, which enables it to be used with mostly all the microcontroller. For more, refer to application section for projects based on it.
HC SR-04 Ultrasonic Sensor Disadvantages:
- The main disadvantage of this sensor is the bulky construction of the sensor, which restrict its placement.
- The second disadvantage is not the thing if you program using manual code. But if you use ARDUINO & LIBRARY of the sensor, then you have to modify it.
- This ultrasonic sensor have some limitation. it can’t work with the more distance
Ultrasonic sensor Price & Availability
- The price of this sensor is nominal and easily available in both online and offline market. Also, the price for this sensor is similar for both online and offline. Below are the links of some of the online stores.
| Ultra sonic sensor | BUY LINK |
Ultrasonic sensor Construction

- The construction of the Ultrasonic sensor, especially HC-SR04, is a bit complicated but for your simplicity above is the assumed schematic of the HC-SR04 sensor. The schematic diagram is not made myself but according to the data gathered on the internet, so the accuracy can’t be claimed completely.
- In the schematic, it is clearly visible that there are 3 IC used to construct or make this ultrasonic sensor. Because of which, the names of the IC are not visible for 2 IC in most of the cases as I have seen.
- Namely, these are LM324 or TL047C (Dual OP-Amp), MAX232A (Dual driver for transmitter) & lastly EM78P153S It is the most complicated one.
- EM78P153S is an 8-bit microcontroller which is pre-programmed for performing function which will be explained briefly in the working of ultrasonic sensor section of the article.
- Reaming of some are the passive components which can be found easily to make the circuit, The other main components are the Transmitter & Receiver which plays the crucial role in making the sensor perform tasks.
- The pins for input and output are TRIG & ECHO which are controlled through a Microcontroller like Arduino commonly
- The main advantage of this hc sr04 sensor is of the distance upto which it can detect an obstacle. Which is a plus point for it among any of the distance or obstacle detecting sensor.
- This ultrasonic sensor Arduino compatibility you can interface this sensor with the arduino easily.
- Secondly, it is very easy to use either with the help of library or manual code as it requires only basic function for calculation of time.
- Thirdly, it only uses two pin communication, which enables it to be used with mostly all the microcontroller. For more, refer to application section for projects based on it.
- which is given in this Arduino Smart shortest path finder With HC-SR 04 you can check it here.

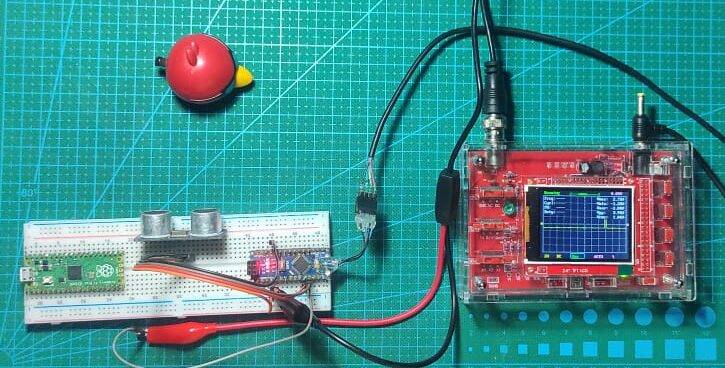
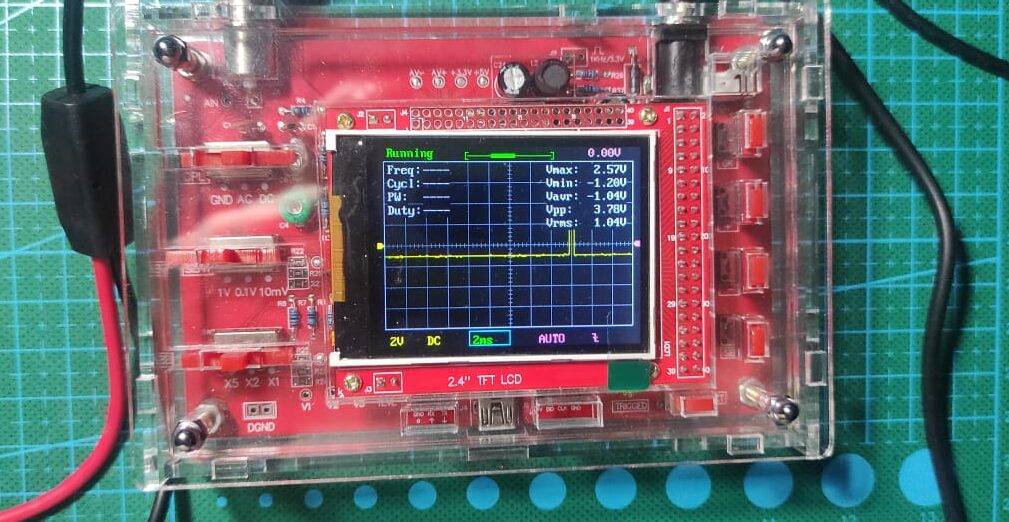
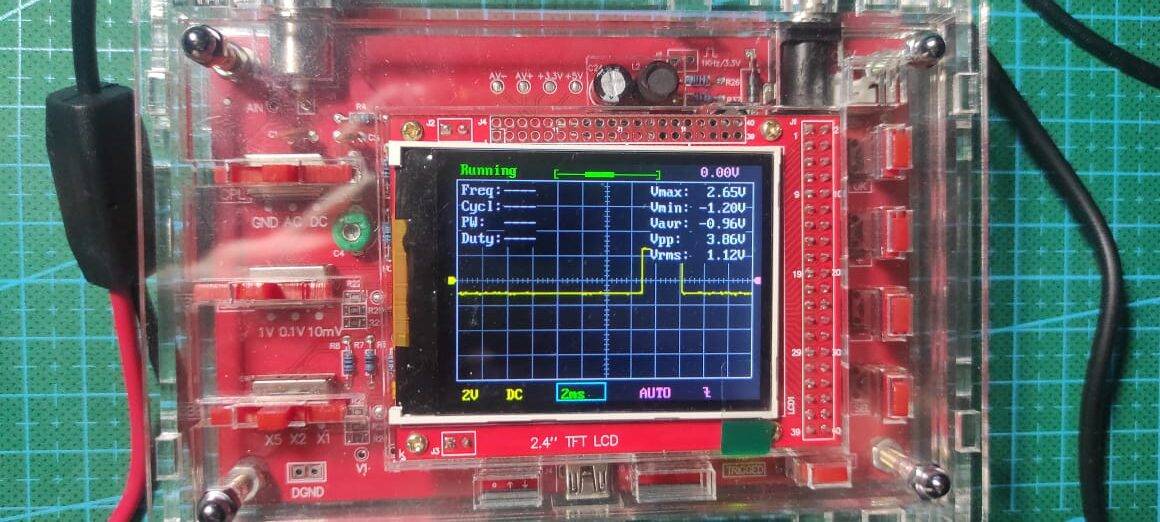
Ultrasonic sensor Working
- The working of the HC-SR04 Ultrasonic Sensor is a bit complicated as due to use of three different IC’s. All of them have different tasks to perform.

- Let’s take a look at each IC, First have a look at the schematic where OP-Amp is used. In this section also it is most important of the whole schematic.
- In this section, the sound received by the receiver is converted into voltage signal. Also, the noise in the circuit is removed like the audible range noise ranging from 20-20kHz.
- To solve this issue, the threshold value that is the minimum frequency of the signal is to be detected & sent to the 8-bit onboard microcontroller. Also, the amount of time for which the signal is received is calculated by the microcontroller on the basis of the signal input to the microcontroller from the op-amp section.
- Lastly, the 8-bit controller controls all the input and output which is based on time pulses which is of course voltage level for a couple of microseconds of time.
- Ultrasonic sensor range is more than 300 cm but it can work propery to the maximum 150-200 cms.
Ultrasonic sensor working principle:-
in the below paragraph we will know how does the sensor work. this ultrasonic sensor also works as a distance measurer.
- An ultrasonic sensor has two parts one is a transmitter and another is the receiver that is known as a trigger and echoes.
- the trigger is the transmitter part and transmits the ultrasonic wave.
- another part that is receiver an echo receive that transmitter ultrasonic waves transmitted from the triggerin hc sr04.
- now we calculate that in how much time the ultrasonic waves return back to the receiver and divide by 2 because the time travel is double.
we can make many other mini projects for use with this useful sensor.

we calculate the distance by the time and speed formula
distance = time X speed
of the ultrasonic wave = 340 m/s
Applications and Use of ultrasonic sensor:
- The application of this sensor is very vast, as it can be used in any obstacle detection task. We have used this sensor in many projects, which will give you an idea of its usage and code formation.
With this, the complete explanation about the construction and working of the ultrasonic sensor is complete. Hope you find it useful. Until then, enjoy this explanation.
FAQ
Q. What is the maximum Ultrasonic sensor range?
The sensor can be used up to a distance of 4 meters. But If you are using Arduino and its Library, then you have to modify it to enable it to measure up to 4 m.
Q. What is the minimum distance at which the obstacle must be kept to be detected for ultrasonic sensor?
The object must be at the minimum at 2-3 cm from the transmitter and receiver of the sensor. This is required as the starting range of sensors is from 2-3 cm to 400 cm in its datasheet.
Q. What is the logic level of the ultrasonic sensor?
The sensor works at 5V, so it is obvious that its logic level is the same level. But you can use it easily for many 3.3V microcontrollers without any issue.
Q. Sensor only detecting 50 cm of distance!
This is the issue I was talking about, so make sure you edit the library before re-uploading the code.
Latest Ultrasonic project
How to make a Smart dustbin using Arduino
Obstacle Avoiding robot using Arduino
How to make automatic soap dispenser