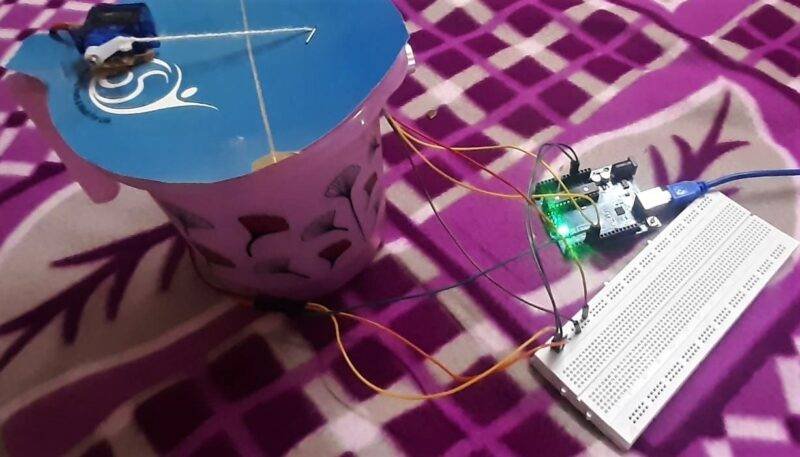
Hey Techies, welcome back to Techatronic. In this article, we are going to discuss how you can make your own Smart Dustbin With Arduino and IR Sensor.
Dustbins are one of the most common things that can be easily found in someone’s home. The dustbins are available in different sizes and are made of different materials.
You can also check Smart Dustbin Using Arduino and Ultrasonic Sensor. Most commonly we all have plastic dustbins in our home which may or may not be covered with a lid.
If you have an interest in such types of cool projects then please make sure to check out more projects based on Arduino. Basically, Arduino is a microcontroller whose functioning is controlled by ATmega 328p IC.
Arduino boards are available in different sizes and with different names but in this project, we use Arduino UNO.
Please follow the instructions given below to make your own smart dustbin. For making such amazing projects on your own you can check out our E-Book on Arduino.
What is a Smart Dustbin
You all have a question in your mind that what is a smart dustbin and why do we need it. Like normal dustbins, some of them are open bins and some have a lid to close them.
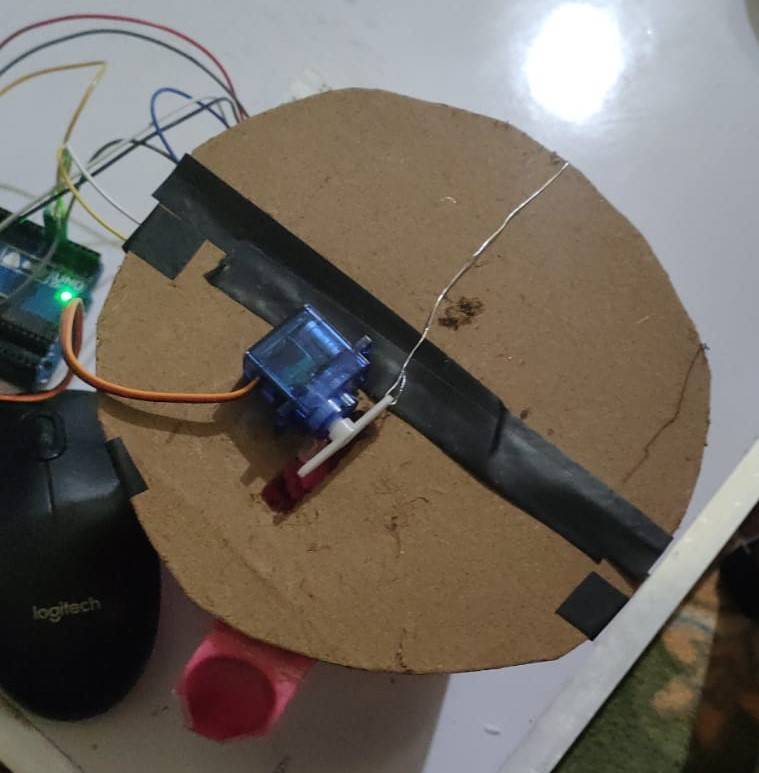
Some dustbins have a foot pedal to open their lid. It is very important to close the bins with a lid to maintain hygiene and odor. The smart dustbin that we proposed has a lid that opens and closes automatically.
You don’t have to touch the dustbin to open it whenever you come close to it, the sensor detects you and automatically opens the lid. After a few seconds if the sensor doesn’t detect someone near it then the lid will be closed automatically.
How Does it Work?
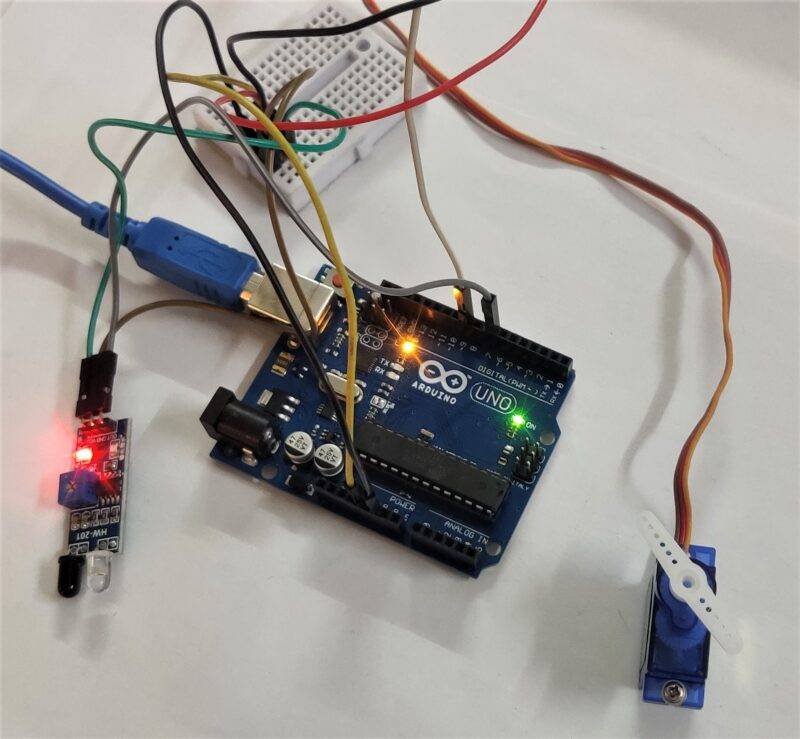
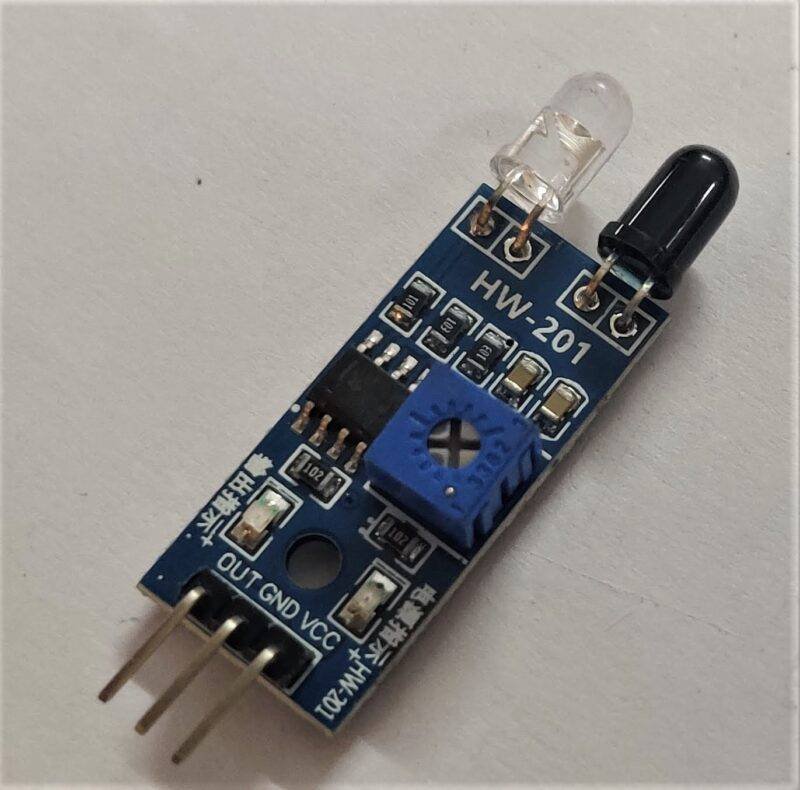
In this project, we use an IR sensor which is also known as a proximity sensor.
This sensor will send a high output whenever it detects some obstacle in its range otherwise its output is low. For opening and closing the lid of the smart dustbin we use a Servo motor. If you are not familiar with the working of the Servo motor then check it out first.
The Arduino is programmed in such a way that if the IR sensor detects someone near the dustbin the servo motor will rotate to open the lid and after a delay of some time, the servo motor will rotate again and closes the lid. In this way, the Smart dustbin works and helps to maintain the hygiene of the place.
Please make the circuit according to the circuit diagram given below and then upload the code.
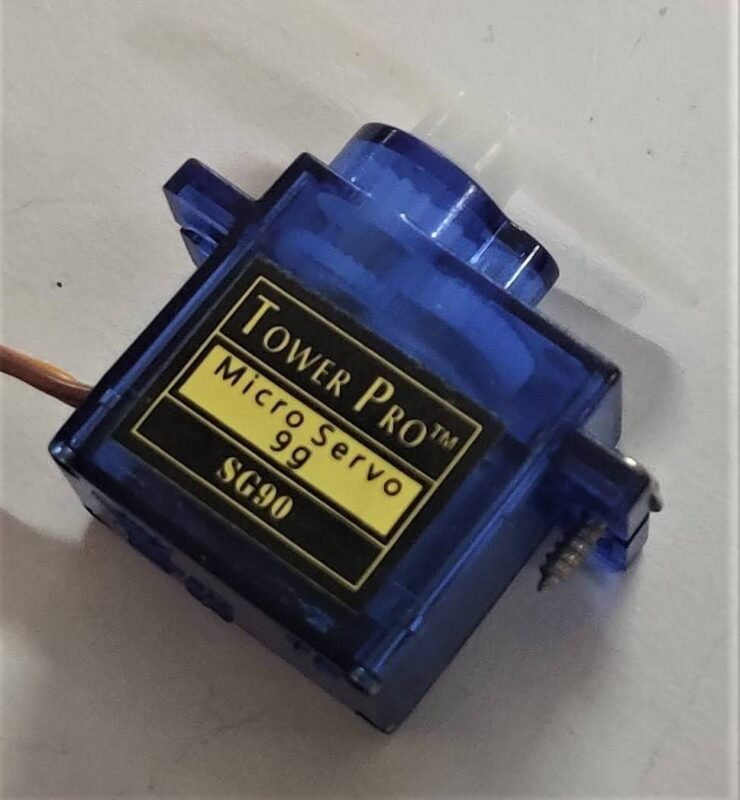
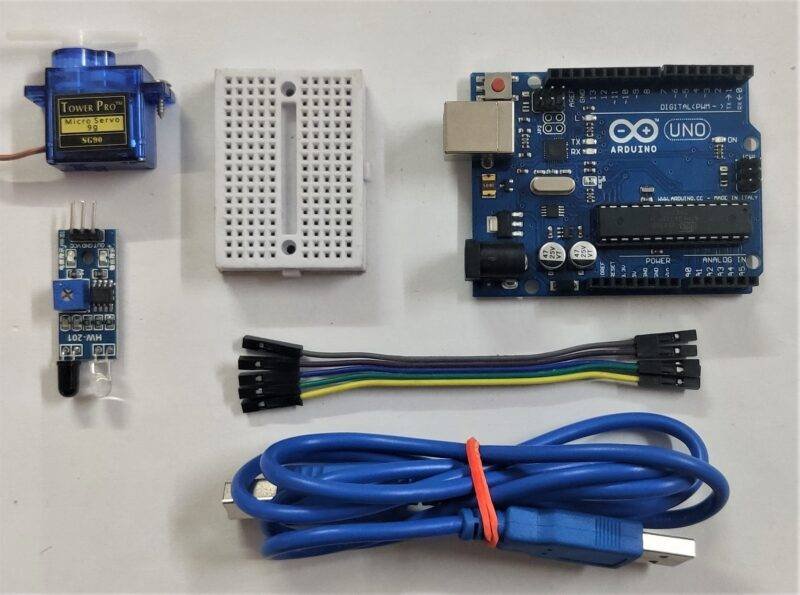
Components Required
| Arduino UNO | BUY LINK |
| USB cable for uploading the code | BUY LINK |
| IR Sensor | BUY LINK |
| Servo motor | BUY LINK |
| jumper wires | BUY LINK |
| breadboard | BUY LINK |
| power supply | BUY LINK |
Circuit Diagram for Smart Dustbin
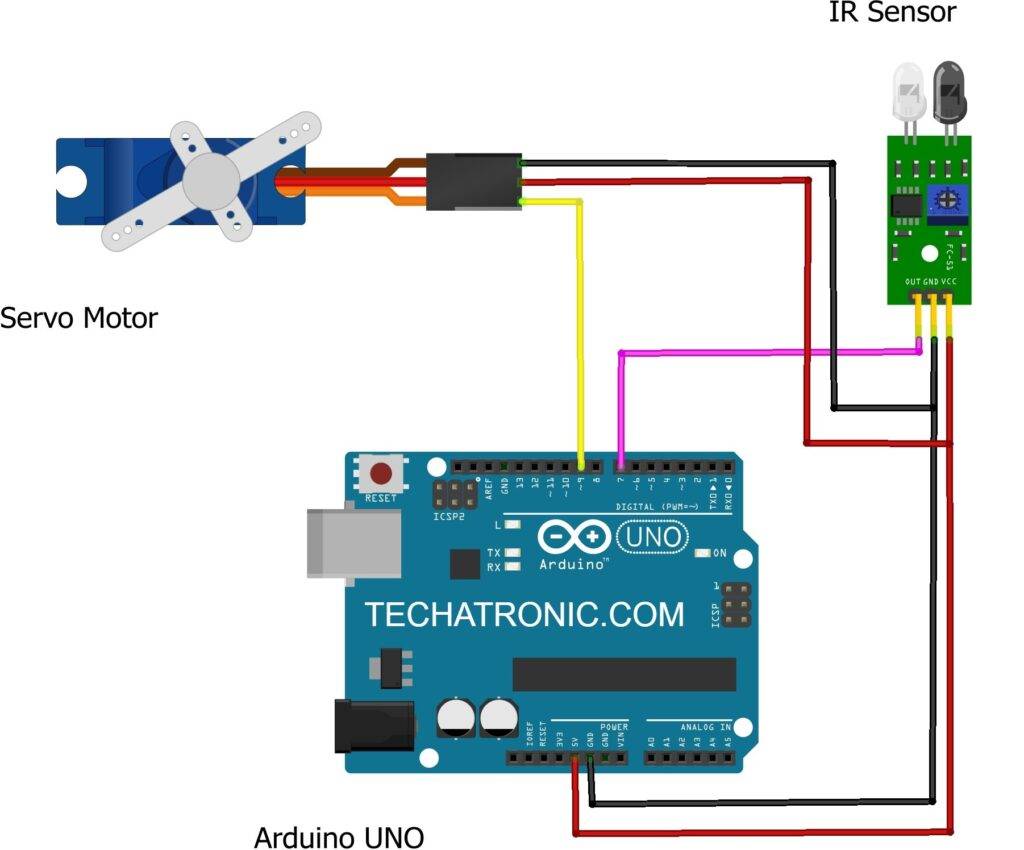
Make the connections according to the circuit diagram given above. Join the 5-volts pin of the Arduino to the VCC of the IR sensor and also with the positive wire of the servo motor.
Connect the GND pin of the Arduino to the GND of the IR sensor and also with the negative wire of the servo motor. Attach the OUT pin of the IR sensor to the digital-7 pin of the Arduino and the signal(brown) wire of the servo motor with the digital-9 pin of the Arduino.
The smart dustbin starts working when you provide the power to the Arduino.
Also check our Arduino latest projects and IOT Projects.
| Arduino UNO | IR Sensor |
| D7 Pin | OUT Pin |
| ( +5V ) | VCC |
| GND | GND |
| Arduino UNO | Servo Motor |
| D9 Pin | OUT Pin ( Orange Colour ) |
| ( +5V ) | VCC ( Red Colour ) |
| GND | GND ( Brown & Black Colour ) |
Code for the Project
NOTE: Upload the given code to the Arduino. You have to install <Servo.h> first.
 //Techatronic.com
 //smart dustbin
 #include <Servo.h>  //servo library
 int IRsensor = 7; // connect ir sensor to arduino digital 7 pin
 Servo myservo;   //create servo object
 int pos=0;      //set the default position to zero
 void setup()
 {
  Serial.begin(9600);
  pinMode (IRsensor, INPUT); // sensor pin INPUT
  myservo.attach(9);
  myservo.write(0);     //close cap on power on
  delay(100);
 }
 void loop()
 {
  int value = digitalRead (IRsensor);
  if (value == 1)
   { Serial.print("HIGH-  Opening the lid of bin\n");
   myservo.write(90);
   delay(3000);
   }
  else
   { Serial.print("LOW-  lid remains close\n");
   myservo.write(0);
   delay(3000);
   }
 }
Hope you understand the project well and if you are facing any errors do inform us in the comments section below. You can check out more Tutorials on Arduino.
HAPPY LEARNING!
