
Table of Contents
Introduction
Hey guys, welcome back to Techatronic. Have you ever tried an OLED module to display something, if not then in this article we are going to see how we can use an OLED display with Arduino?
For this project,
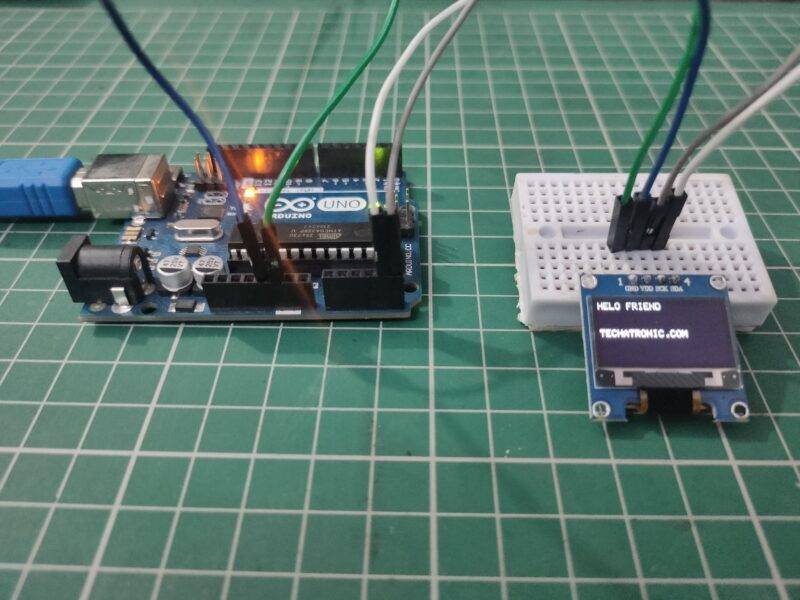
we are using an SSD1306 OLED display and an Arduino UNO microcontroller board.
If you want to learn the working of more such modules and sensors then you can check out our tutorials on Arduino.
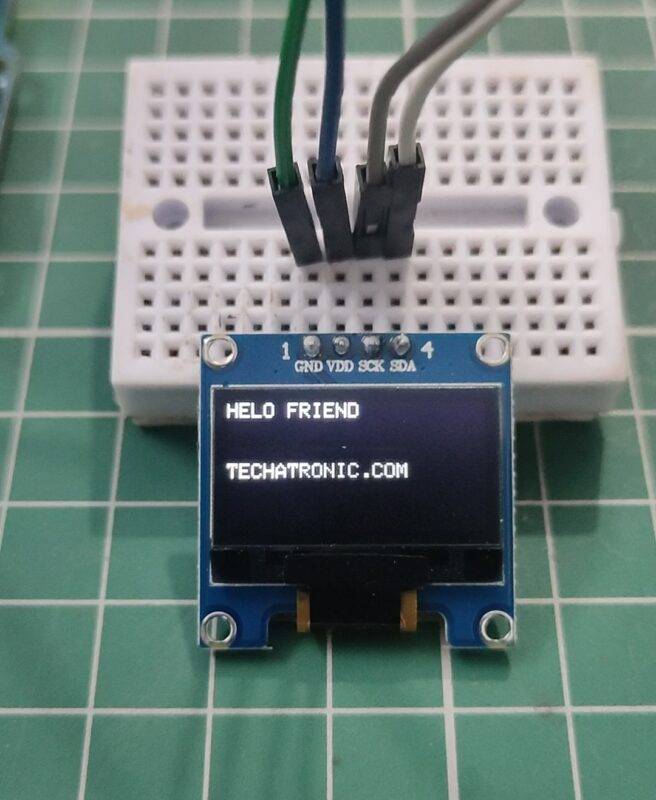
There are four pins in the SSD1306 OLED display that we use in our project. Two pins(VCC and GND) are for power and the other two pins are for data(SDA and SCL).
First, you have to make the connections and then upload the given code. You can make your own projects with it like a Heart Rate Monitor in which is used to display the pulse rate.
How Does it Work?
- This display module is capable of displaying alphanumeric characters and graphics as well.
- The OLED display is available in many resolutions like 128×32, 128×64.
- The display module that we have used has a resolution of 128×64 pixels.
- The OLED stands for Organic Light-Emitting Diode in which the light is produced by organic molecules and LEDs.
- To learn this you need to learn basic electronics You can program it using development boards and display running texts, graphics on it.
- You have to set some parameters such as text size and text color for the content that you want to display. After this set the position of the cursor to zero initially.
After it,
you have to specify the content which is going to be displayed on the OLED screen. For this project, the text “HELLO FRIEND” and “TECHATRONIC.COM” are displayed by us.
You can change the code to display your own content.
Components Required
| Arduino UNO | BUY LINK |
| SSD1306 Oled Display | BUY LINK |
| Breadboard | BUY LINK |
| Jumper wires | BUY LINK |
| USB cable for uploading the code | BUY LINK |

Circuit Diagram for the Project

Connection Table
| Arduino UNO | SSD1306 Oled Display |
| ( +5V ) | VCC |
| GND | GND |
| A4 Pin ( SDA ) | SDA Pin |
| A5 Pin ( SCL ) | SCL Pin |
Please make the connections according to the circuit diagram given above.
You can use either a USB cable or DC batteries to power the Arduino.
Connect the 5-volts pin of the Arduino with the VCC pin of the OLED display.
Attach the GND pin of the Arduino with the GND pin of the OLED display.
Join the analog-4 pin of the Arduino to the SDK pin of the OLED display and the analog-5 pin of the Arduino to the SCK pin of the OLED display as shown above.
Code for the Project
NOTE: Please upload the code which is given below to the Arduino as it is. You need to install <SPI.h>, <Adafruit_GFX.h>, and <Adafruit_SSD1306.h> before uploading the code. If you don’t know how to include zip libraries in the Arduino then go through it first.
  // TECHATRONIC.COM
  // Library SPI.h
  // https://github.com/PaulStoffregen/SPI
  // Library Adafruit_GFX.h
  // https://github.com/adafruit/Adafruit-GFX-Library
  // Library Adafruit_SSD1306.h
  // https://github.com/adafruit/Adafruit_SSD1306
 #include <SPI.h>
 #include <Wire.h>
 #include <Adafruit_GFX.h>
 #include <Adafruit_SSD1306.h>
 #define screen_width 128 // OLED display width, in pixels
 #define screen_height 64 // OLED display height, in pixels
 #define OLED_RESET 4
 Adafruit_SSD1306 display(screen_width, screen_height);
 void setup ()
 {
  display.begin(SSD1306_SWITCHCAPVCC, 0x3C);
 }
 void loop ()
 {
 display.clearDisplay();
 display.setTextSize(1);
 display.setTextColor(SSD1306_WHITE);
 display.setCursor(0, 0);
 display.print("HELO FRIEND");
 display.setCursor(0, 30);
 display.print("TECHATRONIC.COM");
 display.display();
 }
We hope that you learn the working of an OLED display with Arduino. If you face any problems related to the project, use the comments section below to inform us. Please check out more related projects based on Arduino and Raspberry Pi made by us.
HAPPY LEARNING!
