Hey guys, Welcome back to Tecahtronic. In the previous tutorial, we have uploaded a Light sensor interface. Now, it’s turning for the temperature sensor which is. DHT 11 is the smallest and most accurate sensor using dht11 with the Arduino. it can also show the humidity. this can be used in many other projects. for example, if you are planning to make a clock for your home you can add this function also. Actually, this is cool to make your own temperature monitoring system. if you will buy a temperature monitoring device it can be costly and if you will make this by dht11 with Arduino you can get two benefits. first, you will save some bucks and in another you will definitely learn many things. so, we would prefer to make this by ourselves.

When you see your mobile phone screen there is a widget called weather. Now you can make your own weather forecast system. what do you need? you need to read this dht11 with Arduino article to make the proper connection and the required coding. we are sharing all the required detail in this post. we are sharing all the detail we have. we did a lot of projects so we are sharing what we learn or what we have. if you are really a learner bookmark this website. you will never regret we keep posting very cool projects on a regular basis.
Why this Activity:-
As we are sharing all the tutorials over the Arduino so, that you can learn each and everything. with these basics, you can learn each and every concept to interface and work with all the sensors and devices. this is really important. as you can see our all the tutorials from the category section. there is one Arduino tutorial which is a full course to learn the embedded system. dht11 with Arduino will also help you to learn many things. this is not only the temperature sensor it can also monitor the humidity. I hope you will learn from this activity.
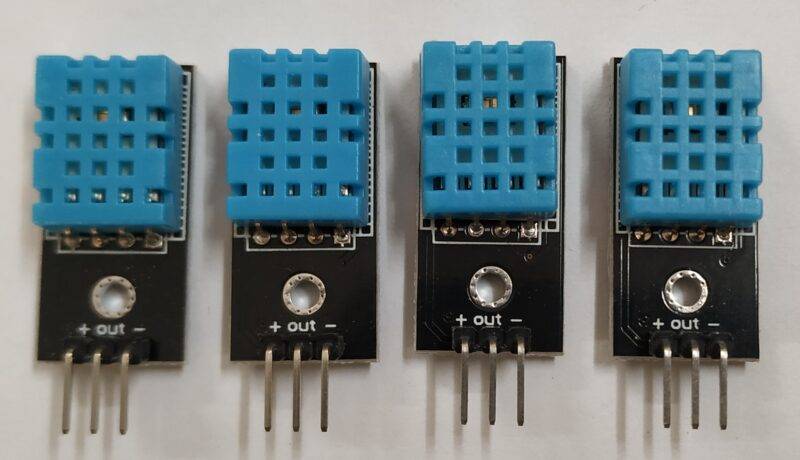
What is DHT11 sensor?

DHT 11 sensor is a tiny and cheap sensor. best for projects and learn the basics. if you are looking for the dht11 datasheet you can download the datasheet. the datasheet will provide you the all information from basic to deep. and if you want to see only some useful basics then you can read here. dht11 is a three-wire sensor which has ground, Vcc, and a data pin. and all the information you will get both temperature and humidity from a single data line. There are two sensors inside the module one is for humidity and another is for temperature.
DATA pin accepts digital data to be transmitted. from this data pin, all the data will be collected by the arduino.
VCC supplies power to the transmitter. This should be any positive DC voltage from 3.5V to 12V.
GND is a ground pin.
N/C pin will not be connected
The DHT11 uses relative humidity by calculating the electrical resistance between two electrodes used in the sensor.
in DHT 11 sensor The humidity sensing component is a moisture-holding substrate with the electrodes applied. When the substrate absorbs the water vapor, ions are released by the same which can increase the conductivity between the two electrodes. The change in resistance between these electrodes is should be proportional to the relative humidity. as the fact, Higher relative humidity can decrease the resistance. and the resistance between electrodes can increase with the decrease in relative humidity.
To program the DHT11 with Arduino you will need the libraries. you can download the library from our website. without this dht11 Arduino library, you can’t do the code. libraries having some header files. which could make easy coding. if you have any problem in installing the library you can refer to our latest post on how to install a library.
How does it work?
DHT11 sensor connected to the Arduino digital pin. All the output is dependent on code. There are two sensors inside the module one is a humidity sensor and another is npt temperature sensor. the sensor always continuously sends the data by the data pin. Arduino collects that and then Arduino process this data and shows this data on the serial monitor.
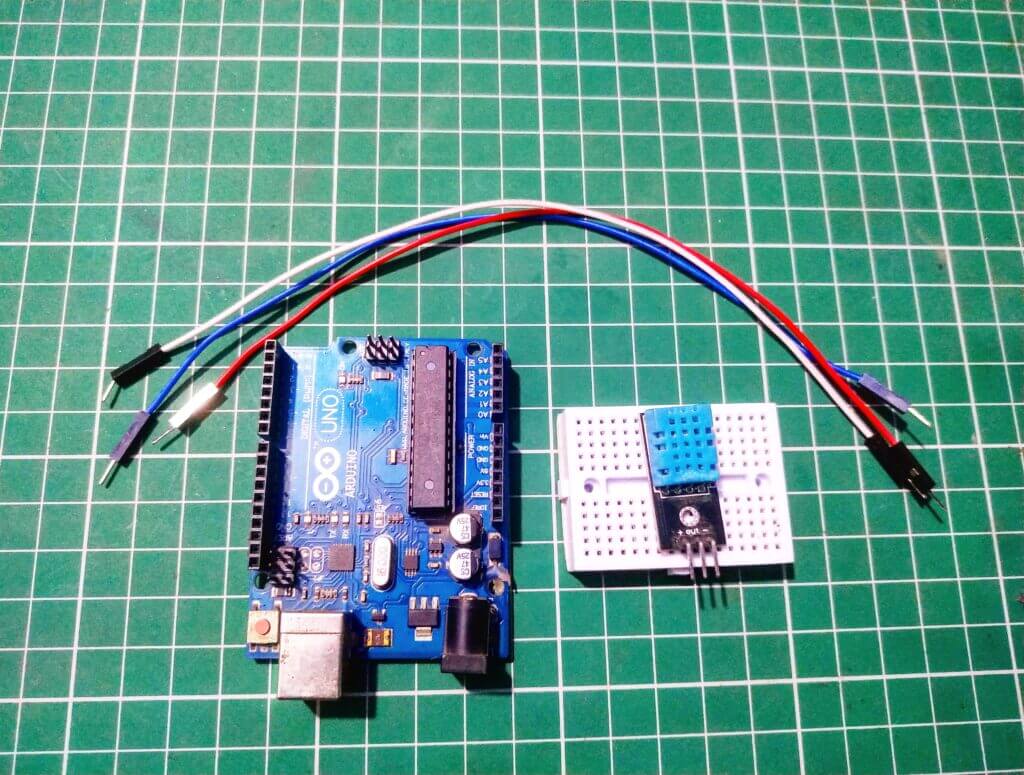
Components Required for DHT all with Arduino:-
- Arduino Uno
- DHT11
- Jumper wire
- Breadboard
- Arduino Connecting Cable
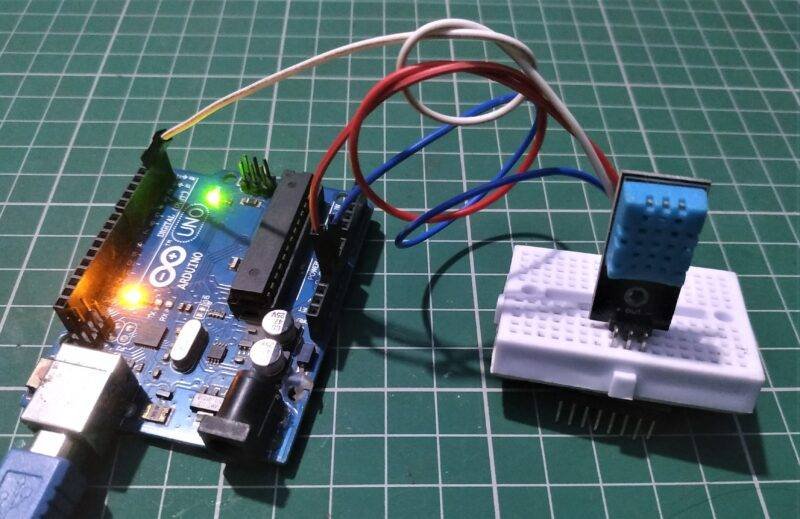
DHT11 with Arduino Circuit:-

| Arduino UNO | DHT 11 Temperature & Humidity Sensor |
| D2 Pin | S ( Signal ) |
| +5V | V ( VCC ) |
| GND | G ( GND ) |
DHT11 Arduino Code:-
 // TECHATRONIC.COM
 #include <SimpleDHT.h>
 //   for DHT11,
 //   VCC: 5V or 3V
 //   GND: GND
 //   DATA: 2
 int pinDHT11 = 2;
 SimpleDHT11 dht11(pinDHT11);
 void setup()
 {
   Serial.begin(9600);
   Serial.println("TEMPERATURE AND HUMIDITY");
 }
 void loop()
 {
  byte temperature = 0;
  byte humidity = 0;
  int err = SimpleDHTErrSuccess;
  if ((err = dht11.read(&temperature, &humidity, NULL)) != SimpleDHTErrSuccess) {
   Serial.print("Read DHT11 failed, err="); Serial.println(err);delay(1000);
   return;
  }
  Serial.print((int)temperature); Serial.print(" *C, ");
  Serial.print((int)humidity); Serial.println(" H");
  // DHT11 sampling rate is 1HZ.
  delay(1500);
 }
After uploading the Arduino you need to open the Serial monitor as given below.
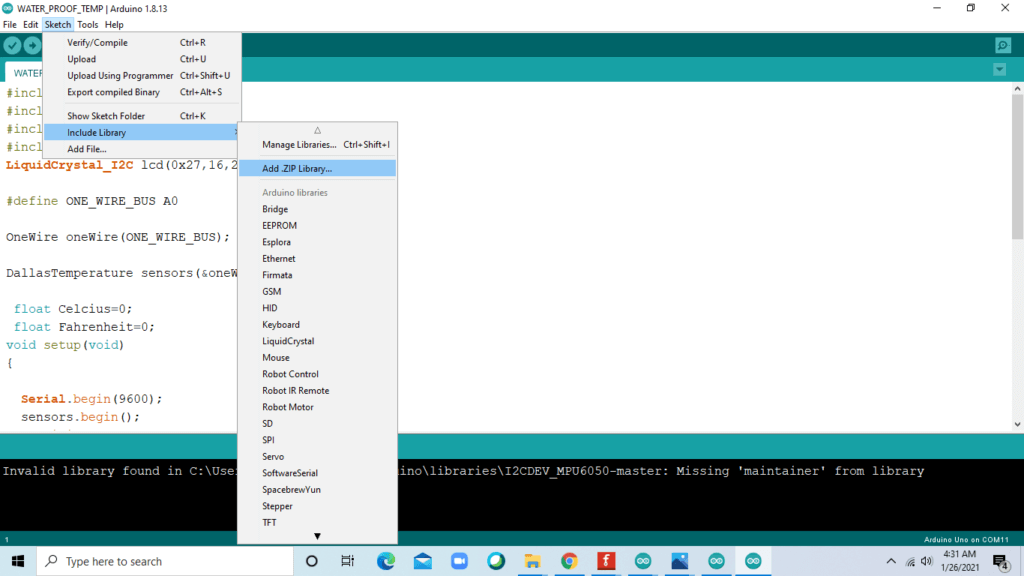
follow the given steps in both images.

all the best for the project. if you have any query you can ask us in the comment section.