Table of Contents
Introduction
Hey guys, welcome back to Techatronic. In this article, we are going to discuss the 4-Digit Display Arduino Digital Clock Using Arduino and RTC Module.
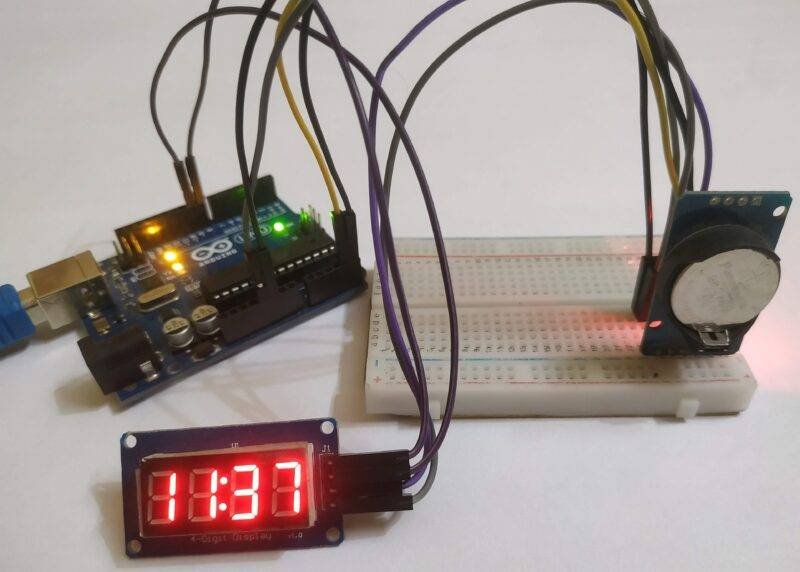
I am sure that you are aware of digital clocks which can be found easily in your homes. So in this article, we are going to make a digital clock with the help of Arduino and the DS 3231 RTC module.
For displaying the time we use a TM 1637 – 4 digit seven segment display module. If you are new to this field and want to explore such cool mini projects on Arduino,
please click here. Basically, Arduino is a microcontroller that uses IC ATmega328p for its functioning. There are many variants of Arduino board available in the market but we use Arduino UNO for this project.
If you are not aware of the DS 3231 RTC modules working with Arduino, please click here. Please read carefully and complete the circuit according to the given information and then upload the Arduino code.
How Does it Work?
- The DS 3231 RTC module is used to determine the current time and date.
- It comes with an inbuilt battery which is used to keep the module up to date in the absence of an external power supply.
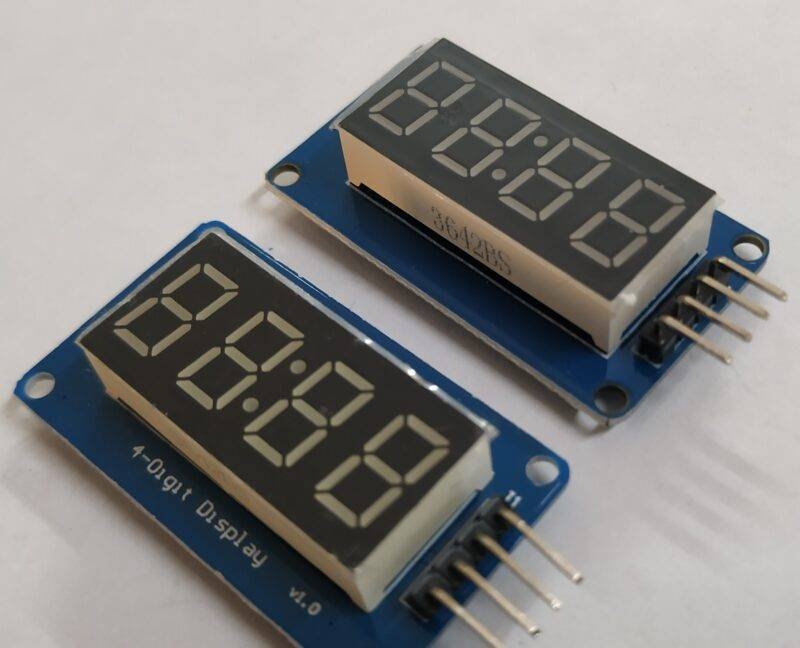
- The TM 1637 – 4 digit seven segment display is used to display the time which we obtain from the RTC module.
- This display module is capable of displaying 4 numerical between zero to nine at a time.
- You can also check Arduino digital clock with DS 1307 and LCD display. This digital Arduino clock mini project displays the time same as other digital clocks i.e in the form of hours and minutes.
- The first two numerical values on the TM 1637 display represent time in hours and the second two numerical values represent time in minutes.
- Both minutes and hours values are separated with “: ” so one can easily differentiate between the two.
Components required
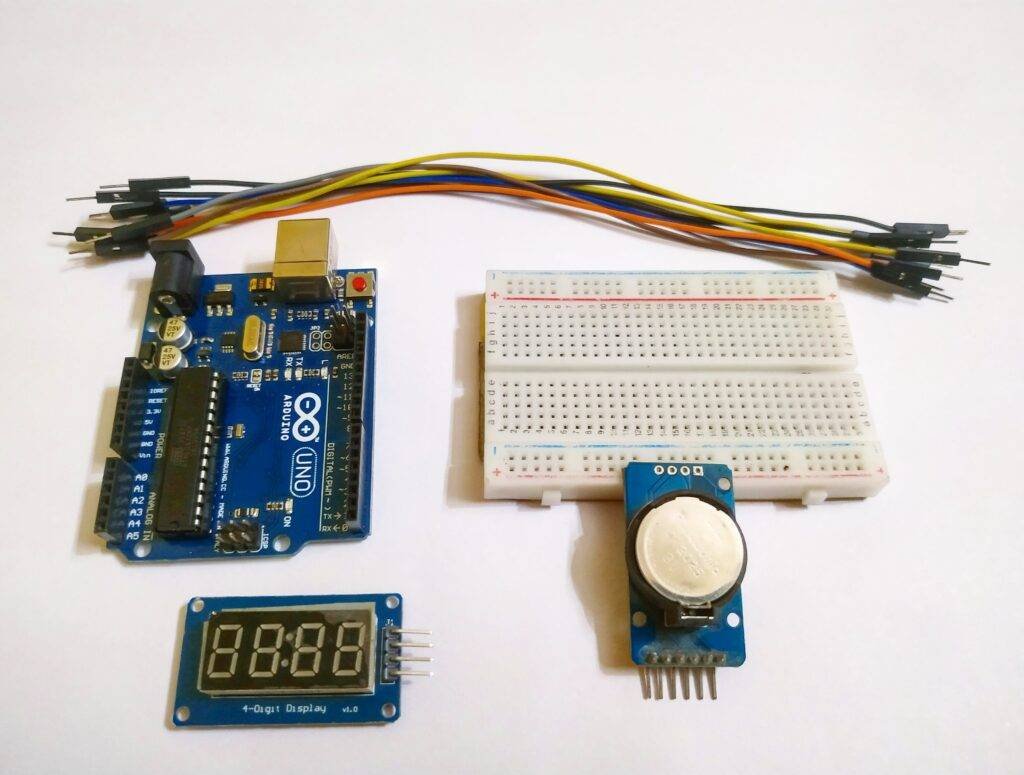
- Arduino UNO
- USB cable for connecting the Arduino to the PC
- Jumper wires
- Breadboard
- TM 1637- 4 digit seven segment display
- DS 3231 RTC module
Circuit Diagram of the Project
Connection Table
| Arduino UNO | DS3231 RTC Module |
| ( +5V ) | VCC |
| GND | GND |
| A4 Pin ( SDA ) | SDA Pin |
| A5 Pin ( SCL ) | SCL Pin |
| Arduino UNO | TM1637 – 4 Digital Display |
| ( +5V ) | VCC |
| GND | GND |
| D8 Pin | CLK Pin |
| D9 Pin | DIO Pin |
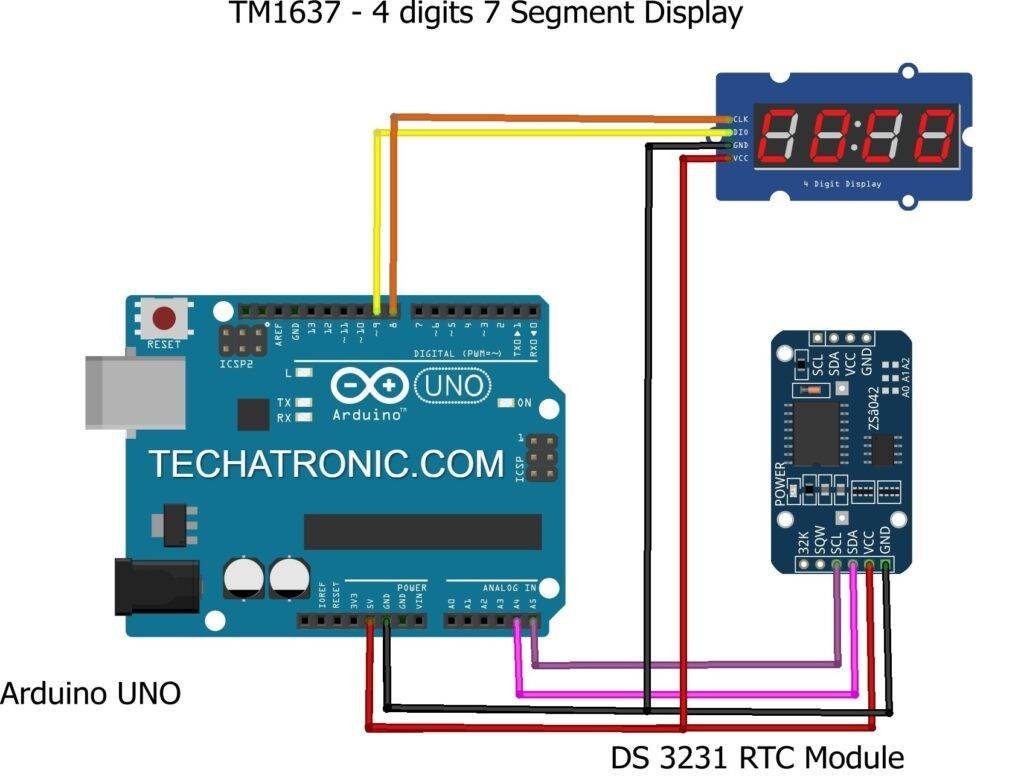
Make the circuit according to the given diagram.
- Connect the 5-volt pin of the Arduino to the VCC pin of the DS 3231 RTC module and also with the VCC pin of the TM 1637 -4 digit seven segment display.
- Attach the GND pin of the Arduino to the GND pin of the DS 3231 RTC module and also with the GND pin of the TM 1637 -4 digit seven segment display.
- Connect the analog 4 pin of the Arduino to the SDA pin and the analog 5 pin of the Arduino to the SCL pin of the DS 3231 RTC module as shown.
- Join the digital 8 pin of the Arduino to the CLK pin and digital 9 pin of the Arduino to the DIO pin of the TM 1637- 4 digit seven segment display.
After completing the circuit please upload the given Arduino code.
Code for the mini Project
NOTE: Upload the code given below to the Arduino. You have to install <RTClib.h> and <TM1637Display.h> libraries for the proper working of the project.
 // TECHATRONIC.COM
 // LIBRARY TM1637Display
 // https://github.com/avishorp/TM1637
 // LIBRARY RTClib
 // https://github.com/adafruit/RTClib
 #include "RTClib.h"
 #include <TM1637Display.h>
 // Define the connections pins for TM1637 4 digit 7 segment display
 #define CLK 8
 #define DIO 9
 // Define the connections pin for DS3231 RTC Module
 // SCL - A5
 // SDA - A4
 // VCC - VCC
 // GNG - GND
 // Create rtc and display object
 RTC_DS3231 rtc;
 TM1637Display display = TM1637Display(CLK, DIO);
 void setup() {
  // Begin serial communication at a baud rate of 9600
  Serial.begin(9600);
  // Wait for console opening
  delay(3000);
  // Check if RTC is connected correctly
  if (! rtc.begin()) {
   Serial.println("Couldn't find RTC");
   while (1);
  }
  // Check if the RTC lost power and if so, set the time:
  if (rtc.lostPower()) {
   Serial.println("RTC lost power, lets set the time!");
   // The following line sets the RTC to the date & time this sketch was compiled:
   rtc.adjust(DateTime(F(__DATE__), F(__TIME__)));
   // This line sets the RTC with an explicit date & time, for example to set
   // January 21, 2014 at 3am you would call:
   //rtc.adjust(DateTime(2014, 1, 21, 3, 0, 0));
  }
  // Set the display brightness (0-7):
  display.setBrightness(5);
  // Clear the display:
  display.clear();
 }
 void loop() {
  // Get current date and time
  DateTime now = rtc.now();
  // Create time format to display:
  int displaytime = (now.hour() * 100) + now.minute();
  // Print displaytime to the Serial Monitor
  Serial.println(displaytime);
  // Display the current time in 24 hour format with leading zeros enabled and a center colon:
  display.showNumberDecEx(displaytime, 0b11100000, true);
  // Remove the following lines of code if  you want a static instead of a blinking center colon:
  delay(1000);
  display.showNumberDec(displaytime, true); // Prints displaytime without center colon.
  delay(1000);
 }
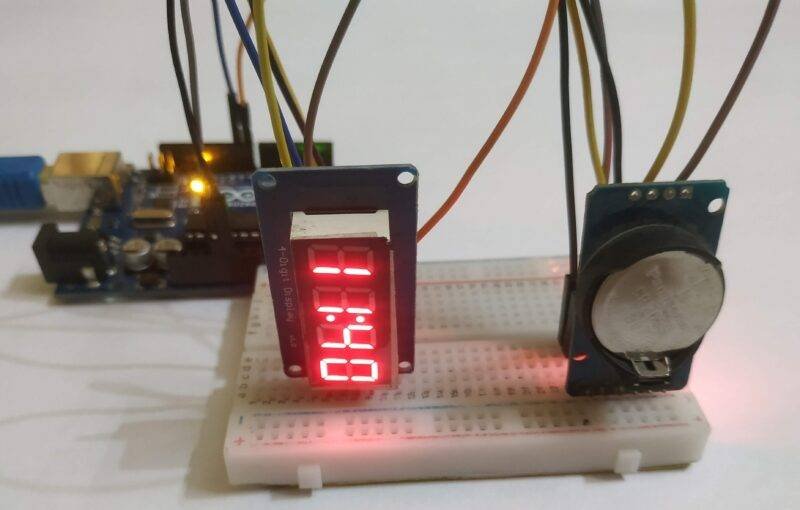
Final Project Look Like
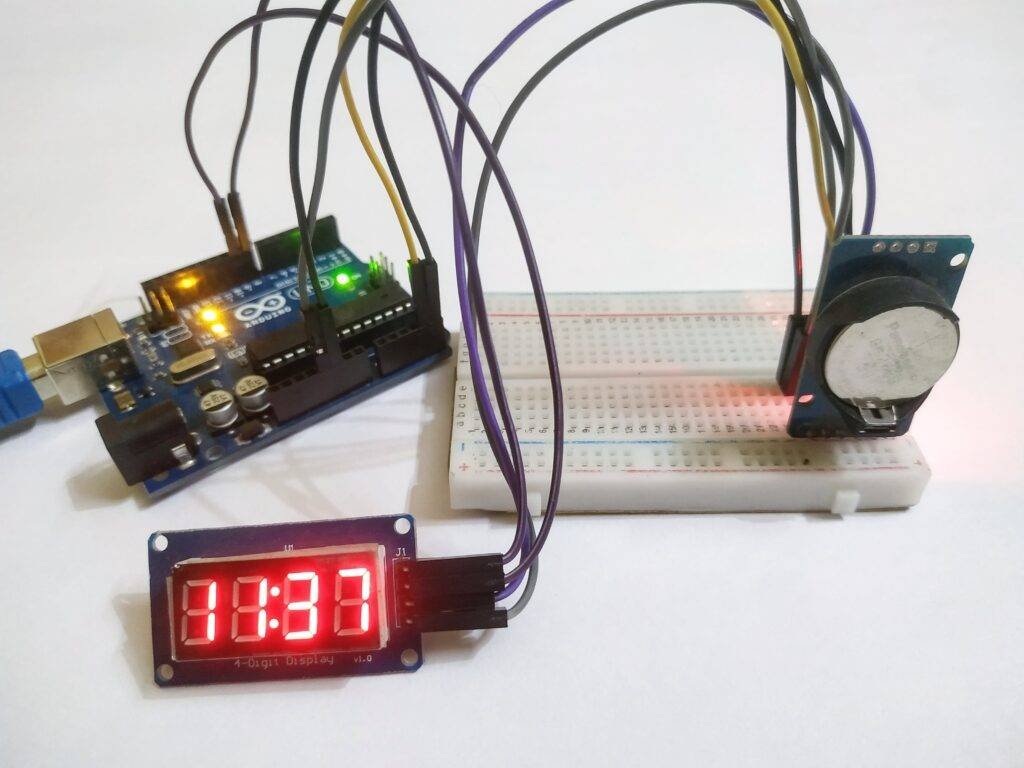
Hope you understand the project well and if you are facing any errors please do inform us in the comments section below. You can also check out more Arduino tutorials.
HAPPY LEARNING!






how to display the day date (dd-mm-yyyy) scrolling left..? thanks