
Hey Friends, I am back again with another tutorial based on Raspberry Pi. Today we gonna discuss how to control a motor of any type (not stepper) with Raspberry Pi. Modules like L293D and L298n are very common for controlling motors. So to ease the task we are gonna use them with Raspberry pi and by using PWM signals we will control motors.
Motor Modules | L293D | L298N:
So, First if you are beginner in field of electronics or Arduino field then I will highly recommend you before continuing please look at arduino tutorial with L293D motor control. If you are familiar with it then it’s fine. So in brief, these modules usually have dual H-Bridge for controlling motor both way i.e., clockwise and anti-clockwise. A brief pinout is given below also if you wanna read more about the IC’s then click these links for their datasheet and recommended schematics. L293D | L298N .
Material Required:
| Raspberry PI | BUY LINK |
| L293D or L298N module | BUY LINK |
| A motor | BUY LINK |
| 12V supply | BUY LINK |
| Jumper wires | BUY LINK |
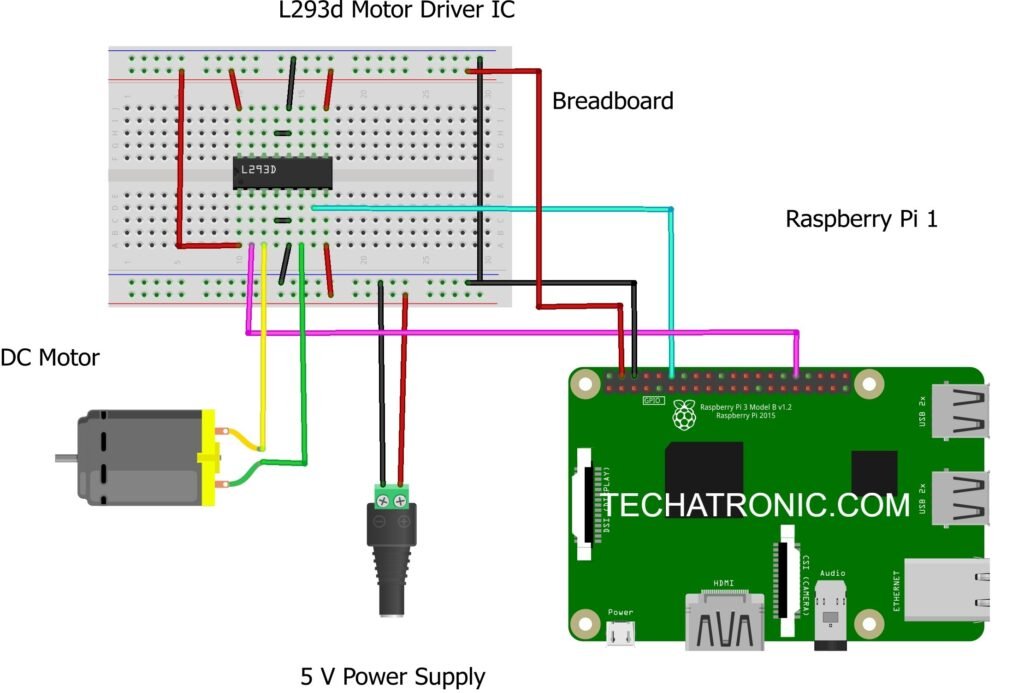
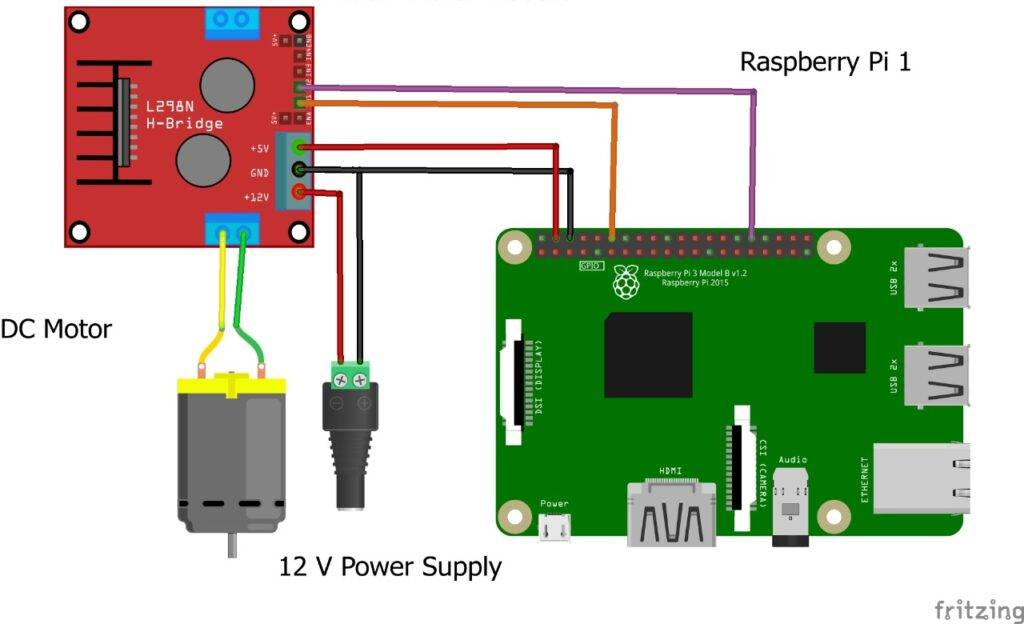
Circuit designs:
Programming:
If you have connected your pi with motor module as shown below then make sure you have make common ground connection between Pi and 12V supply. Now for programming open Thonny python IDE on your Os on Raspberry Pi. I’m here using Twister OS, If you like it then check it. Or if you are familiar with terminal of linux use it code is always same but complexities with terminal is more. For code downlaod this zip file and run motor control.py file inside it.
 import RPi.GPIO as gp
 from time import sleep
 gp.setmode(gp.BOARD)
 gp.setup(12,gp.OUT)
 gp.setup(32,gp.OUT)
 pwm=gp.PWM(12,50)
 pwm1=gp.PWM(32,50)
 pwm.start(0)
 pwm1.start(0)
 for i in range(0,101):
   pwm.ChangeDutyCycle(i)
   sleep(0.1)
 for i in range(100,-1,-1):
   pwm.ChangeDutyCycle(i)
   sleep(0.1)
 for j in range(0,101):
   pwm1.ChangeDutyCycle(j)
   sleep(0.1)
 for j in range(100,-1,-1):
   pwm1.ChangeDutyCycle(j)
   sleep(0.1);
 pwm.ChangeDutyCycle(0)
 pwm1.ChangeDutyCycle(0)
 pwm.stop()
 pwm1.stop()
 gp.cleanup()

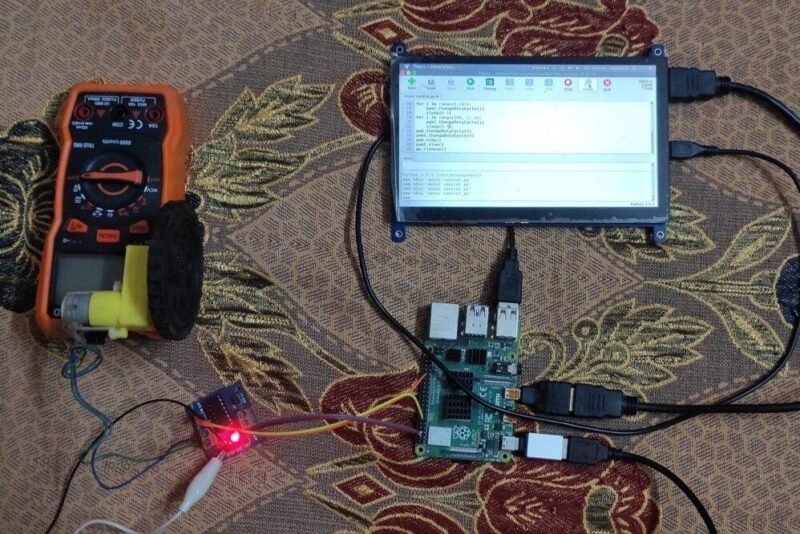
If you have run the file then motor should run both ways i.e., clockwise and anti-clockwise. For your convenience, I have also recorded the video of motor spinning both ways have a look at it.
<insert video link>################################################
By this we came to an end of this interesting tutorial of raspberry pi motor control. I hope you find it helpful. If you face any kind of problem then do let me know in comment section below.