

Table of Contents
Introduction
This article will learn how to make a Rain Detector project using Arduino and Raindrop sensors.
In this project, we use a Raindrop sensor for detecting the rain and a dc motor for covering the roof. If you are new to this field please do check out more projects on Arduino.
Arduino is a microcontroller that uses ATmega328p IC for its functioning. There are many types of Arduino boards available in the market but we use Arduino UNO for this project. For controlling the dc motor we use the L293D motor driver module. Make the connections as given below in the circuit diagram and upload the Arduino code.
The system starts working as soon as you power the Arduino and motor driver by using 9 volts dc batteries. Also, check Weather Station with Arduino.

How Does the System Work?
The Rain Detector Using Arduino and Raindrop Sensor is used to alert the surrounding when it’s raining outside. The system is controlled with Arduino UNO. If the waterfalls on the Raindrop sensor it detects that it’s raining outside and a led connected with it will glow and alert the surroundings.
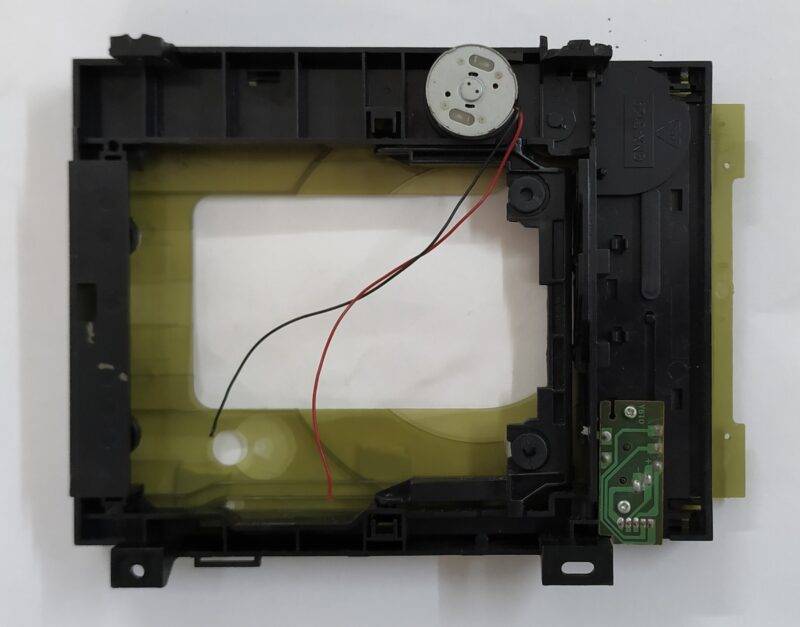
The dc motor starts moving when it rain and covers the roof s that rainwater can’t come inside the home in this Arduino project.
For controlling the dc motor L293D motor driver is used. So whenever it’s raining outside your roof will automatically cover with a shelter.
Arduino interface with rain Drop sensor

Components Required
| Arduino UNO | BUY LINK |
| Raindrop sensor | BUY LINK |
| Breadboard | BUY LINK |
| Jumper Wires | BUY LINK |
| L293D Motor driver | BUY LINK |
| DC motor | BUY LINK |
| LED | BUY LINK |
| Resistor 220 ohm | BUY LINK |
| USB cable for uploading code into Arduino UNO | BUY LINK |
| 9-Volt Batteries | BUY LINK |

Circuit Diagram of the Project

Connection Table
| Arduino UNO | Rain Sensor | |
| ( +5V ) | VCC | |
| GND | GND | |
| D4 Pin ( SDA ) | D0 Pin | |
| Arduino UNO | 9 Volt Battery | |
| Vin | Positive Terminal | |
| GND | Negative Terminal | |
| Arduino | LED | 220 Ohm Resistor |
| D3 Pin | Anode Pin | |
| Cathode Pin | Terminal 1 | |
| Arduino UNO | L293D Motor Driver | 9 Volt Battery |
| VCC | Positive | |
| GND | GND | Negative |
| D6 Pin | M 1 | |
| D7Pin | M 2 |
Make the connections according to the given diagram for the Arduino project. Connect the positive pin of the 9 Volt battery to the Vin pin of Arduino and the negative to the ground(GND) pin of Arduino.
From Arduino connect 5v to the positive rail of the breadboard and ground to the negative rail.
Connect the A0 pin of the Raindrop sensor to the digital 4 pins of the Arduino, VCC to the positive rail, and GND to the negative rail.
Connect the L293D motor driver pins with Arduino digital 6 and 7 pins as shown and motor 1 pins to the dc motor. Now connect 9 volts battery to the VCC and GND of the motor driver module.
Connect digital 3 pins of the Arduino to the positive leg of the LED and negative leg to breadboard ground via a 220-ohm resistor. After completing the circuit upload the given code.

Code of the Project
NOTE: Upload the Arduino code given below as it is. Click here if you don’t know how to upload the code.
 int val = 0 ;
 void setup()
 {
  Serial.begin(9600);
  pinMode(4,INPUT); // rain sensor output pin connected
  pinMode(3,OUTPUT); // led pin
  pinMode(6,OUTPUT); // motor
  pinMode(7,OUTPUT); // motor
 }
 void loop()
 {
  val = digitalRead(4); // rain sensor output pin connected
  Serial.println(val); // see the value in serial mpnitor in Arduino IDE
  delay(100);
  if(val == 1 )
  {
  digitalWrite(7,HIGH);
  digitalWrite(6,LOW);
  digitalWrite(3,HIGH);
  }
  else
  {
   digitalWrite(7,LOW);
   digitalWrite(6,HIGH);
   digitalWrite(3,LOW);
  }
  }
What is Rain Sensor? Rain sensor explanation, Working & Uses
What is Rain Sensor? Rain sensor explanation, Working & Uses
Rain sensor Arduino Mini Project
DHT11 Temperature and Humidity Sensor | DHT11 sensor
Soil Moisture Sensor Working, explanation, Schematic
Thanks for visiting hope you learn the project well. Please do check out more Arduino tutorials.
HAPPY LEARNING!