Welcome to Techatronic, as we learn about, What is Arduino now we need to know How To Operate Arduino IDE. I’ts pretty simple only you need an software which programs thee Arduino.

you will know about the Arduino specification. or if you want to learn more about the board you can refer to the Datasheet. we also given a brief description of Arduino in our latest post you can learn more from there also.
So first, we will talk about the software which we will use to program the Arduino. You can download the software from the given link. I am gonna share the link below.
Arduino Integrated Development Environment (IDE) is the full name of the software. and this is free of cost and open-source software. anybody can use this software.
you need to know only the basics of embedded C to program the Arduino board. there are two patterns to program the Arduino Uno. 1st is library-based.
there are a lot of libraries available for each and every sensor, module, and motor you need to call the library and write some basic shortcodes to work the device. so everyone can program Arduino easily in this way.
And, the other method is for hardcore programmers. in which the programmers need to write the code itself. so this is tougher than the first method. I will make a full course to learn How To Operate Arduino Software, Arduino interfacing and programming at my website. so bookmark our website if you want to learn.
How To Operate the Arduino Software step-by-step Guide Start.
Step #1
Download the Arduino software from the official website
Step#2
Install the Arduino IDE software into your PC make sure to install the comport driver with it during installation.
Step 3
You need a USB to A-type cable to make the Arduino and PC connection.
Make a connection Between Arduino and PC with the cable.
Step 4
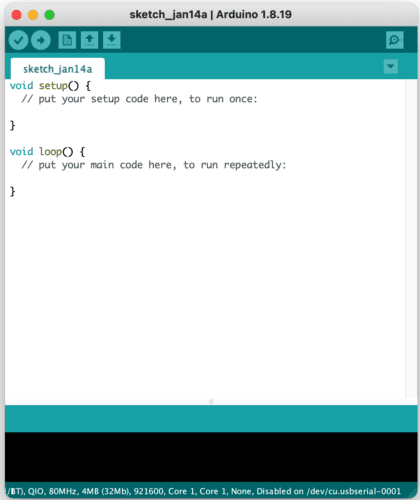
Click on the tool as given in the below picture.

Step 5
Select the Board that you have. I have Arduino Uno so I have to select the Arduino Uno board.

Step 6
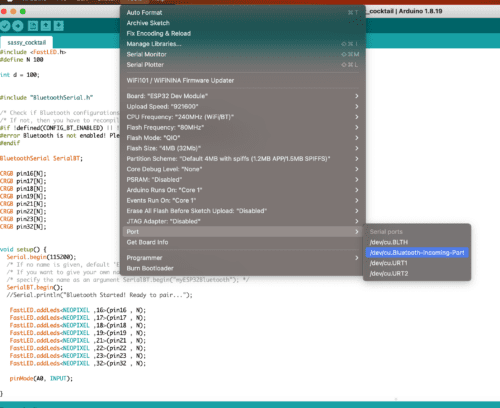
Now click on the Tool again and select the port on which your Arduino is connected as shown in the given image

Step #7
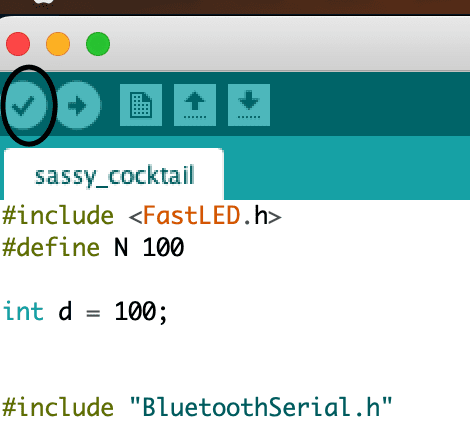
Now Compile the program by clicking on the right sign

Step #8
Click on the right arrow to Upload thee program.

Step #7

Wait to complete the uploading till it shows the uploaded program as given in the image.
Follow all the steps as given in this tutorial. you can now easily set up and Arduino with the software.
We are having the most famous Arduino projects which you can make easily at your home. check it once in the blog section.
Arduino Tutorial #2- click here
Troubleshooting in Arduino IDE and upload program.
- Not showing the Port in Arduino ide
If the Port not showing in your Arduino you can check the following condition.
a. Check your USB cable first.
b. Reinstall the port com driver
c. uninstall and install again the software with all required driver, don’t refuse to install the driver ask at the time of installation.
2. The program is not uploading to the Arduino, error during uploading
a. Make sure there is no connection at Rx pin of Arduino
b. Make sure there is no wire short circuit with another wire
c. Change this cable once
d. make sure you have selected the right variant of Arduino
Here we have mentioned all the troubleshooting conditions. if still you have any problems you can ask in the comment section.