

Hey guys, Welcome back to the Techatronic. Today we are going to make an IoT door lock using Solenoid lock and KME Smart web application. You can make your own IoT control system by this application. we are controlling this solenoid lock using Relay. so, you can replace the solenoid with anything you want to make IoT Control.

The IoT door lock project is very simple and interesting to make. We have given all the steps there which can help you a lot. The Kme platform is very easy to use. there is no need of code to make the IoT projects. We need to connect our esp32 to the computer and then upload the sketch.
We can use this Smart IOT door lock at any place. office , home , school or anywhere. So, we are making this mini project with the help of Solenoid lock and esp32. This IoT Door lock is very useful. and we will share all the detail here how to make and how to operate it.
We are using an IoT platform which not require any coding to configure the device. So Let get started with our Project. first, we need the Required Components which is given below.
Required Components for IoT door lock
| ESP32S | BUY LINK |
| Solenoid lock | BUY LINK |
| 5v single-channel relay module | BUY LINK |
| Jumper Wire | BUY LINK |
| Breadboard | BUY LINK |
ESP32S microcontroller
In this Era of IoT and Microcontroller devices, the esp32 microcontroller is one of the most powerful devices. It helps us to do the embedded projects. with the help of hardware and software we can make a lot of projects with the ESP32. ESP32 have the wifi and Bluetooth functionality inbuild which help to reduce the additional components. The esp32 give us the option to interface simple sensor to complex sensors and other modules.
ESP32 Developement Board have many communication protocol so we can make any of the project with the help of this microcontroller. To use this board we need to install a board to the Arduino ide. here we have the article on how to setup esp32 in Arduino ide. After importing the Board we need to download the library into the application.
There are a lot of option to create the IoT application using esp32 like Blynk, KME Smart and MQTT.
Key Features
- Dual-Core Processor: The ESP32 features a dual-core Tensilica LX6 microprocessor, which can run up to 240 MHz. This allows for efficient multitasking and high-performance applications, making it suitable for complex projects that require significant processing power.
- Wi-Fi and Bluetooth: One of the standout features of the ESP32 is its integrated Wi-Fi and Bluetooth capabilities. It supports the 802.11 b/g/n Wi-Fi standards and Bluetooth 4.2, including Bluetooth Classic and BLE (Bluetooth Low Energy). This makes it ideal for a wide range of wireless applications, from smart home devices to wearable technology.
- Memory and Storage: The ESP32 typically comes with 520 KB of internal SRAM and supports external flash storage. This memory configuration allows for robust application development and data storage, essential for managing larger and more complex projects.
- I/O Capabilities: With numerous GPIO pins, the ESP32 can interface with various peripherals, including sensors, displays, and motors. It also supports a range of communication protocols, such as SPI, I2C, UART, and ADC (Analog-to-Digital Converter), providing flexibility in hardware integration.
- Low Power Consumption: The ESP32 is designed with power efficiency in mind, offering several power-saving modes. This is crucial for battery-operated devices, as it allows for extended operational life while maintaining performance.
- Rich Development Ecosystem: The ESP32 benefits from a robust development ecosystem, including the popular Arduino IDE and Espressif’s own ESP-IDF (Espressif IoT Development Framework). These development environments simplify programming and debugging, making it accessible for both beginners and experienced developers.
Many Electronics companies specialize in Boards and sensors just like Ersa Electronics. Making ESP32 and other development board.
Now after having the Components, we Required the Circuit Diagram.
IoT Door Lock Circuit Diagram

How to Connect
Connect 12v battery positive pin to the Solenoid lock positive pin
Connect Battery -ve pin to the Relay Common pin
Connect ESP32 -ve pin to the Relay Negative pin
Connect ESP32 +ve pin to the Relay Vcc pin
Connect ESP32 23 pin to the Relay Signal Pin
Connect Solenoid Lock -ve to the NO pin
Connect the Solenoid +ve pin to the Relay positive pin
After Connecting all the components we need to to the Software Configuration at KME Smart.
How to Configure KME Smart Software for IoT Door Lock
Step :- 1
Go to the KME Smart official website and click on Download Software
Now, Open the Software and connect the esp32 device to the Computer with the help of a cable
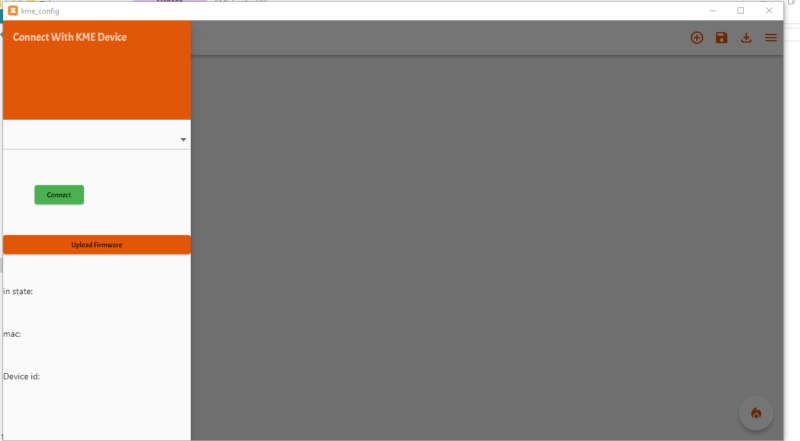
Now click on the Arrow and select the port
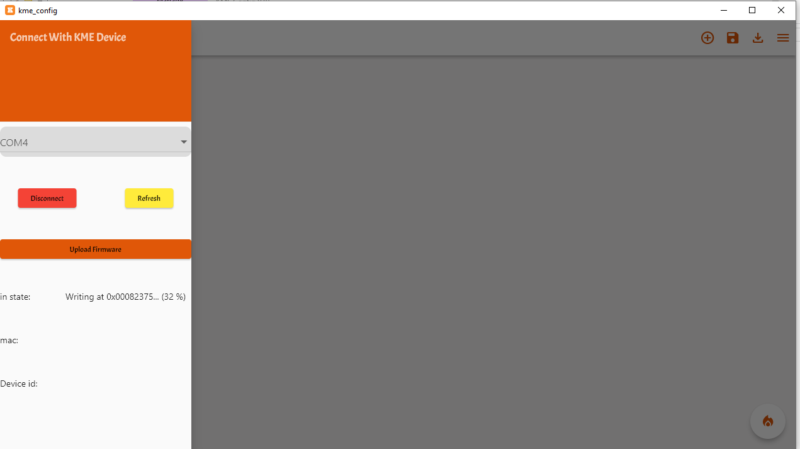
after selecting the port click on the Connect button
after connecting it will show you the device name.
now, click on the upload Firmware. If you have any difficulties in Upload firmware check weather the PC have required driver or not.
After Completion of uploading firmware Click on the Right upper side 3 dot
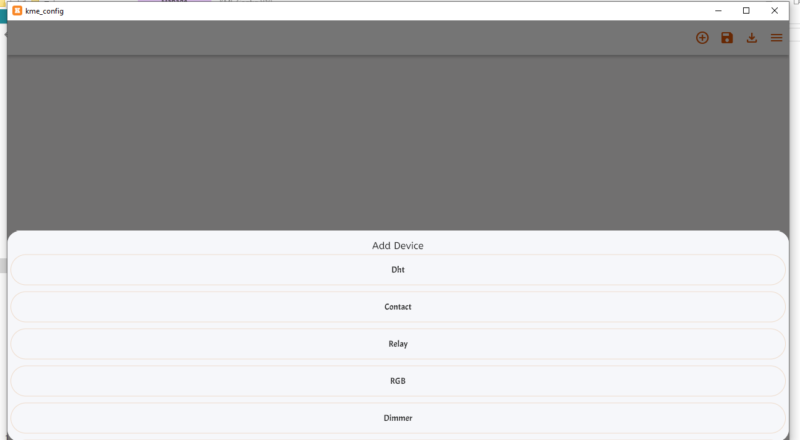
Now select the device as you require. My is Relay here. so, I need to select the relay.
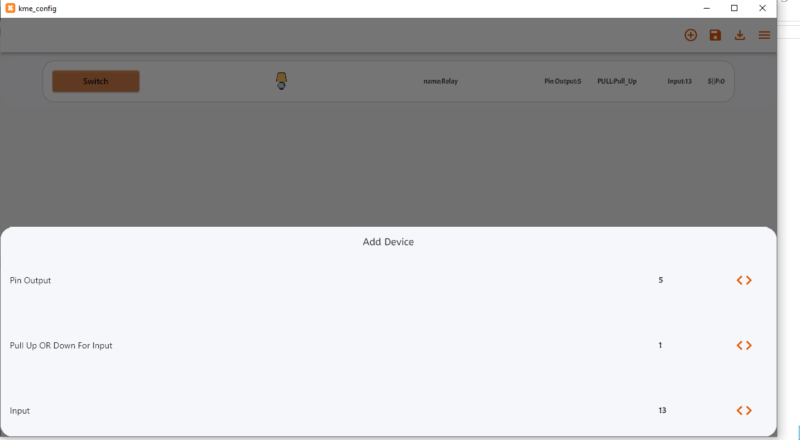
Now, I need to configure the Relay function here. for example selection of output pins and selection of input pin if there any input if there is no input select the none there I input.
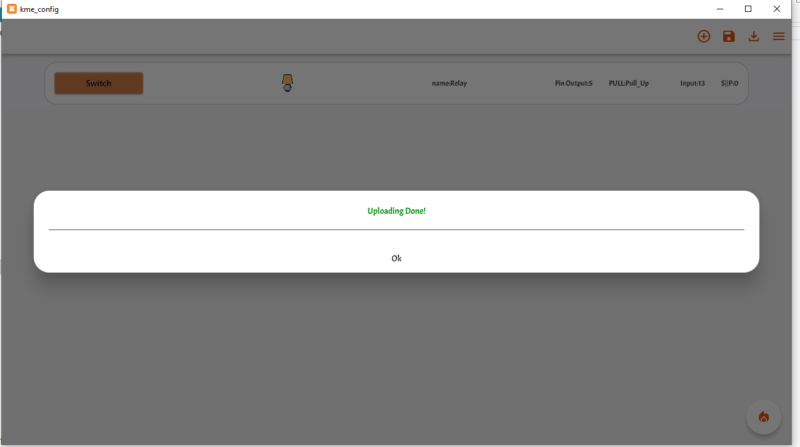
After All the configuration upload the firmware from the fire symbol at the right lower corner
Now, our all the setup of KME smart has been done. now we have to do the mobile phone setup.
Go to the play store and download the KME smart application
sign up into the application.

Click on the add device

Select here the single channel and given socket in the application
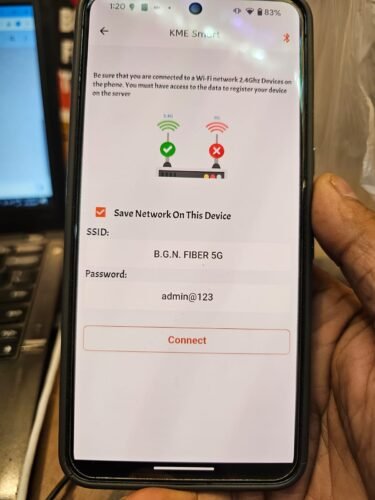
Write here the SSID and password of wifi. make the the wifi would be 2.4G. then click on the connect button.
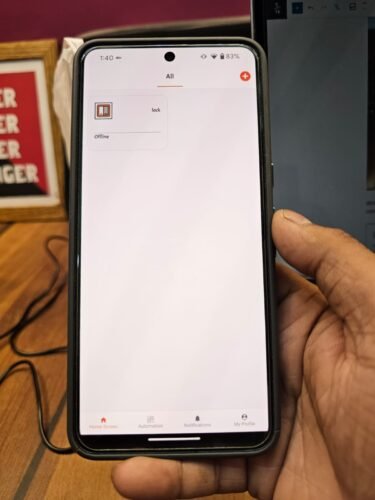
So, now everything is Ready to work. Just Click on the ON-OFF button.
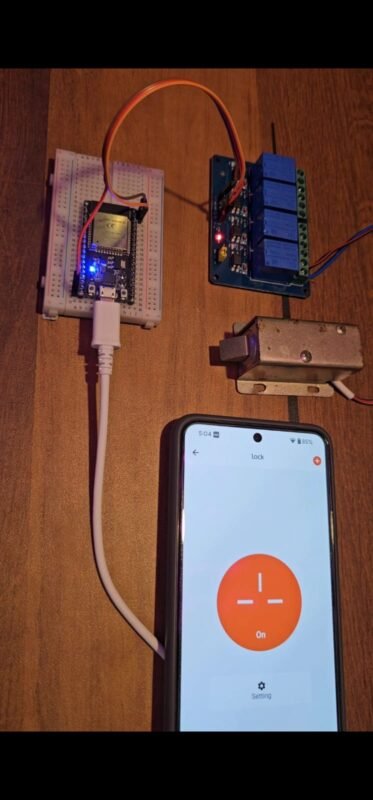
Now everything is in control, as you can see in the image.
You can open your home door using this device.
If you have any queries you can ask in the comment section.