Hello Beginners, This is the very basic electronic article which every hobbyist need to start a step into Electronics field. Today we’re going to discuss How to Use a Multimeter. Multimeters are very useful while working with electronics, not only for newbies but also for professionals. But the model features and applications might change. So as first come first, If you are going to start into electronics, then you may definitely read this article for more knowledge about this. So lets start.
What is Multimeter?
If you are wondering that what is multimeter is used for, Then in few words it is. Pretty much everything, Yes I’m not joking with you but if you are unaware then, I must tell you that there are different models brands and highly useful multimeters available in the market. These can be found on the local electronics shops, or you may find them on online sites.
Multimeter comprises various Microcontrollers and various other IC’s, which in combination forms a multimeter. I’m working in this field from 4-5 years and has mostly seen various multimeter of various features varying from local to advanced one. I’ll show all the features of multimeters I have now. Also review them for beginners and advanced users. Now let’s discuss each of its features in details.
Parts with multimeter:
If you are newbie to use multimeter then make sure you have proper knowledge to its accessories available with but first let’s have a look at some multimeters
This is the very basic multimeter you’ll come across at every shop, for the first time you’ll ask for a multimeter. It is around Rs 300 (in India). It is a very basic model and does include features for common purpose. If you are new, then first try this one before heading over to advanced versions.
This is the more than basic version and has better durability. This mastech multimeter has features as same as of the dt830d basic version, but protection features and long life is more than that. The probes used are also of high quality and has better sensitivity to continuity.
These multimeters are mainly meant for AC circuits. These multimeters include a clamp which is a transformer coil. This coil gives values to voltage and current based on induction in the transformer coil. Also has extension for probes. But most basic version of clamp meter include basic features like less range of measuring resistance and other. These are available under Rs 600 in local market, more features one might be available for few more bugs. So choose wisely.
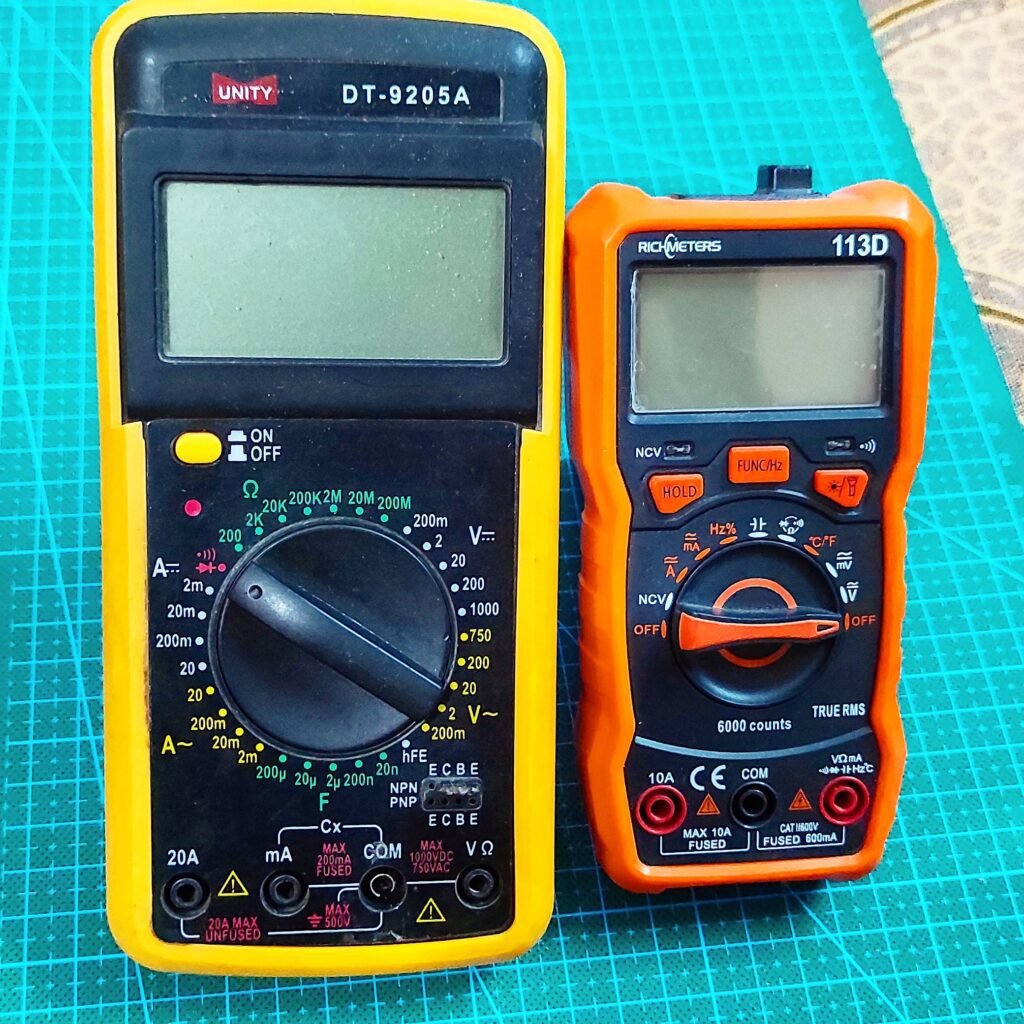
Now these two are some advanced versions available in the market. UNITY DT-9205A is available under Rs 700-800. And Richmeters 113D is some more costly around Rs 1500 (under $15 form AliExpress). Or around Rs 2000 in India online and offline market.
Functionality of multimeter also depends on the quality of probes, so choose wisely
This is the best one I use and recommend you to do also. But if you are not willing to do so then you can choose other also for low price than that, but continuity and current sensing and heating of wires depends on this.
How to use Multimeter?
Measuring voltages:
Firstly, we’ll check voltage using a multimeter. Here is the enclosed pictures for mine multimeters checking voltages. Similarly, turn your dial to voltage mode. Be careful while measuring AC & DC, consider the symbols for both AC and DC.
Make sure you switch the dial to correct position while measuring the specific voltages. In Automatic multimeter like I have one, you might get a combined button. For this use switch button or FUNC button as I have to switch the mode from AC to DC.
Now put the positive probe (red) to the positive terminal of the checking object and negative probe (black) one to the negative terminal of the object. The values might be different, from expected slightly. Don’t mind these all differences, as these might not matter most. Now, if you have measured the voltage, then we switch to the next one.
Measuring Current:

For measuring Current, make sure you do it according to the current ratings mentioned. If you won’t, then you may blow up your multimeter. Which is pretty natural for beginners. So let’s head over to instruction, same as for voltage, make sure you connect probes in correct or while measuring current. Like for measuring current in mA you must put red one in that and for measuring current in A, you put it in that. Also take care that you turn the dial or FUNC to correct AC or DC sources for prevention of multimeter.
Noe to measure current we have to put multimeter in series for that connect lower potential of the multimeter i.e, black probe or common probe to the lower potential of circuit or negative/ground terminal of the circuit. And positive probe in series with the appliances you want to use. By this, you’ll be able to check current flowing through the circuit.
Measuring resistance:
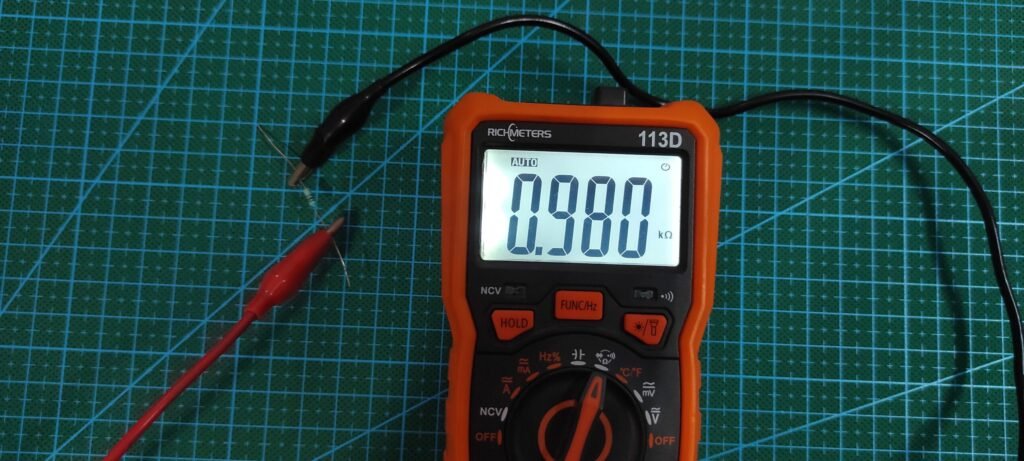
Now for measuring resistance, If you have basic version multimeter then you might have different dials for the various range of resistors which you might need to switch. In that case turn the dial to a higher value to the resistance you are measuring or if you don’t know then turn the dial to the utmost high range for safety. But in automatic ones you only need to connect resistor and that’s it.
Now connect the resistance between the red and black probe of the multimeter, and you’ll see the resistance value on the display. Make sure that if you want to check a single resistance on the SMD circuits and there are others also in parallel, the value might be changed accordingly. So make sure to keep all concepts in mind while handling multimeters.
Measuring Transistor hFE value:
Now some cheap multimeters have this feature to measure the value of Transistor, mosfet or BJT’s hFE value. This value determines the accuracy or condition of the component. For that, you just have to check the pinout of the transistor


